A winning combination of roasting and steaming, braising involves covering your ingredients in liquid, and letting them cook low and slow in a tightly covered vessel over a period of hours, sometimes the better part of a day. When you have some time on your hands, braising is one of the best things you can do for a piece of meat.
Ideally, you’ll end up with a protein that is succulent and full of flavor. However, braising can occasionally backfire if done incorrectly, resulting in meat that’s unpleasantly wet on the outside and bone dry on the inside.
In order to avoid the common pitfalls of braising, we talked with Chef Peter Nguyen of Houston’s Riel. He shared his advice on how to braise anything and gave us some expert advice on how to lock in flavor and moisture every time, no matter what you're cooking.
What Is Braising?
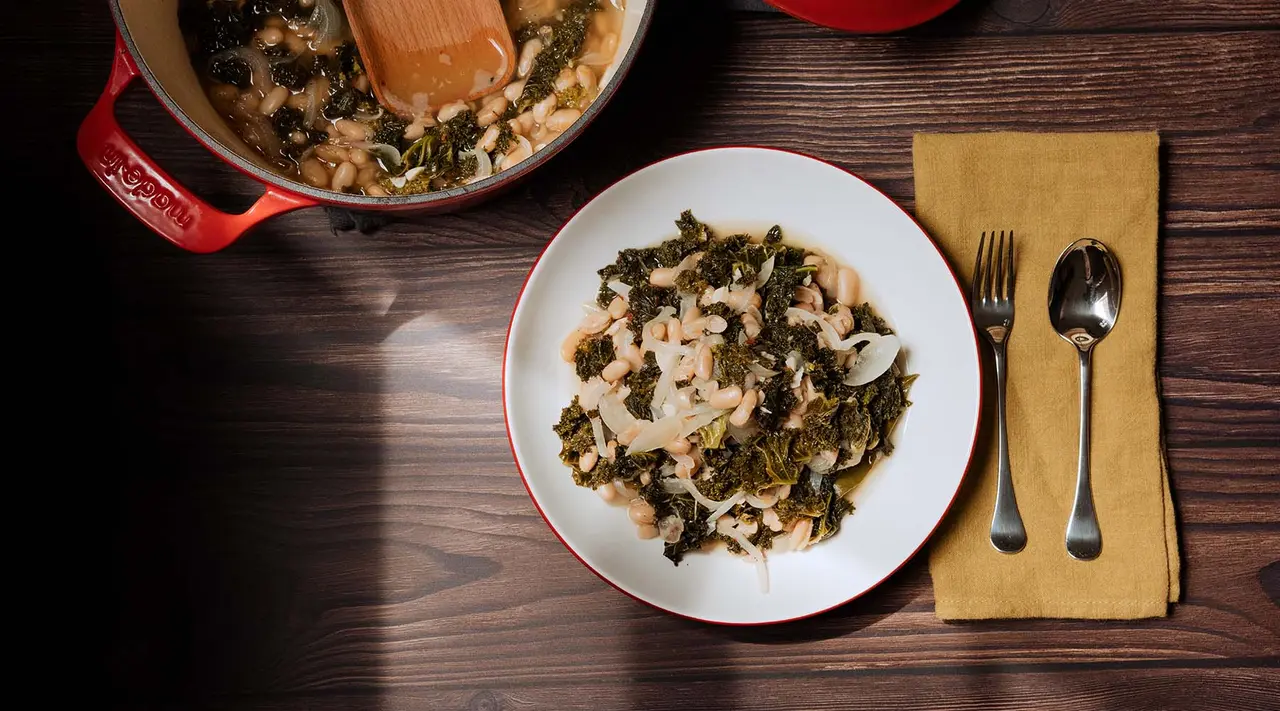
Braising is a cooking technique where food, usually meat or hearty vegetables like kale, is first lightly fried or browned, then simmered over low heat in a cooking liquid (such as broth or stock) in a sealed cooking vessel, best done in a Dutch oven. The outcome is food that is tender, juicy, and full of flavor.
Braising vs. Stewing
Stewing is a very similar technique to braising. While both generally require low and slow temperatures, the key difference between braising and stewing is the amount of liquid added. Stewing involves smaller, uniformly cut pieces of meat and vegetables cooked totally immersed in liquid.
On the other hand, braising utilizes larger cuts of meat or vegetables that are only partially submerged in cooking liquid.
Braising vs. Roasting
Another similar technique to braising is roasting, which again utilizes the "low and slow" cooking method. One of the two major differences between braising and roasting is that braising utilizes a cooking liquid, while roasting requires ingredients be as dry as possible.
The other aspect that sets these two apart is that braising is done in a closed pot, as the lid helps trap moisture. Roasting is generally done without a lid or cover, as the oven helps draw out moisture and produce dry, crispy ingredients.
How to Braise Meat
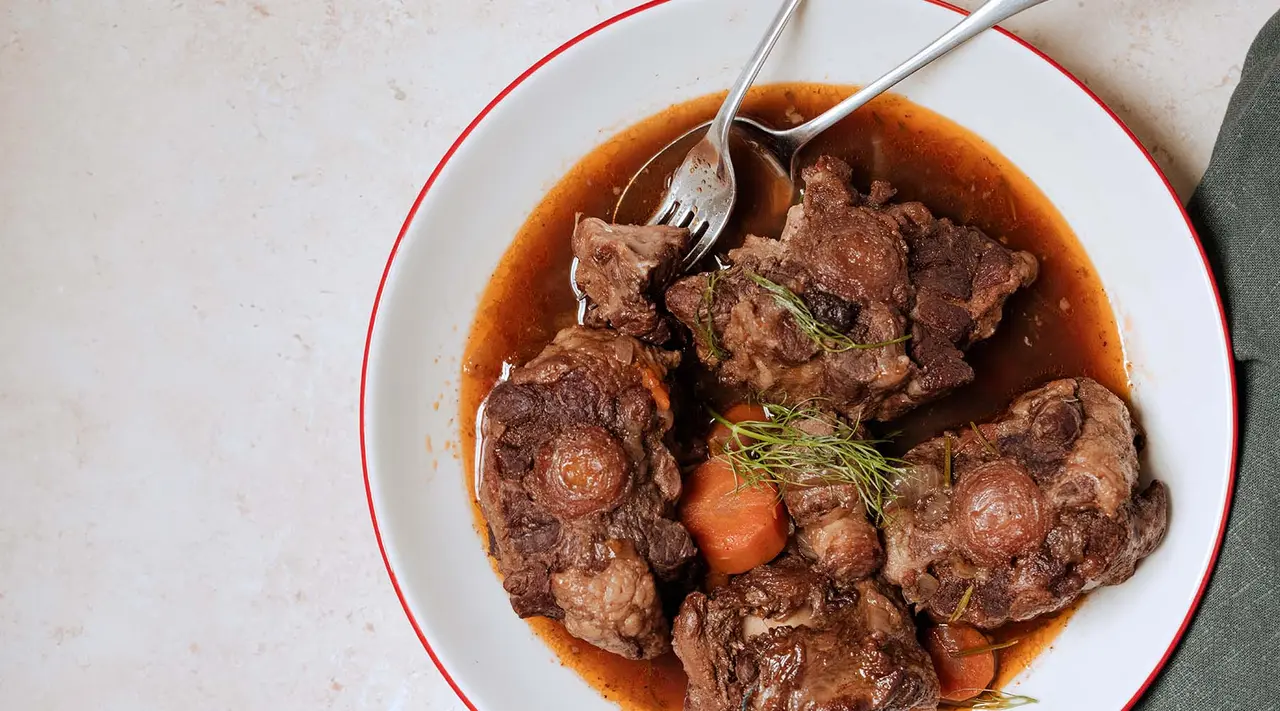
The process for braising both meat of almost any variety, whether it's pork, kale, or seafood, is the exact same. Follow these simple steps and you'll be sure to end up with a delicious meal every single time.
1. Use the Right Pot
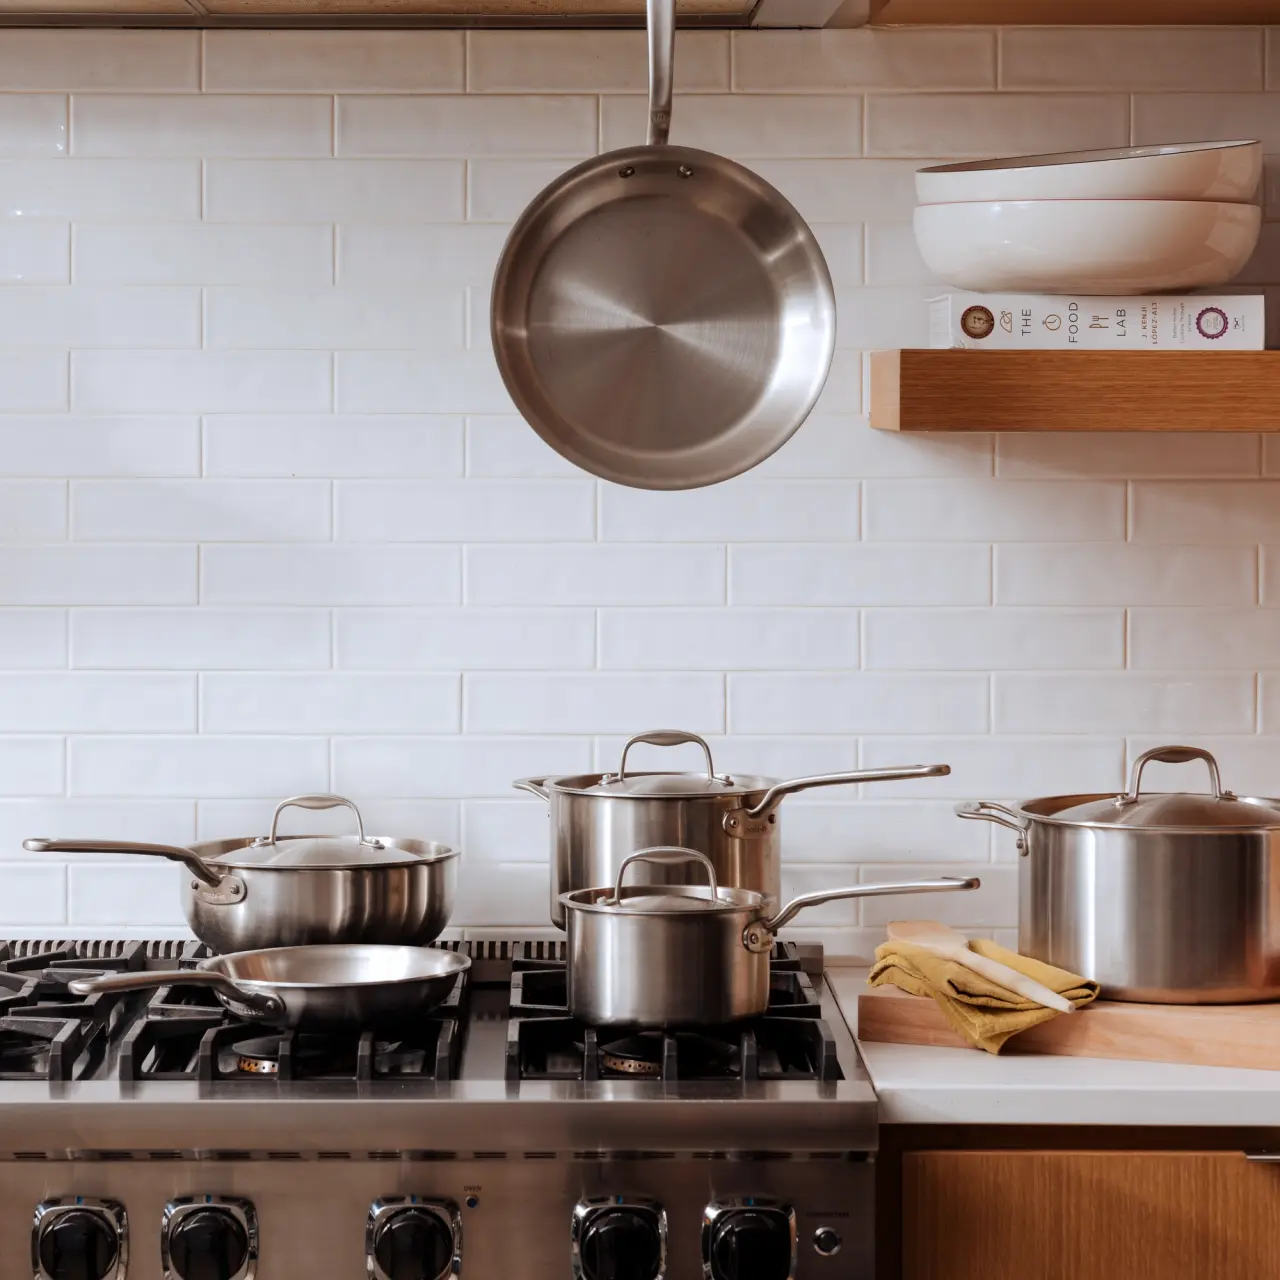
The first thing to address in the braising process is what pan to do it in. You want something that can go from stove to oven safely and seamlessly, so that you don’t lose any fond or flavor.
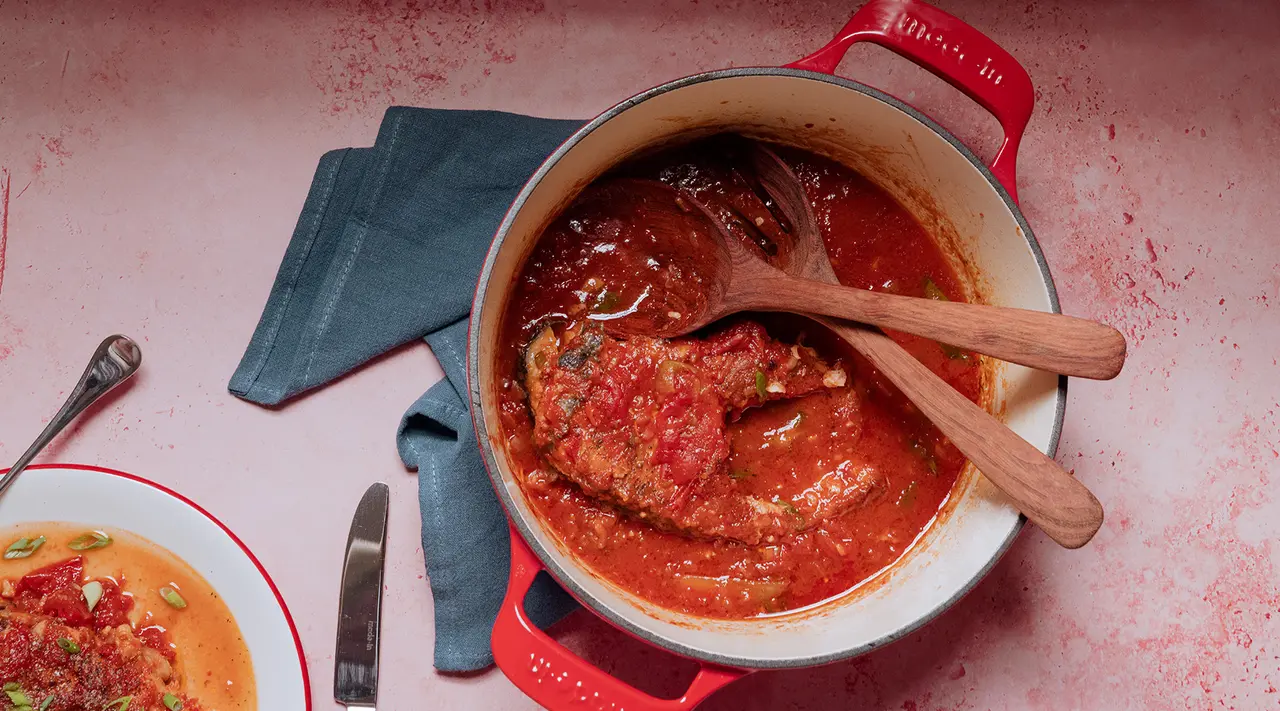
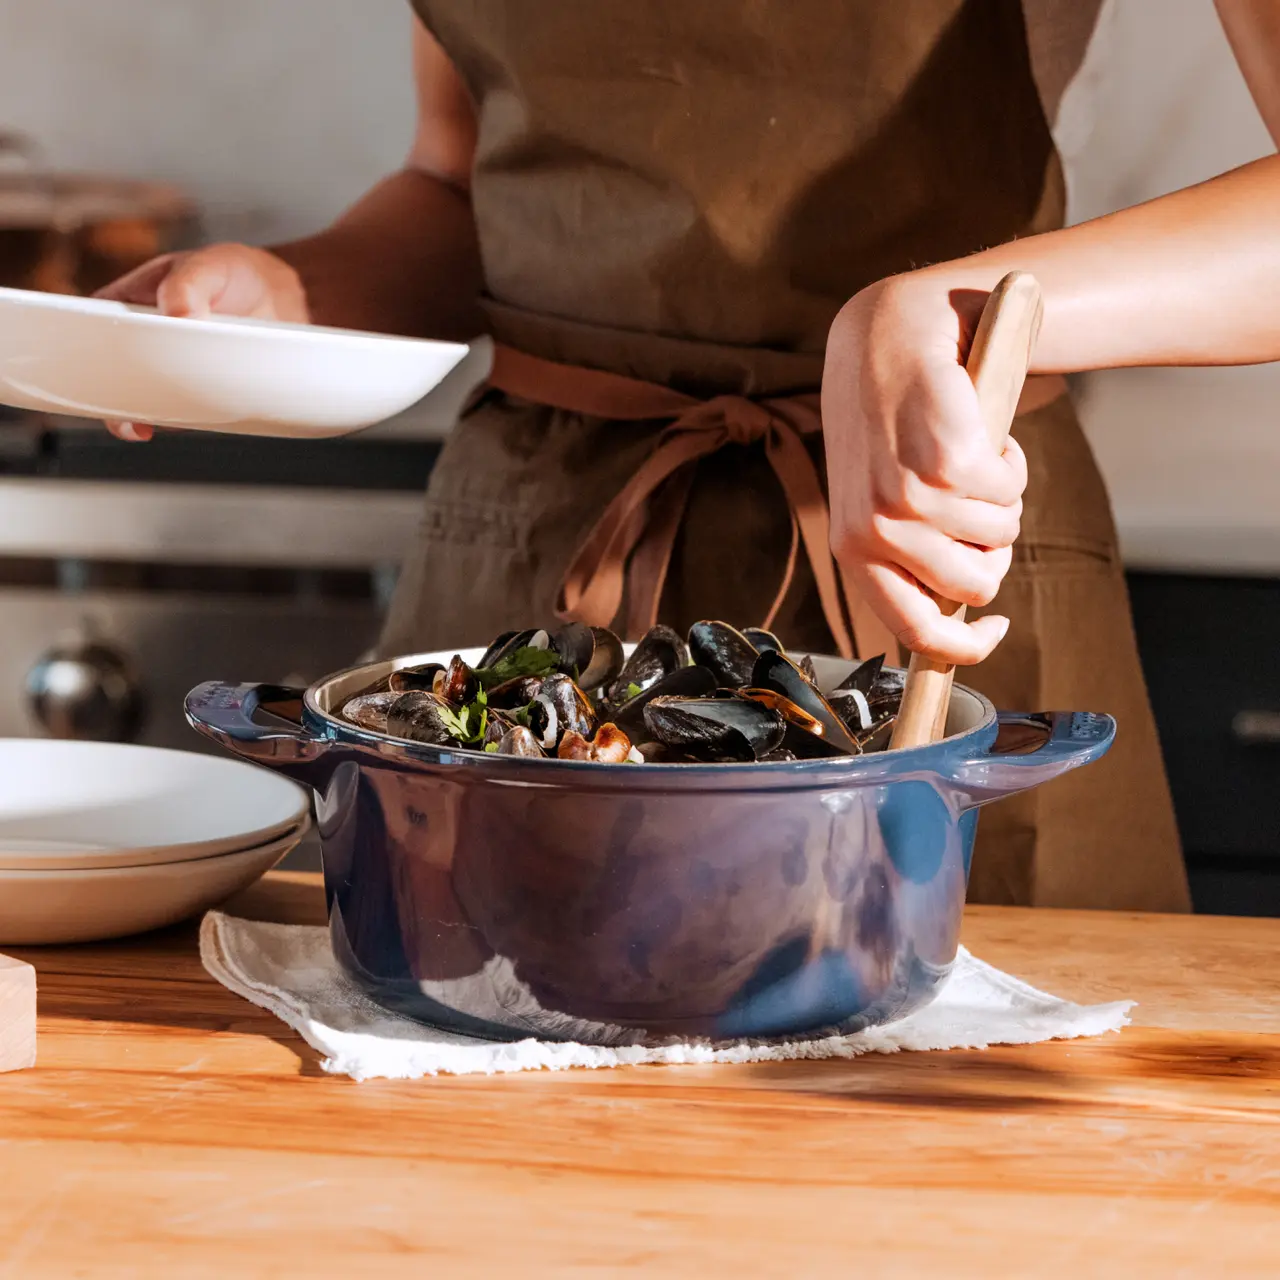
A rondeau or saute pan will do in a pinch, but if you have one, an enameled cast iron Dutch oven is the ideal braising tool. With any type of metal pan, your braise can burn from the bottom up—especially if you’re using sugar, all of your hard work can get ruined by that unfortunate acrid taste. A Dutch oven can take the heat while cooking evenly, and its lid (complete with oven-safe knob), helps you retain moisture. Our proprietary Cloud Cover Lid features pea-sized dimples on the underside of the lid, designed to trap steam and return moisture to your braise.
“In Vietnamese culture, we use clay pots. An enameled cast iron Dutch oven sort of mimics that,” says Chef Nguyen. As an added bonus, making this a one pan meal also cuts down on the amount of clean-up you're responsible for at the end of the night.
2. Select Your Ingredients Wisely
Braising goes better with darker meats—beef is usually the first thing that comes to mind—but that doesn’t mean you can’t or shouldn’t braise chicken, fish, pork, or even vegetables. Chef Nguyen recommends sturdy fare—dark, leafy greens or root vegetables—or anything else that can hold up to being cooked for an extended period.
Chef Nguyen describes cooking beef for stew, saying: “the lower and slower, the more you can extract the flavor. That’s how you get the beef really, really tender".
There are some cuts of beef you’d want to do for a shorter amount of time (like a rib eye, because fat helps the meat break down easier) whereas you'd cook something like an oxtail even longer. If you’re braising chicken, Chef Nguyen suggests skipping chicken breats in favor of drumsticks or thighs, as darker meat can withstand more cooking without getting tough or dried out.
He also likes salmon, shrimp, and a Vietnamese classic, catfish. “The only real difference is that fish and vegetables will have a shorter cooking time,” he says. “A flaky white fish will actually braise for even less time than kale.
3. Decide Whether You Should Sear Your Meat
Contrary to popular belief, you don’t need to sear every cut of meat you’re braising. It all depends on the recipe (and the meat you’ve chosen). For example, if you’re making a beef stew, you’ll definitely want to sear the beef beforehand, creating a Maillard reaction, which forms a crispy crust that helps the meat release naturally from the pan. If you don’t sear the beef, it’ll boil to death and become tough. A little crust helps it withstand being cooked for so long in a stew.
However with other dishes, like tacos or carnitas, the goal is just to get the meat nice and soft—meaning the searing step can be skipped altogether. It's supposed to melt in your mouth, so you don’t want that crust on it. You won’t get the same crispy texture as you would from searing the meat, but you also won’t need (or miss) it.
4. Sweat Your Aromatics
As with any good dish, you want to build layers of flavor. After you’ve seared your meat (or not), add in a mirepoix of aromatics—onion, garlic, celery, carrots, or whatever else you’d like. Sweat them in the bottom of your Dutch oven to release flavor.
Not only does this add flavor, it also helps keep your meat from burning, both by adding a barrier between your protein and the heat and by releasing more liquid as they cook down.
5. Add Your Liquid
It’s important to be intentional about the liquid you’re adding. If for some reason, you’re only using water for your braise, the meat is going to be seriously lacking. In order to create a multidimensional flavor bath, utilize liquids like wine or stock (including dashi)—and don't skimp on aromatics. From there, your flavors are easily customizable.
Additionally, this step is where you can decide how you want to serve your braise, which determines how much liquid you add. If you’re looking for a more saucy braise to serve over rice or another starch, cover your ingredients with 2 inches of liquid. If you want something that’s more glazed, make sure you’re using more sugar or alcohol and only cover with about an inch or so.
6. Cook Low and Slow
Now comes the easy part. Once you’ve added aromatics and liquid, all you have to do is pop the lid on your Dutch oven and put it in the oven. We recommend aiming for a low temperature, at least an hour and a half at 325F. You’re looking for the meat to be thoroughly fork-tender.
To ensure your braise doesn't dry out, make sure you check it throughout its cooking time. After the meat has cooked for 90 minutes, start checking it every 20-30 minutes or so. This is a good way to keep it from overcooking and becoming dry or tough.
7. Don't Forget Finishing Touches
Chef Nguyen suggests adding seasoning towards the end of the cooking process. “I'll season in the last 10 minutes, so it’s almost done but the flavors can really meld together. If I season too much in the beginning, I run the risk of making things too salty once the liquid reduces,” he says.
If you really want to lock in those flavors and moisture, let your braise rest in its cooking liquid. Chef Nguyen recommends leaving it overnight. “It's much better the next day. All the flavors have that much more time to intensify,” he says.
8. One More Thing: Save that Liquid!
Don’t even think about discarding the remaining liquid when your braise finishes. The resulting liquid, which will now also be infused with slow cooked meat juices, is called cuisson, and it’s about to become your new secret weapon.
“I like to save the cuisson to either reduce into a glaze or even better, use it as part of the next braise,” says Chef Nguyen. “It’s super concentrated, so you only need a little bit. It’s so intensely flavored, you can even use it as a stir fry sauce.”
Ready to Cook?
No matter how you get to the end result, braising your proteins or hearty veg is one of the best things you can do for a hearty, flavorful meal. If you need somewhere to get started, Texas-based Chef Steve McHugh's recipe for braised pork belly makes the perfect filling for tacos or burritos, or just enjoyed on its own.
And it's the perfect recipe to enjoy out of our Dutch Oven thanks to the French construction, high heat capabilities, and tight-fitting Cloud Cover Lid.
