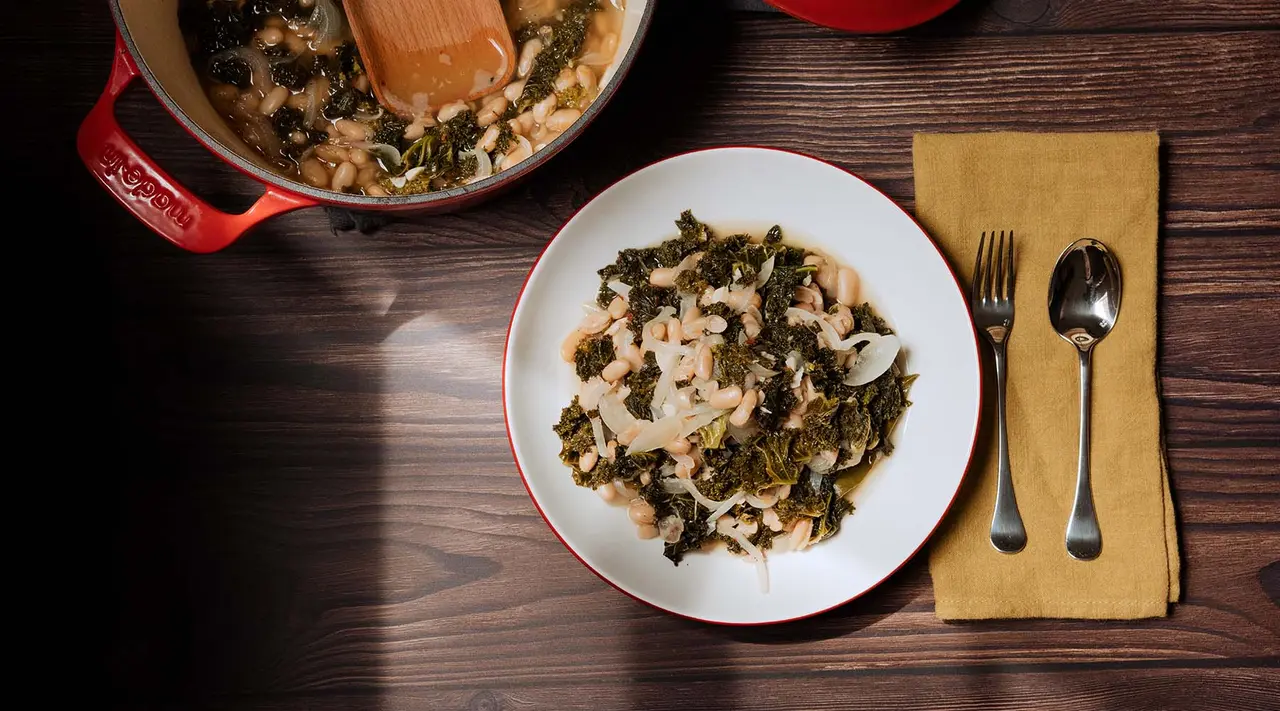
How do you create a dish that’s juicy, tender, and flavorful? Turn to the braise. Braising is a favorite way to cook proteins and other ingredients that benefit from a long, slow cooking time. This French technique works especially well with tough cuts of meat, and is also very effective with beans and sturdy greens like kale.
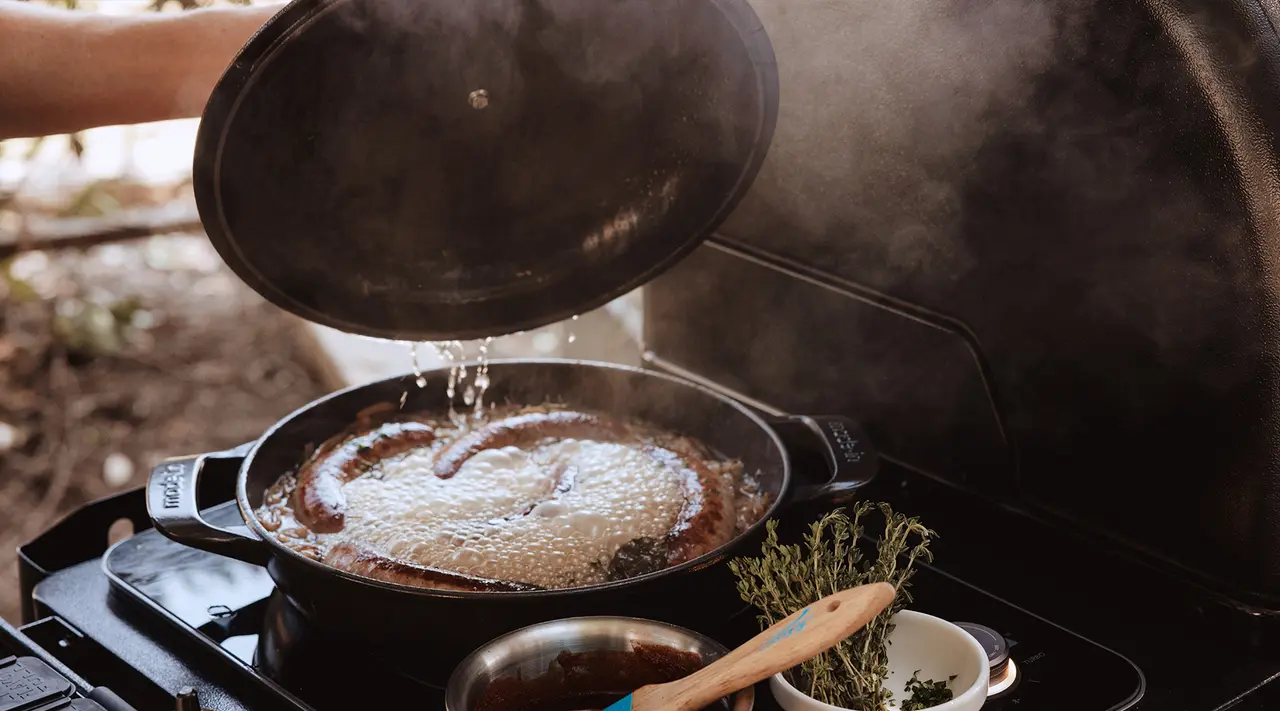
You can braise with different types of cookware provided it has a wide surface area, including Dutch ovens and rondeaus. Our new Enameled Cast Iron Braiser, in collaboration with Traeger, also braises extremely well—it was designed to do so!—with its ample surface area, short, sloped sides, and tight-fitting Cloud Cover Lid. Below, we’ll dive into the specifics of braising, and how to perfect the technique no matter what type of cookware you own.
What Does Braising Mean, Anyway?
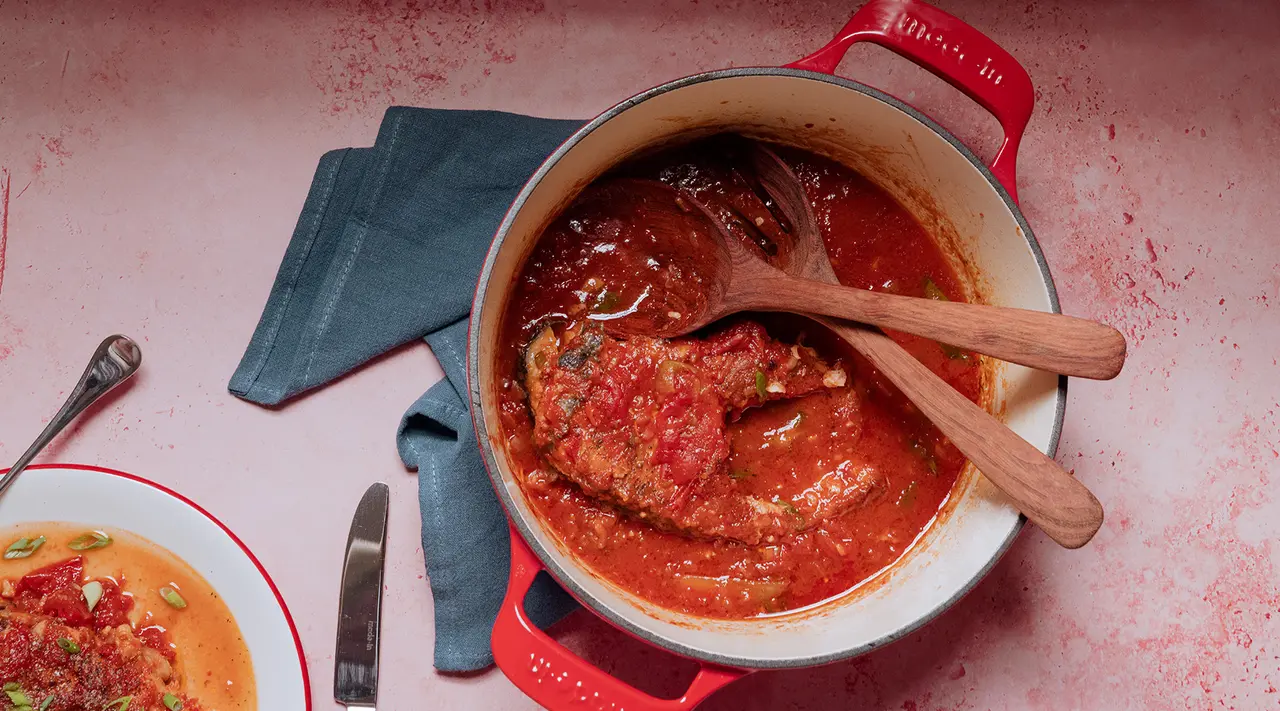
Braising is a simple two-step cooking process: first sear your main ingredient, then pour in enough liquid to partially cover. Cook your food low and slow—we’re talking hours, usually—in a tightly covered pot. Once done, you’ll be rewarded with a pot of steaming, tender, flavorful food. You can braise a variety of ingredients, including pork belly, oxtails, beans, and cabbage. Even tender ingredients like salmon and tofu benefit from a quick braise.
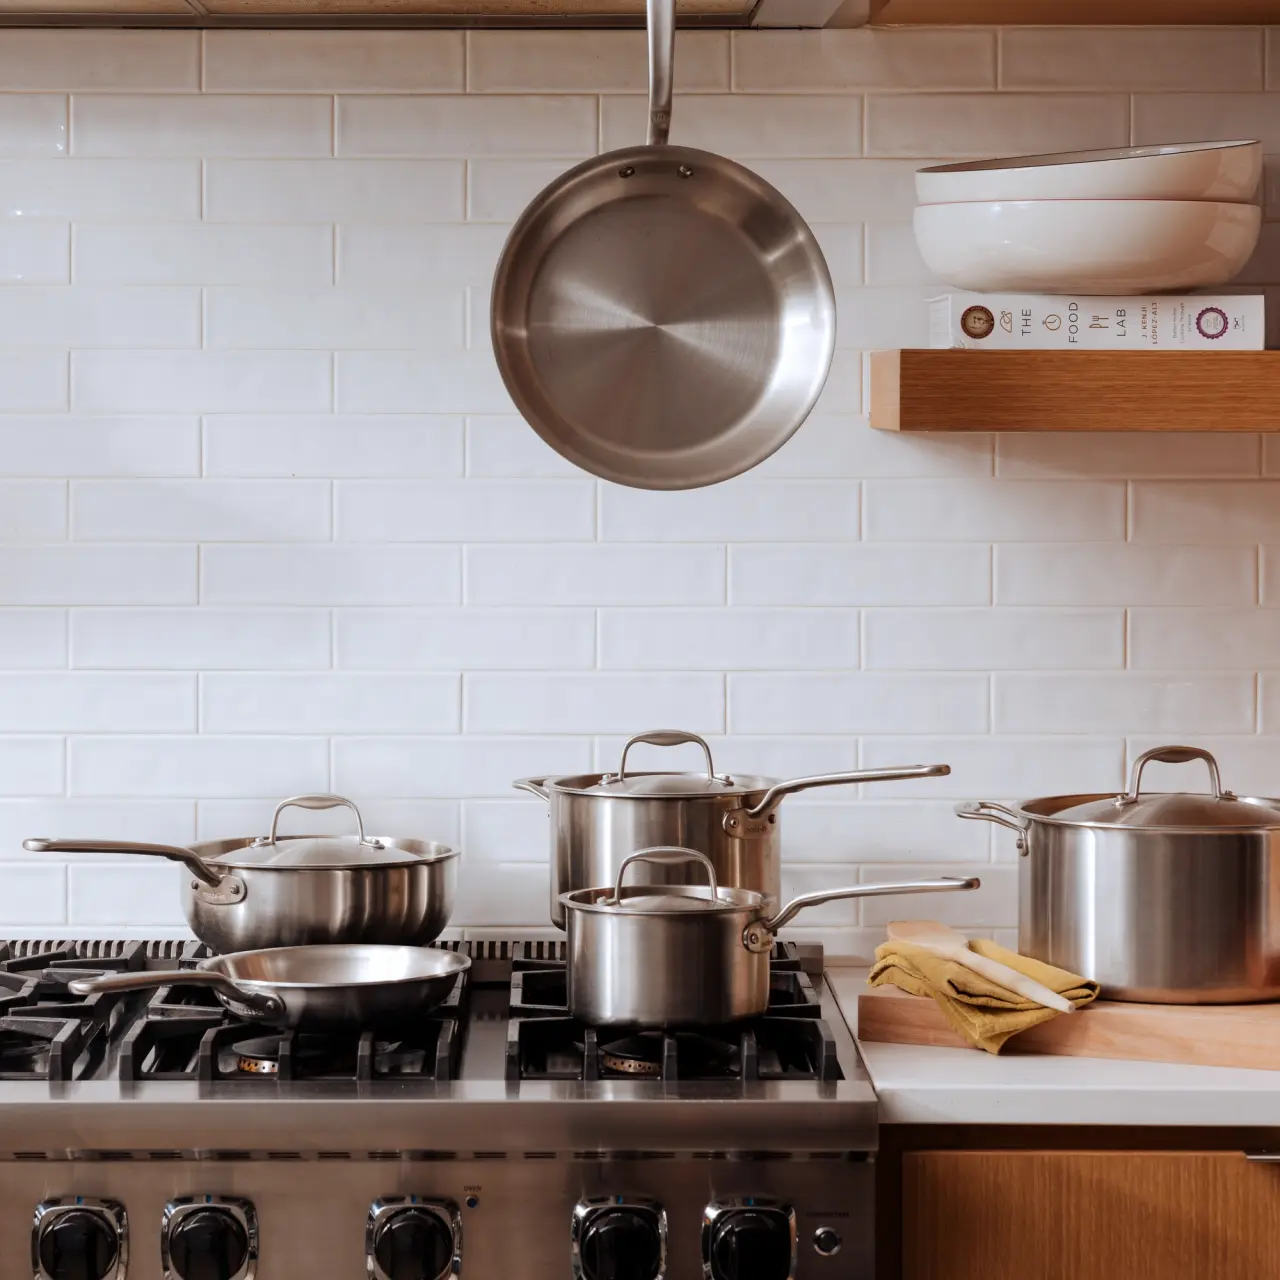
Braising is best done in a heavy bottomed pot with good heat retention and distribution. Our Stainless Clad Rondeaus and Saute Pans work well, but for most braising recipes, we recommend reaching for a Dutch oven or an Enameled Cast Iron Braiser.
The enameled cast iron allows for a more gentle heat, protecting anything inside from burning. The Braiser, in particular, features a large, wide surface area ideal for searing your ingredients before covering them with liquid. Its relatively short sides mean the Brasier functions similarly to a skillet—and it’s easier to maneuver larger cuts of meat. With both our Dutch ovens and Braiser, the proprietary Cloud Cover Lid traps steam, locking in moisture and distributing it over your food.
How to Braise: A Step-by-Step Guide
No matter what you’re cooking, braising is a straightforward process. Attention to a few key details will help you build loads of flavor and get extra tasty results.
Step 1: Sear the Meat (or Vegetables)
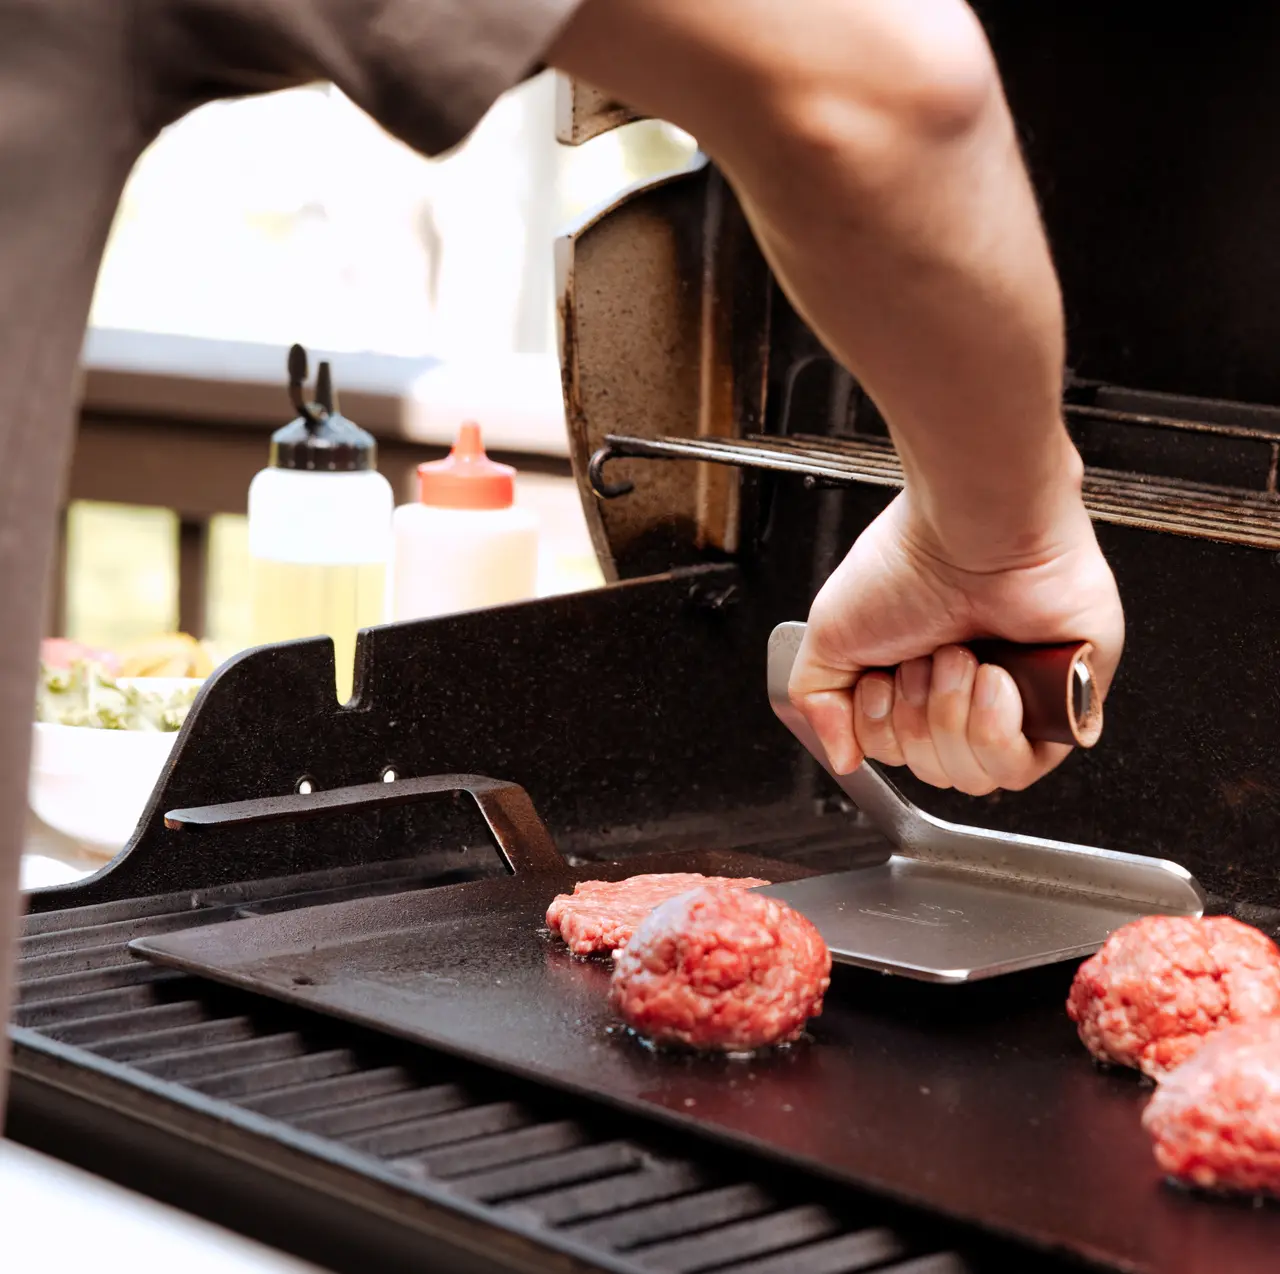
For most recipes, you’ll want to first sear or saute your main ingredient, whether that’s a chunk of meat, a bunch of kale, or a salmon steak. Searing creates a crust on proteins, creating a nice coloring that locks in flavor and moisture.
To get that golden brown perfection, warm a little oil in your pot over medium-high heat, then sear the main ingredient until golden brown on both sides. (For kale and other vegetables, you’ll be sauteing to add flavor.)
Step 2: Deglaze the Pan
Remove the protein from the pot. Ideally there will be a layer of fond left behind in the pot, aka pure culinary gold. Pour in a little liquid—stock, wine, or vinegar work well—and gently scrape up the crusty bits with a wooden spatula to release them. As the liquid evaporates, you’re adding more layers of flavor.
Step 3: Add Aromatics and Liquid
Next you’ll add some aromatics. Chopped onion, celery, and carrots are classic, but any finely diced, flavorful ingredient—think bell peppers and ginger, for example, or even whole spices like bay leaves or makrut lime leaves—does the trick.
After sauteing your aromatics until soft and lightly golden, you’ll put your star ingredient back in the pot and partially cover in liquid. Something with flavor works best here, like broth, beer, wine, or a combination. For braising, you typically partially submerge the main ingredient in liquid; though some recipes may direct you to completely cover something with liquid, which will result in a saucier dish.
Step 4: Slow Cooking
Low and slow is the name of the game with braising. (There are a few exceptions here, like with quick-cooking ingredients like fish or tofu.) In general, though, lots of time and a gentle heat will reward you with a tender, flavorful braise.
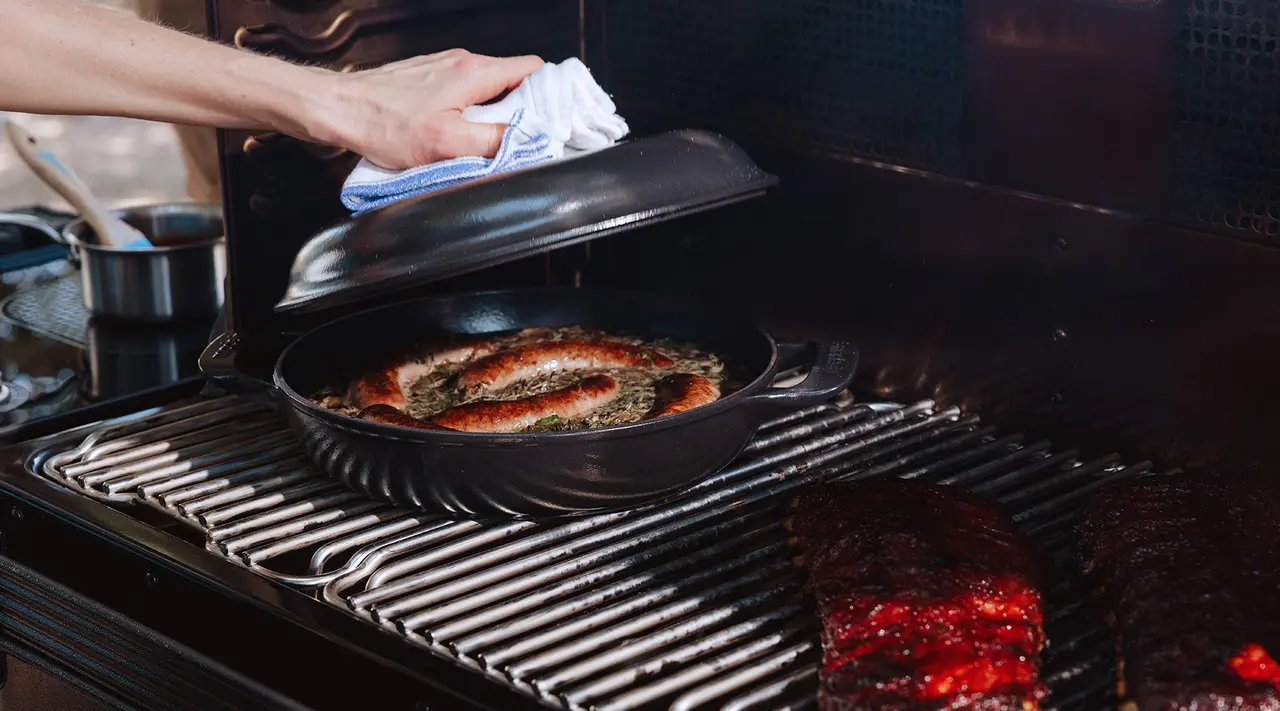
Cover your braising dish with a tight-fitting lid, then cook over low heat on the stove or in a low (325F or so) oven. You can even braise on the low flames of a grill. Depending on your recipe, you’ll let the food braise for several hours.
Step 5: Finish and Serve
Once your food is done, taste it for seasoning. You might need to add a little salt, pepper, or other spices to freshen up the flavor, or add a touch of vinegar or lemon juice to brighten it all up.
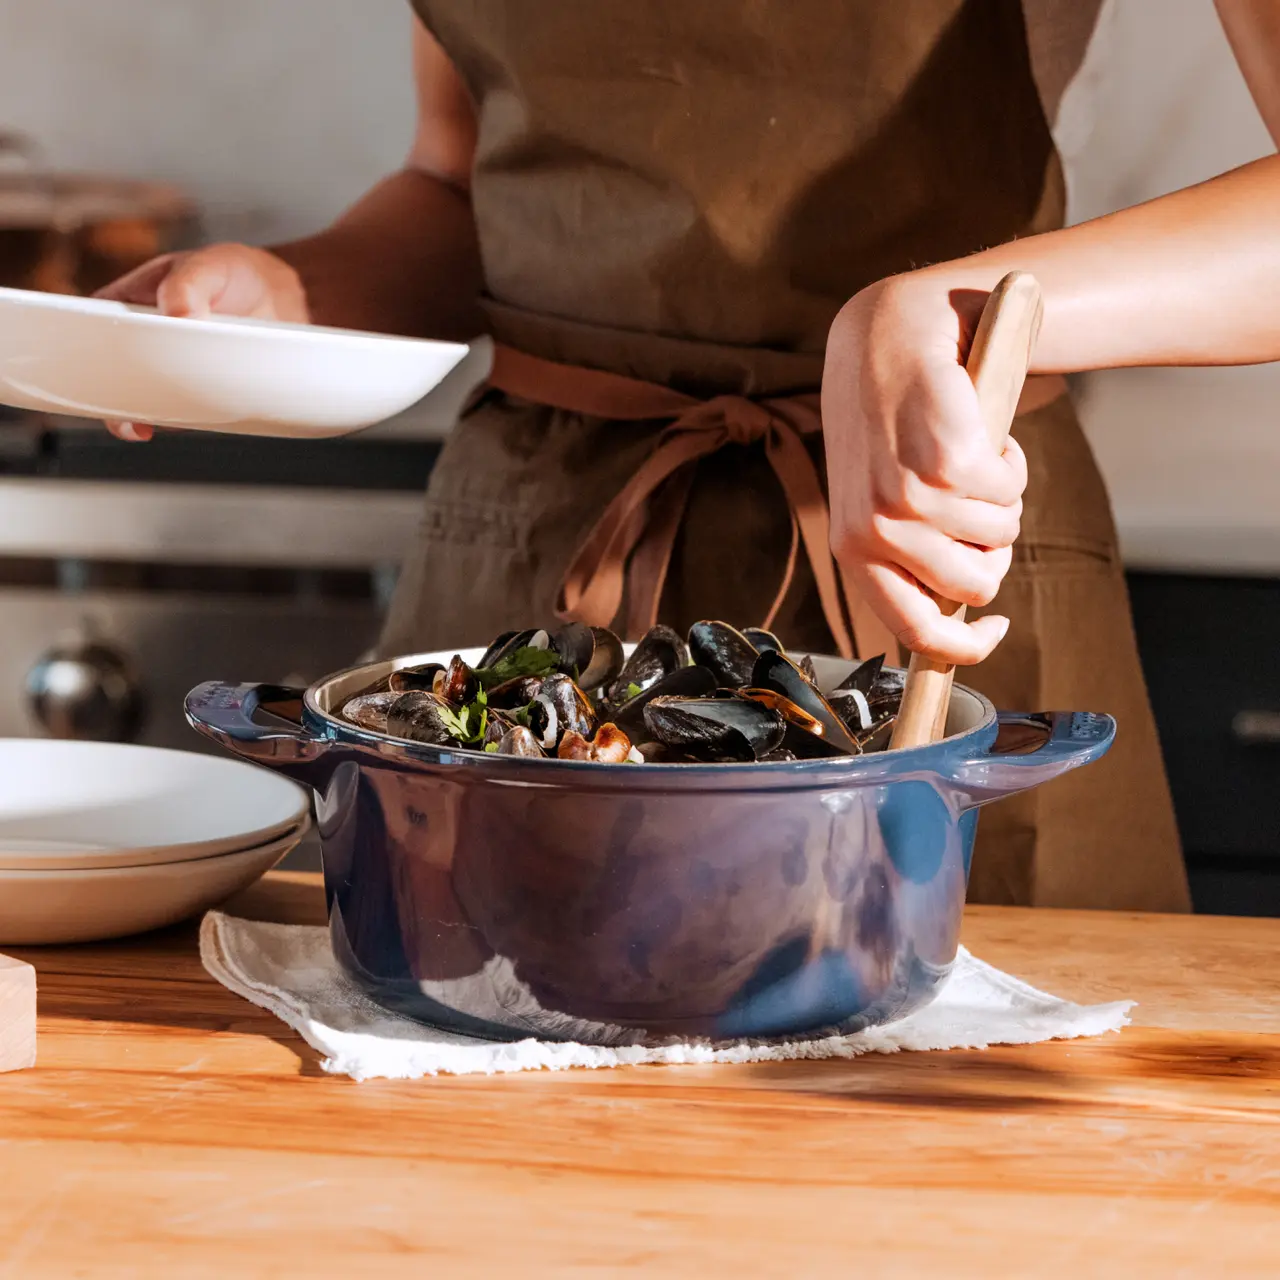
Braises also generally benefit from a day of resting in the refrigerator before reheating and serving—all that flavor you carefully built melds together into something even better than when you pulled it from the heat. Either way, serve your dish directly from the braiser. If you used an enameled Dutch oven or Braiser, then you’ve got an especially beautiful serving dish.
Why the Right Cookware Matters for Braising
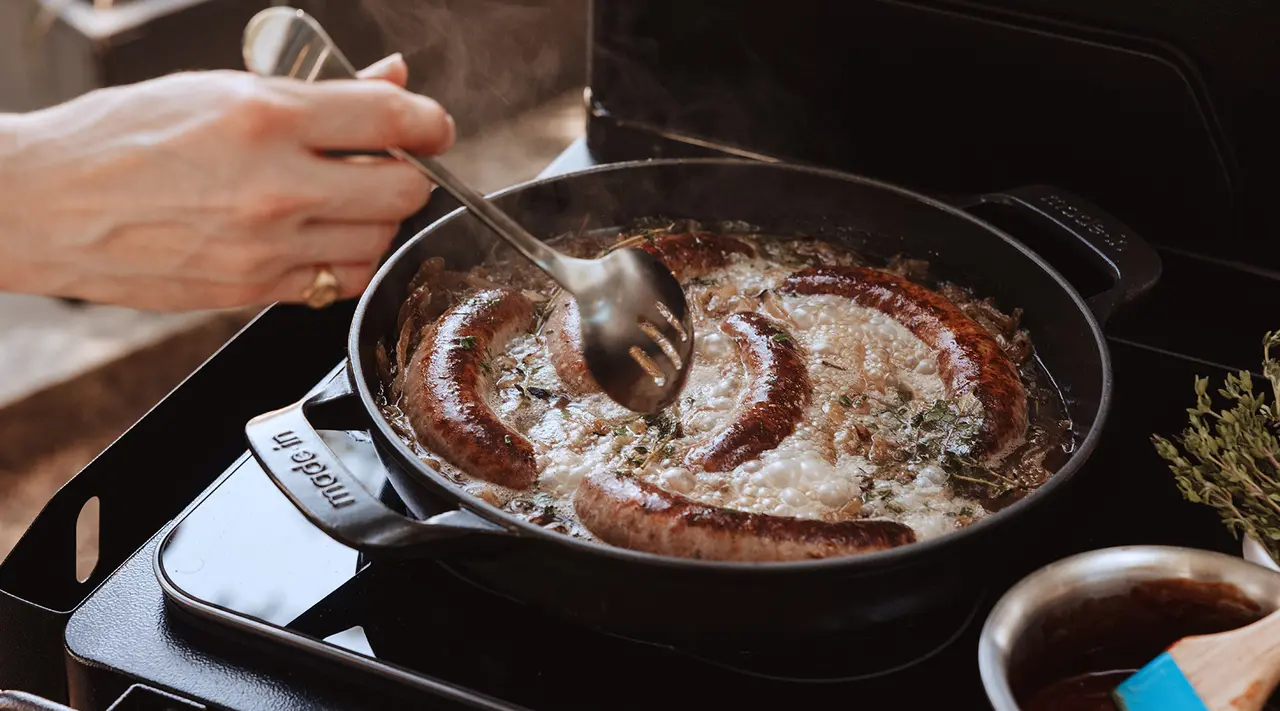
As mentioned above, you can braise in a variety of cookware, provided you choose something that retains and distributes heat evenly, and has a tight-fitting lid. There are, naturally, a few extra benefits to be gained from choosing a braiser specifically designed for the task.
Our Enameled Cast Iron Braiser has more surface area than a Dutch oven, which gives you plenty of room for searing meats and other proteins. The relatively short sides also make adding and removing your ingredients easier. And while stainless steel does work for braising, with any metal pan you’ll risk burning your braise on the bottom. Cast iron, meanwhile, provides more gentle heating. Similar to our line of Dutch ovens, our Enameled Cast Iron Braiser is super durable and able to handle high heat and extended cooking times. With proper care, it’ll last for generations.
Tips for Perfect Braising Every Time
If you’re new to braising, there are a few key tips to keep in mind to get perfect, tender results:
- Use the right cut of meat. Braising is most effective with tougher cuts of meat like brisket, chuck roast, and ribs. If you’re going with chicken, opt for dark meat like drumsticks or thighs, and keep the bones in.
- Sear or saute first. Searing meat or sauteing vegetables before you add liquid will lock in flavor and help you achieve the perfect balance of moisture and browning.
- Avoid using too much liquid. Less is more! With braising, you typically only want to partially cover your main ingredient. (If you completely cover it, your results will be saucier and more like a stew—not a bad thing, but not quite what we’re going for, either.) If you notice your braising liquid is evaporating too quickly, you can always add more.
- Season gently. Add salt, pepper, and other spices at the beginning of cooking, but know that those flavors will intensify as the braise goes on. With salt, especially, be aware that as the liquid evaporates, the dish will taste more salty. (If you’re using broth with salt in it, be extra mindful about seasoning.) You can always add salt at the end if needed.
- Be patient. The key ingredient in braising is time. You’ll get maximum flavor development with longer cooking time.
Ready to Cook?
Whether you’re braising a tough piece of meat or a big batch of beans, the low, slow cooking technique belongs in your repertoire. Check out our new Traeger c Made In Enameled Cast Iron Braiser, the ideal tool to make all the braises your heart desires.
