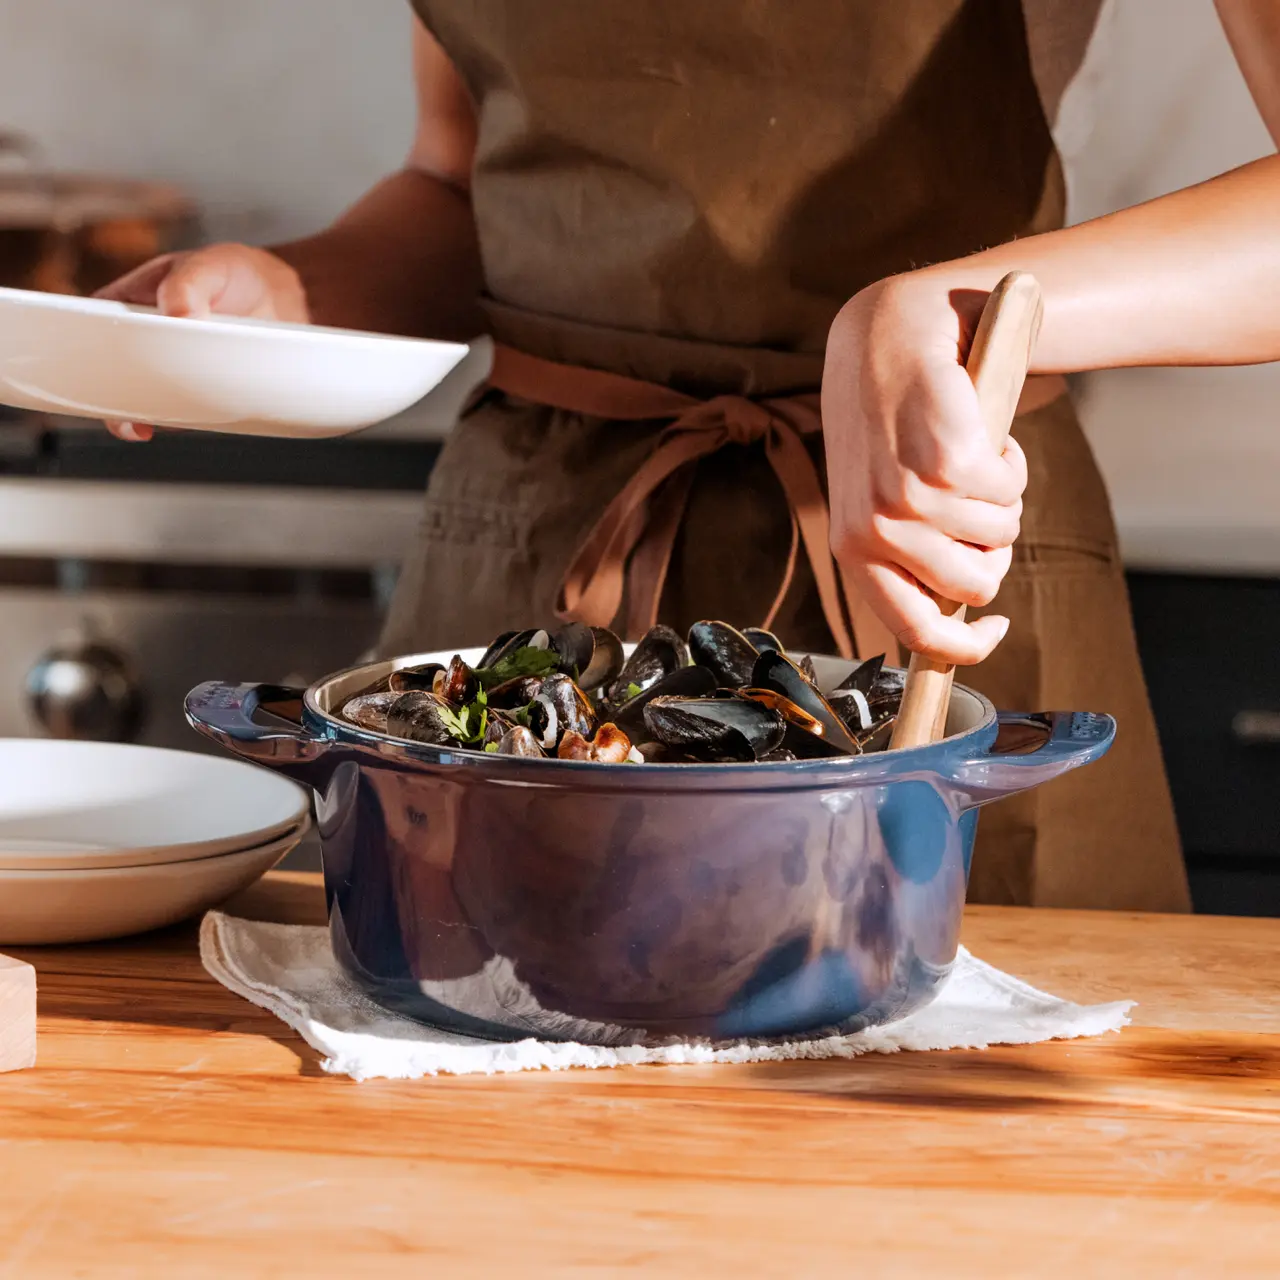
Cooking is inherently messy—spills, burns and accidents happen. Cleaning up may not be the most enjoyable part of the cooking process, but it’s one of the most important, especially for heirloom cookware like our Enameled Cast Iron Dutch Oven.
Considering this is one of the most versatile pieces of cookware, it's important to know how to clean correctly so you can enjoy this workhorse kitchen tool for years to come.
Here, we'll break down several methods for cleaning your Dutch oven, from basic washing to what to do when things get seriously stuck.
How to Clean a Dutch Oven
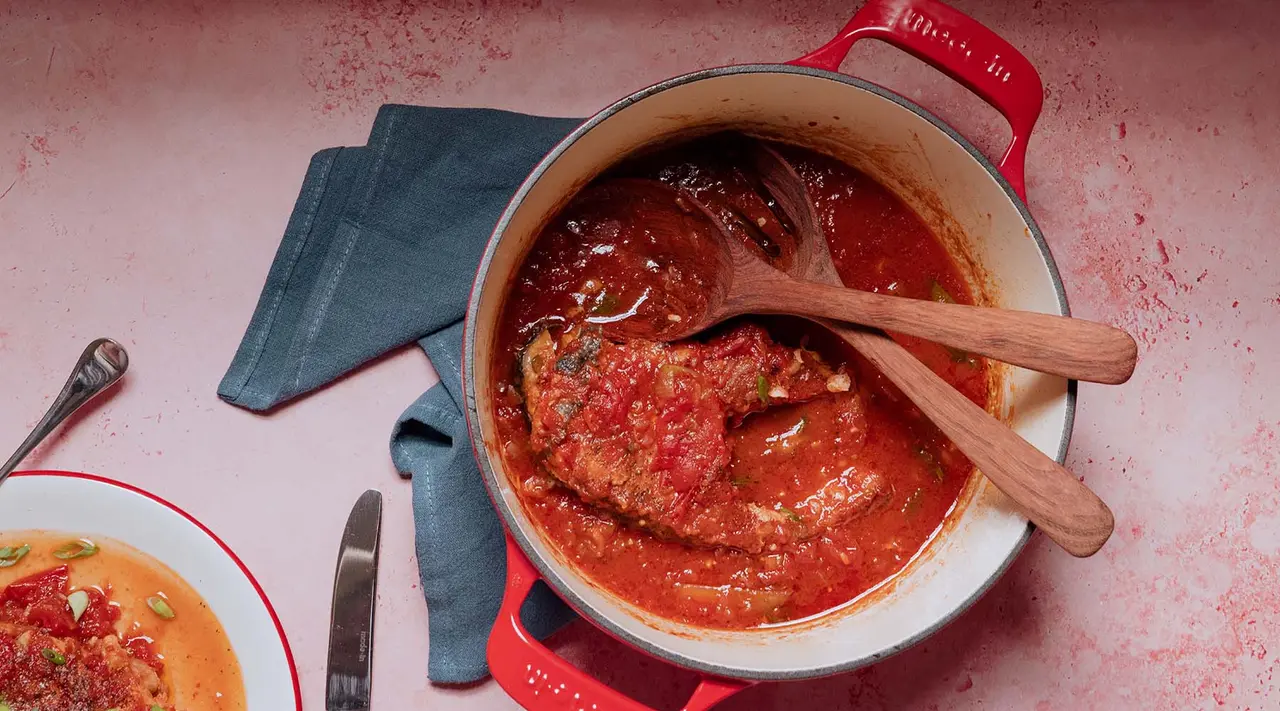
No matter which cleaning method you choose, there are some crucial things to keep in mind as you clean your Dutch oven. The first is to be gentle—you don’t want to scratch the enamel, especially on the interior. For this reason, don't use abrasives like steel wool and instead, opt for a soft dish sponge or a scrub brush.
Second, when you’re finished cleaning, make sure you let the Dutch oven dry fully before storing it. After going to the trouble of carefully washing it, you don’t want your Dutch oven to develop any rust. Many Dutch ovens feature an unfinished lip of the pan and/or the lid, exposing the cast iron core (which is highly susceptible to rust when exposed to water). To avoid rust, thoroughly dry with a dish towel. This will also prevent water-spotting on the enamel.
Keeping these things in mind, follow along with the steps below to properly clean your Dutch oven no matter what level of mess you’re dealing with.
Method 1: Soap and Water
Whether you’re braising, making soup, or cooking pasta, both the interior and exterior of your Dutch oven can get stained. Before cleaning any level of mess, allow your Dutch oven to cool thoroughly before placing it in the sink.
Step 1: Start by cleaning the exterior of your Dutch oven with hot, soapy water and a soft sponge.
Step 2: If this is a basic clean up, simply wash the interior of the Dutch oven with dish soap, scrubbing when necessary to remove stuck-on-residue.
Step 3: For more stubborn spots, allow your pan to soak in hot water with a couple drops of soap. Leave it for 15-20 minutes, allowing for the food to soften, then resume scrubbing.
Method 2: Professional Cleaner
For stains that just won’t budge, it’s time to get a little professional help. Bar Keeper’s Friend or other specially formulated cleaners are effective at removing stubborn stains, burns, or residue.
You can use Bar Keeper’s Friend in two ways: for all over cleaning, simply sprinkle it over the bottom of the Dutch oven and scrub with a damp sponge.
If you’re dealing with tougher stains, mix with a small amount of water to form a paste, and let that sit on the affected area for up to 30 minutes, then continue to scrub as usual. You may need to repeat this process several times.
Method 3: Baking Soda
If you don’t have a specialty cleaner handy, then baking soda is a solid option that you likely already have in your pantry. You can use it just as you would Bar Keeper’s Friend and make a paste to help scrub away burnt bits, but it’s also good for heavy-duty stain removal when it looks like the surface of your Dutch oven is beyond repair.
Step 1: For the most stubborn messes, bring 4 cups of water (or enough to fully cover the staining or residue) to a boil, then add 2 tablespoons of baking soda.
Step 2: Let the combination fizz away for a few minutes, occasionally stirring gently with a wooden spoon or other non-abrasive utensil. The ensuing reaction should cause caked on food to rise up from the bottom, or at least soften the residue enough for you to scrape it off with your spoon.
Step 3: Continue this process for about 5 minutes (or until cleaned to your liking) then remove from heat and dump out the water.
Step 4: If any stains still remain, use the paste method.
Baking soda will leave some residue behind, so make sure you rise out your Dutch Oven one more time before you dry it.
Ready to Cook?
Now that you know how to clean your Dutch oven, you can enjoy cooking in it with confidence. Remember, it’s a very durable piece of cookware, and even when stains look dire, it’s likely just a matter of elbow grease to get it looking good as new again.
To put your newly-learned skills to the test, try your hand at one of our favorite Dutch oven recipes. From warming spaghetti Bolognese to deep-fried apple cider donuts, any one of these is sure to put your cooking (and cleaning) skills to the test.


