There are few things more satisfying than biting into perfectly crispy chicken skin—deep golden brown, shatteringly crisp, and packed with savory flavor. What you’re aiming for is a balance: juicy, tender meat underneath a layer of golden, crackly skin. Here’s how to make that happen, step by step.
In this guide, we’ll show you exactly how to get crispy chicken skin (or any other skin-on, bone-in cut of poultry) at home using a few simple techniques and one key piece of cookware.
Start With the Right Cut

For this method, Creative Culinary Director Rhoda Boone recommends using bone-in, skin-on chicken thighs. Thighs are easier to find with the skin still on compared to breasts, and they’re naturally juicy and flavorful—making them perfect for this preparation.
Season in Advance

Once you’ve got your chicken, it’s time to season. Salt the thighs at least 40 to 60 minutes before cooking, and let them sit out at room temperature. This gives the salt time to penetrate and draw out moisture from the skin, which is key for maximum crispiness.
Even better, if you have the time to: season the chicken the night before and leave it uncovered in your fridge. This helps to dry out the skin even further, which will make it even crispier once cooked.
Pat the Skin Dry

Before you cook, pat the skin completely dry with paper towels. Moisture is the enemy of crispy skin as it causes the chicken to steam instead of sear, so this step is non-negotiable. Once the skin is dry, add a light coat of oil to prevent sticking. Adding oil isn’t strictly necessary, but it’s added insurance to prevent sticking.
Start Skin Side Down in a Cold Pan

This is where things get interesting: Instead of preheating your pan like you normally would, start with a room-temperature pan. Place the chicken skin side down in the pan before heating to medium.
This is one of the only instances we won’t suggest preheating your pan before adding your ingredients. The reasoning for this is chicken and other poultry skin contains a lot of fat, and by slowly bringing the heat up to medium, you allow that fat to render out gradually which helps the skin to crisp up evenly and prevents burning.
Use the Right Pan

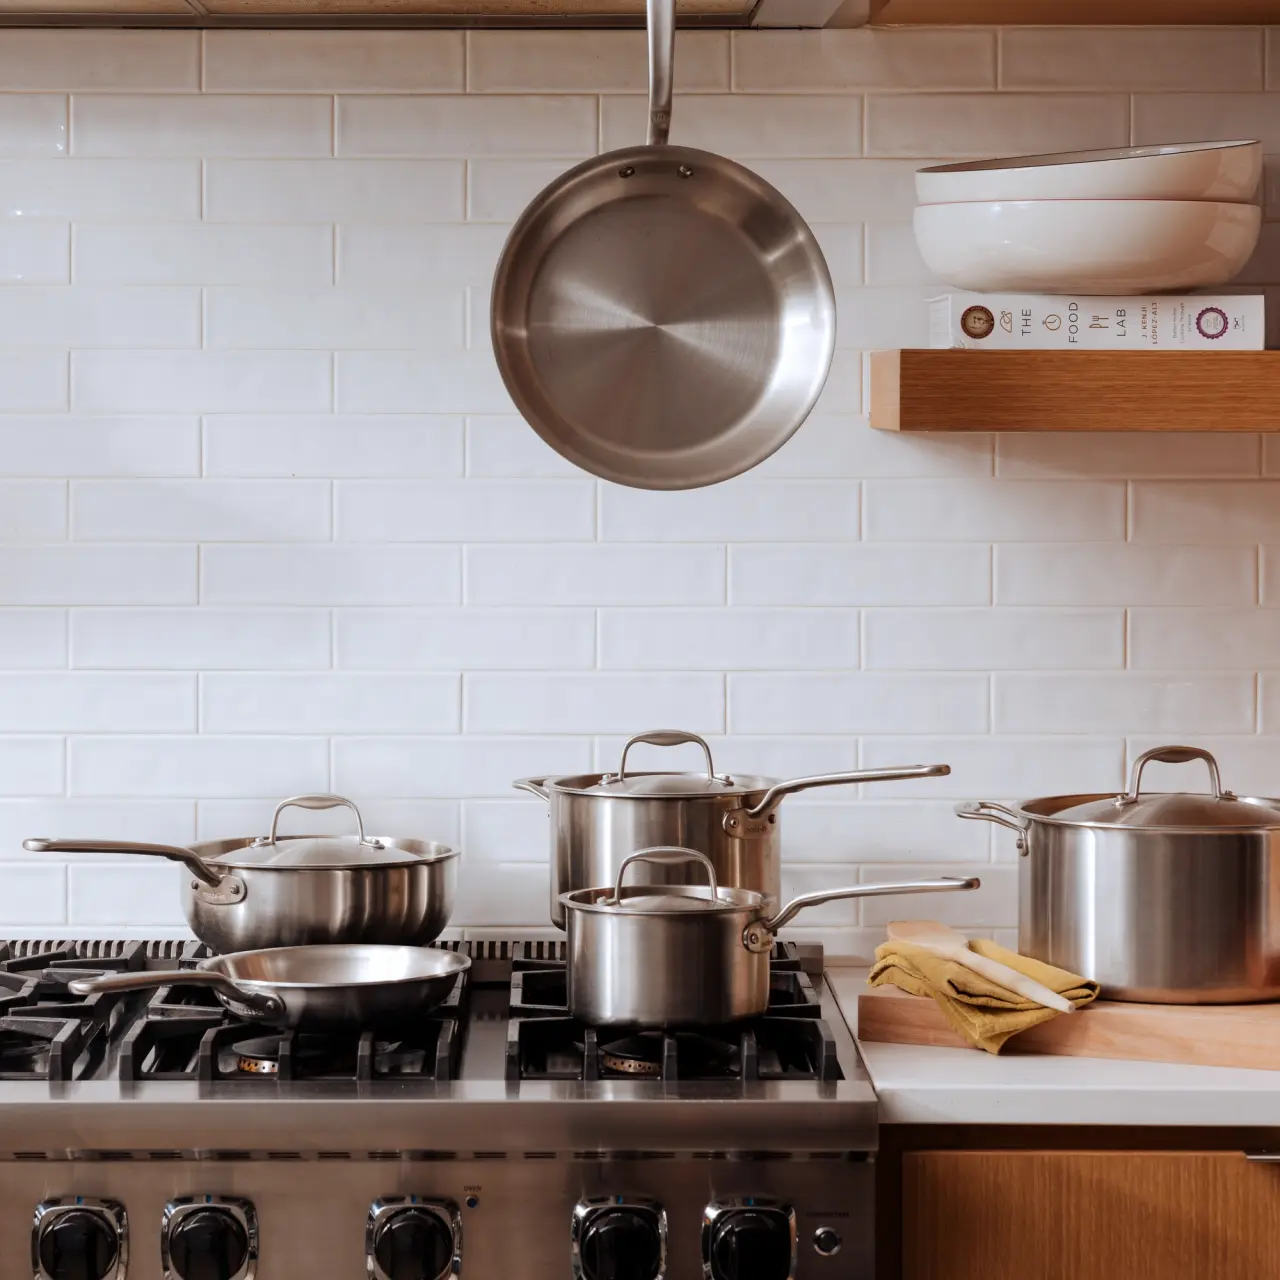
To get evenly crispy skin, you need a pan that heats evenly. We used our 5-ply Stainless Clad Frying Pan because of its excellent heat conduction and distribution. It ensures that every part of the chicken gets the same golden-brown treatment, and it helps cook the meat completely without hot or cold spots.
Finish in a 400F Oven

Once the chicken is golden and crispy on the stovetop (typically around 10-15 minutes—let it cook undisturbed), flip it skin side up and transfer the whole pan to a 400F oven to finish cooking. You can finish on the stove if you'd like, but this final blast of dry heat will lock in the crispiness while bringing the chicken to a safe internal temperature.
Cook until the chicken reaches 165F in the thickest part of the thigh—about five minutes in the oven. A digital meat thermometer is the best tool for checking doneness.
Final Touches

When the chicken is out of the oven, let it rest briefly. We served ours with a bright, briny, lemon-parsley-caper pan sauce—spooned onto the plate first instead of over top of the chicken—to keep the skin crisp. Place the chicken on top, garnish with fresh parsley, and serve.
Ready to Cook?
You don’t need to deep fry, add breading, or pull out any fancy tricks to achieve crispy, crackly chicken skin. All you need is a smart technique and the right pan to get chicken that’s juicy on the inside, impossibly crispy on the outside, and ready in about 30 minutes.
Looking for more tips on stovetop-to-oven cooking? Explore our Stainless Clad Cookware Collection and see why chefs trust Made In in their kitchens every day.


