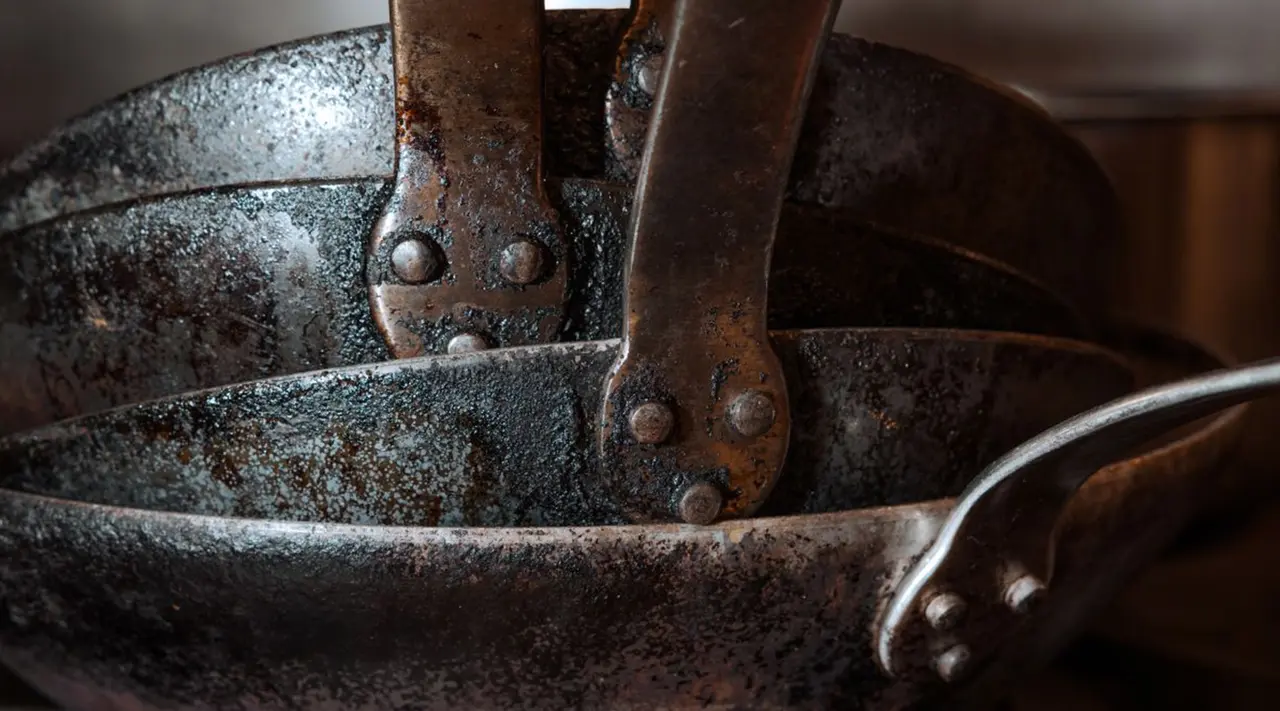
If you’ve been using your stainless steel pan on a weekly (or even daily) basis like us, it’s probably starting to look a little extra well-loved, whether from discoloration, burnt-on bits of food, or scorched bottoms. Some of these can seem intimidatingly permanent—but luckily, they aren't.
The right tools and cleaning methods can have your stainless steel skillet looking brand new (or at least close to it). Below, you'll find our expert tips for addressing some of the most common messes and stains you might encounter when cooking with stainless steel.
How to Clean 3 Levels of Mess in Stainless Steel Pans
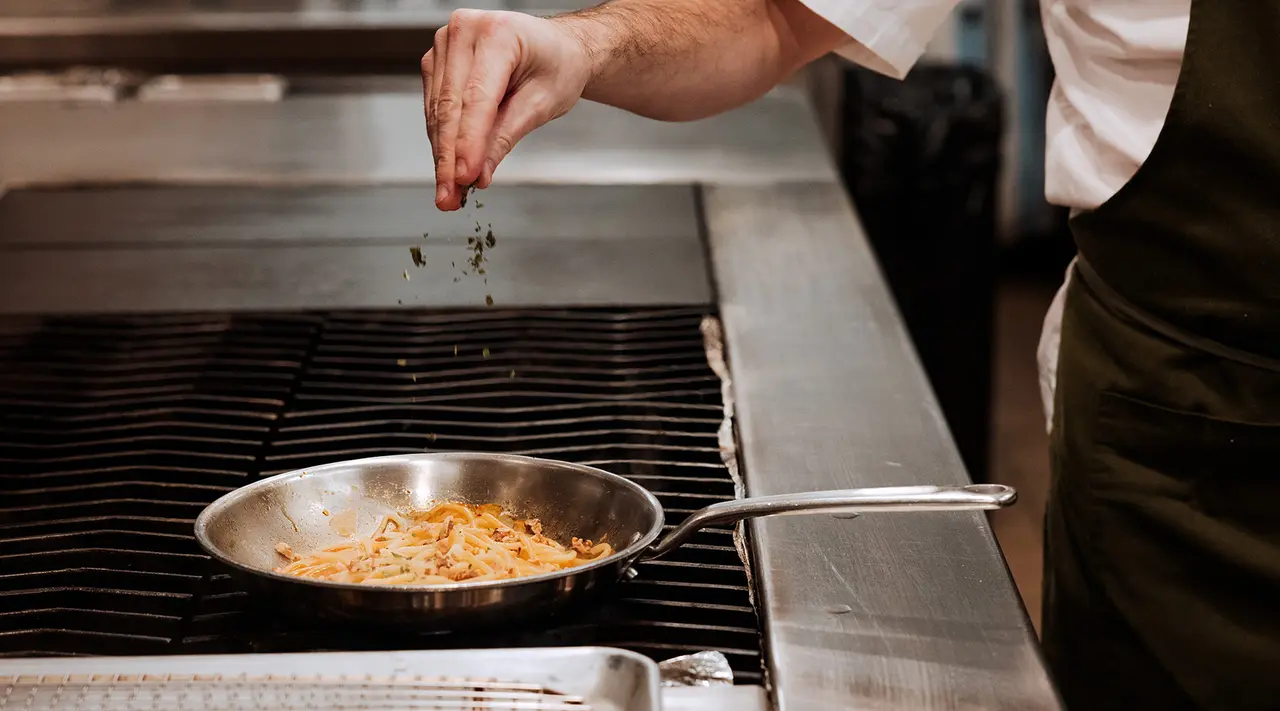
While some messes require a few more tools and a little more elbow grease, this isn’t always the case. We’ve organized our tips for cleaning stainless steel pans by levels, ranging from easier-to-clean messes to tougher ones.
Level 1: Used Pans
For simple, everyday messes—i.e. grease and fond left behind from simple stir-fries or sautéed dishes—you probably won’t need more than a sponge and some warm, soapy water for cleaning.
Step 1: Let it Cool
If you’ve just cooked with your pan, allow it to cool first before attempting to wash it in cold water, as running a hot stainless steel pan under cold water can cause thermal shock, causing the pan to warp.
Step 2: Scrub
This step is pretty self-explanatory. Give your pan a quick, gentle scrub with warm water and dish soap to remove extra oil or bits of food, then rinse and dry off with a clean dish towel.
Level 2: Discolored Pans
Despite the name, stainless steel pans can, indeed stain—or, more accurately, become discolored over time and with grease and oil buildup. Luckily, this discoloration is rarely permanent. Here’s how to tackle it.
Step 1: Quick Rinse
First, give your pan a good scrub with hot, soapy water to try and remove as much of the mess as possible. This works to remove some of the less stubborn stains, as well as gives you better access to the stains that require more elbow grease.
Step 2: Use Stainless Steel Cleaner
Once your pan is as clean as you can get it with soap and water, sprinkle on a powdered cleaner (like our Stainless Steel Cleaner or another powdered kitchen cleaner) and add just enough water to make a paste. Using a new sponge (or an old toothbrush), gently rub the paste all over the inside, as well as the bottom, of the pan.
Step 3: Scrub
Scrub the inside and bottom of your pan until you’ve removed all or most of the discoloration. Depending on how stained your pan is, you may need to spend a few minutes on this. To give yourself a bit more leverage, lay your pan on top of a towel on the countertop or a cutting board before scrubbing it.
Step 4: Dry Well
Once your pan is looking brand new, give it a good rinse and then wipe it dry before storing it.
Tip: If your pan has a rainbow stain on it—AKA “heat tint”—there’s a specific way to remove it, which we cover in our dedicated guide.
Level 3: Scorched Pans
So you got a little distracted while making your pan sauce, and it’s turned the bottom of your pan into a blackened disaster. Don’t worry, we’ve been there—and we know how to help.
Step 1: Boil Water
Start by pouring a little bit of water into your pan—just enough to cover the bottom, about a quarter cup (more for larger pans)—and let it come up to a boil.
Step 2: Scrape
Using a wooden spoon or another non-abrasive utensil, start gently scraping at the scorched parts of the pan. It may take a while to scrape all of it up.
Step 3: Add Vinegar
For seriously scorched pans, boiling water might not be enough. If this is the case, we recommend adding a 50/50 mix of water and vinegar to your pan. Bring that mixture to a boil, and return to scraping out your pan. Once it’s as clean as you can get it, give it another quick rinse with soap and hot water before wiping dry.
Other Cleaning Methods
If none of these methods work for you, there are a few more approaches you can take. We’ve written about them at length in our dedicated guide to cleaning burnt pans.
Additional Stainless Steel Maintenance Tips
see this post on tiktok
A good stainless steel pan is a workhorse that will last you for years. To help extend the lifespan of your pan for as long as possible, here are a few tips on how to care for it, as well as what to avoid.
Tip 1: Wait to Salt
Adding salt to your pan before it’s hot, like when salting water for pasta, can lead to pitting, or small calcium deposits in the surface of your cookware. While pitting doesn’t affect the performance of your pan, it is irreversible—but luckily, easy to prevent.
Simply wait for your pot or pan (and the ingredient inside of it) to get nice and hot before adding salt—i.e., wait for pasta water to start boiling before salting it. And while we're add it, you're probably not adding enough salt to your pasta water. It should taste like the sea!
Tip 2: Dry and Store Right Away
While stainless steel pans are rust resistant, leaving a pan with water still clinging to it can still lead to issues like water spots, which don't affect performance but look unsightly (and can cause discoloration down the line.) Make sure to give your pan a good wipe before storing it.
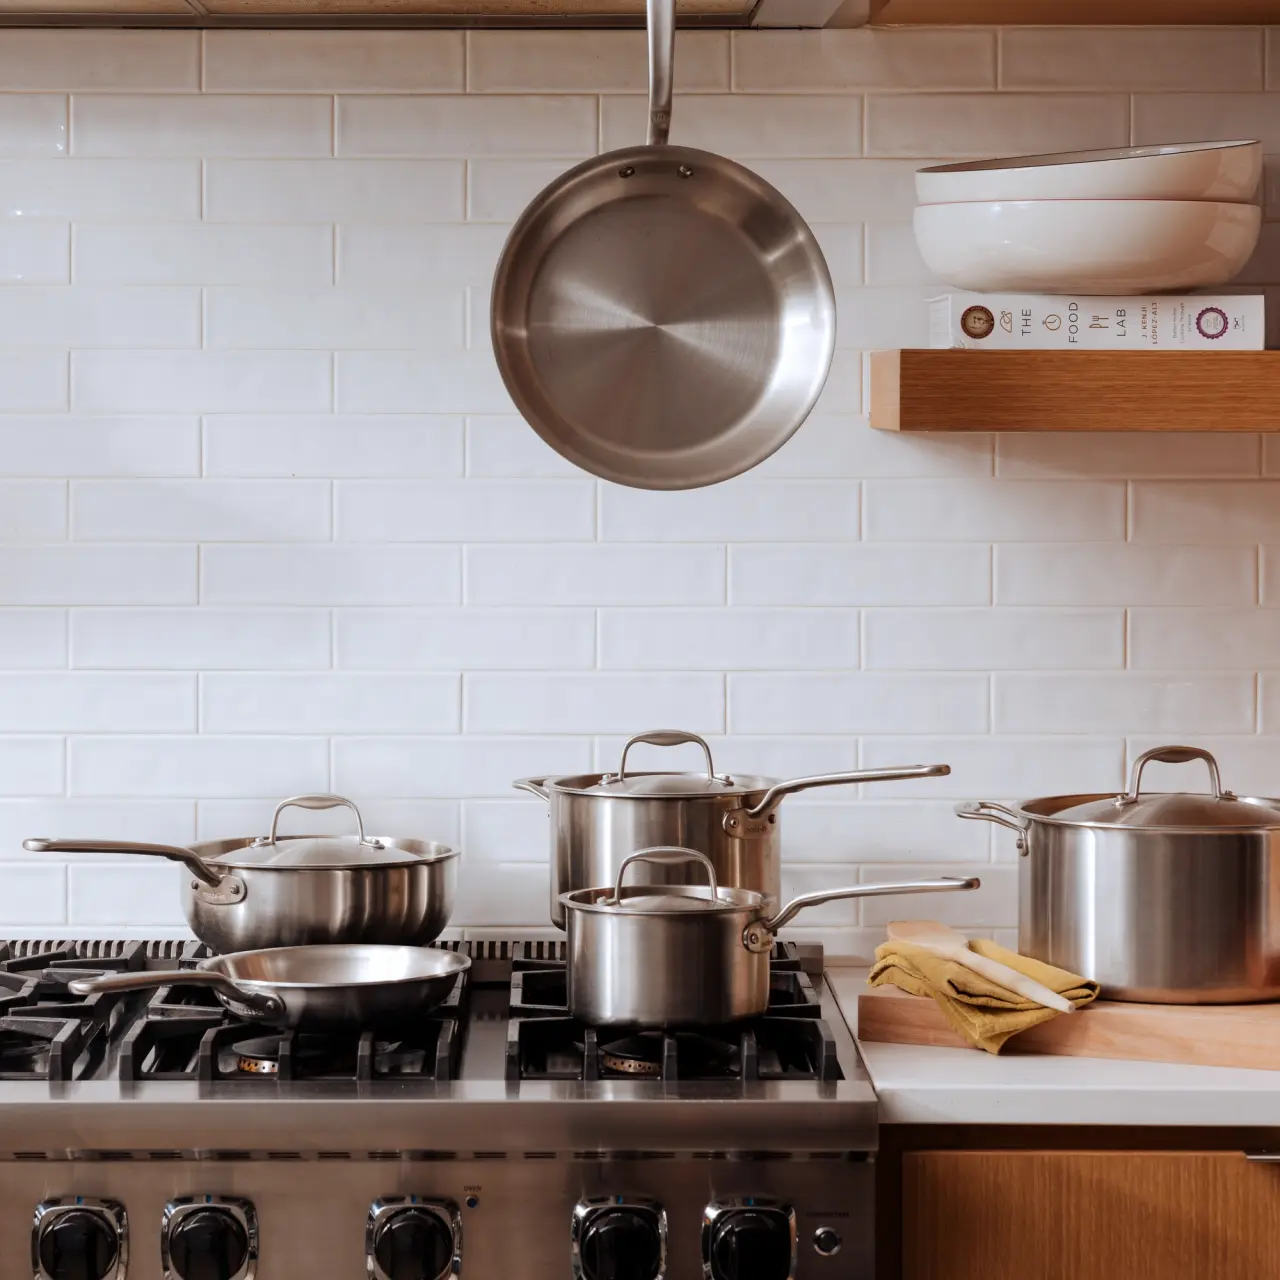
As for cookware storage, we recommend hanging your pots and pans if possible. If you're stacking them, make sure you're layering a Pan Protector, trivet, or dishtowel between each pan to prevent scratching or other damage.
Tip 3: Let it Cool Off
Like we mentioned earlier, sudden temperature changes can create something called thermal shock, which can cause stainless steel cookware to warp. Never rinse a hot pan with cool or cold water—either wait for it to cool, or use hot water to clean.
Ready to Shop?
Now that you’re a professional at cleaning stainless steel cookware, maybe it’s time to outfit your kitchen with even more Stainless Steel. If you really want to commit, you can invest in one of our Stainless Clad Sets, with your choice of 6, 10, or 13 pieces of our world-class, 5-ply Stainless Clad and Non Stick-coated Stainless Clad pots and pans.


