So you’ve just gotten your first carbon steel pan, and you’re pumped to finally experience this chef-loved, naturally non stick piece of cookware for yourself. Don't turn the burner on just yet—if you’ve opted for an unseasoned version, your pan isn't non stick yet, and won't be until you lay down those first few layers of seasoning, aka oil that's been polymerized (or baked) onto the surface of your pan.
Here’s how to season your carbon steel cookware before using it, why you need to do so, as well as some tips on how to re-season it as you continue to cook with it.
What Is Seasoning, and Why Is It Important?

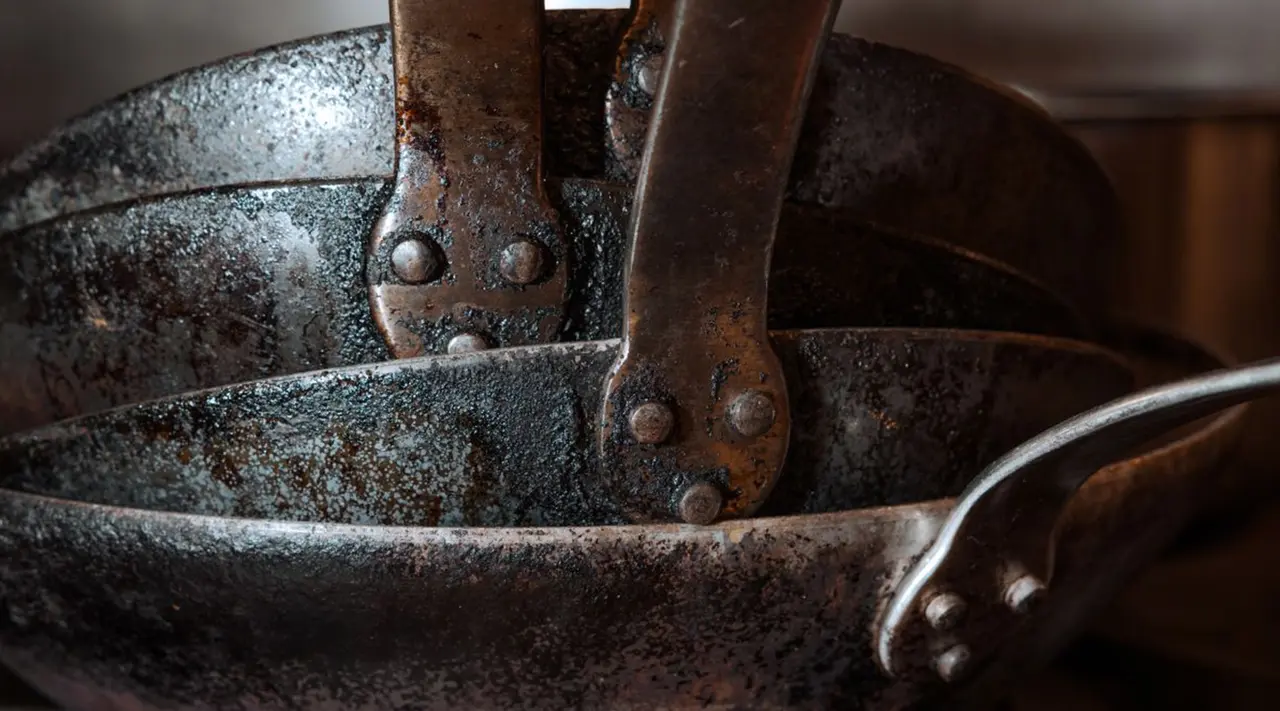
One of the major selling points of carbon steel is its ability to develop a naturally non stick patina, just like the one on an unfinished cast iron pan, as an alternative to coated non stick cookware. And while carbon steel has other wonderful properties—a lightweight build, unmatched durability, and excellent heat retention, to name a couple—the coating it builds up over time is essential to ensuring it lives up to its reputation.
Not only does this coating keep your veggies and proteins from sticking while you sear them at ripping high heat, but it’ll also keep the metal—made from an iron-rich alloy—from rusting.
How to Season Carbon Steel Pans
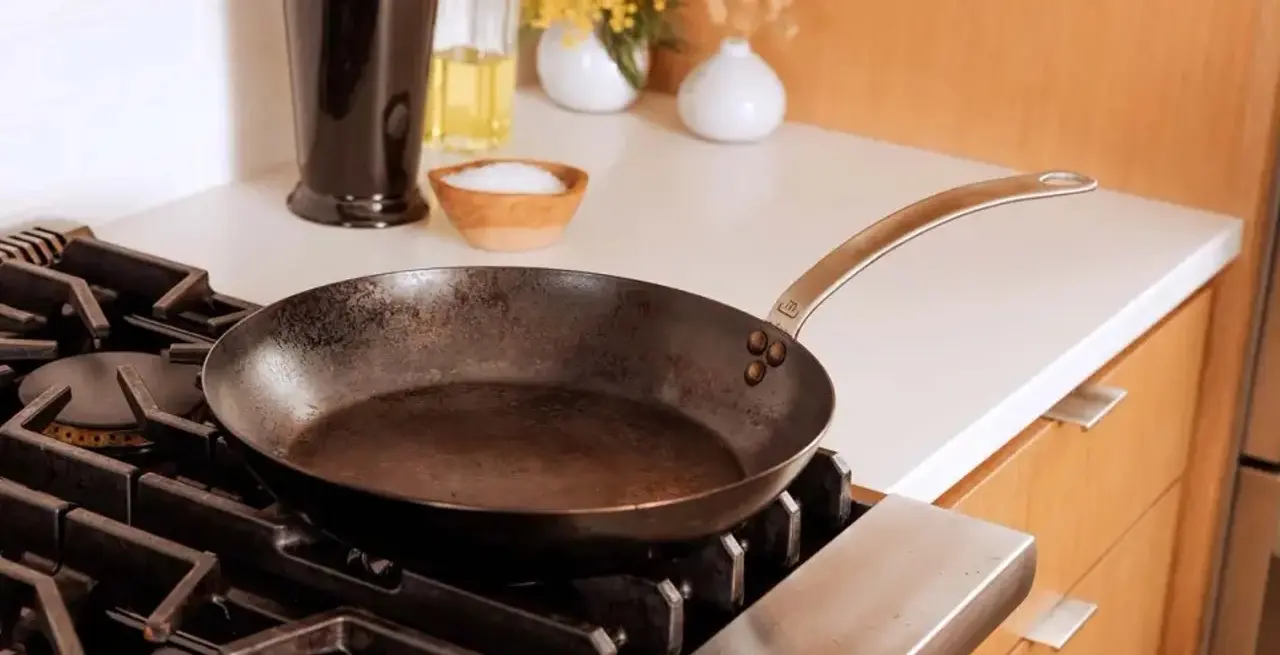
You have a couple of options for seasoning your carbon steel pan: on the stovetop or in the oven.
Be sure to clean your pan completely before seasoning—our unseasoned Carbon Steel comes with a thin layer of vegetable oil used to protect the pan during transit, which needs to be removed prior to seasoning.
For both of these methods, you’ll want a clean, dry pan and a small amount of either our Seasoning Wax or a flavor-neutral oil with a high smoke point, such as grapeseed (our favorite) or canola. You’ll also want a paper or dish towel to apply the oil with, and a sheet pan lined with aluminum foil to catch any drips.
Again, you don’t need to worry about this process if you’re using a pre-seasoned pan, like our seasoned Carbon Steel Frying Pan or fan-favorite Griddle—though you can apply either of these methods whenever you need to re-season your pan.
Stovetop Method
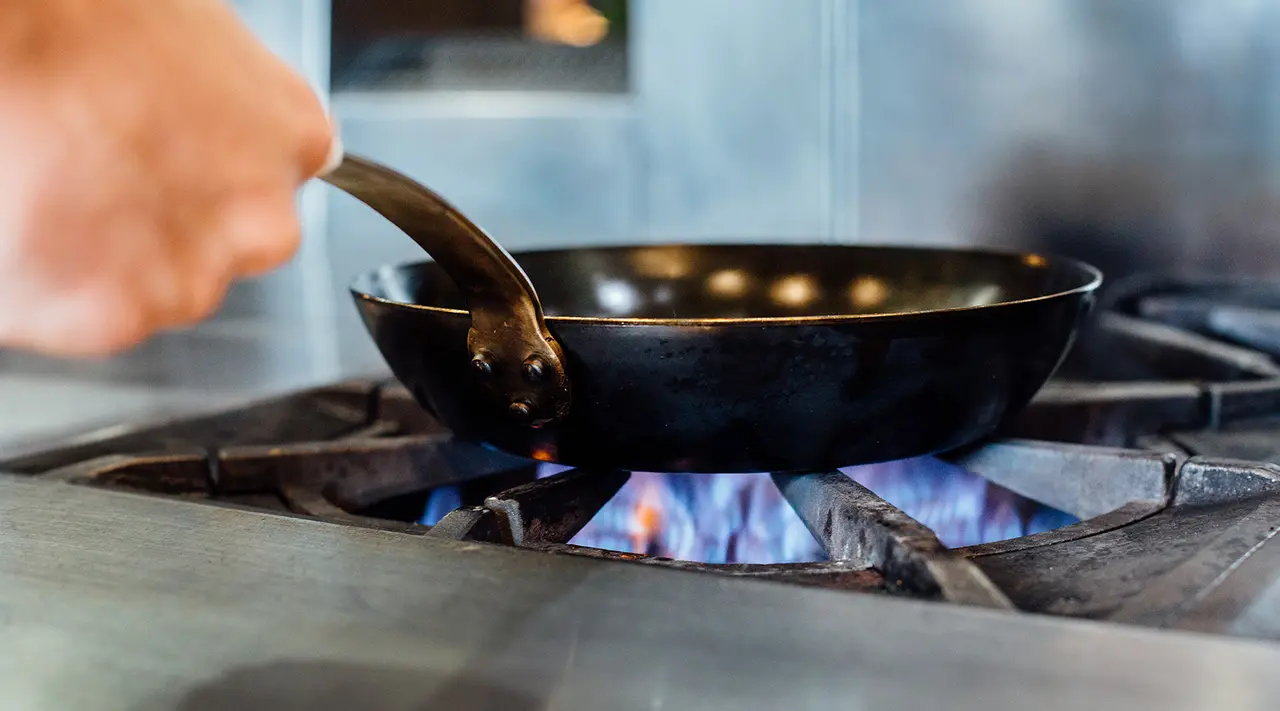
The stovetop method is a quick, easy alternative to the oven method—note that this works best for gas stoves, while induction and electric stovetops may find more success with the oven method below.
- Add a few drops of oil to the pan, then use your paper or dish towel to rub a light layer of oil on the inside of the pan.
- Turn the burner up to medium-high heat. After a few minutes, turn the heat up to high. Rotate the pan every minute or so to make sure it’s evenly heated.
- You may start to see beads of oil on the pan’s surface: using an oven mitt or heat-proof gloves, use a paper or dish towel to wipe these away.
- Your pan will eventually begin to smoke—at this point, let sit on the heat for a few more minutes to build up the seasoning. Finally, turn off the stove and allow your pan to cool completely before using.
Oven Method
This is our preferred method for seasoning a carbon steel pan. Note that seasoning in the oven takes upwards of an hour (including cooling time), so make sure you set aside plenty of time.
- Line a sheet pan with aluminum foil and place it on the bottom rack of your oven to catch any oil drips throughout the process. Clean and fully dry your pan.
- Next, preheat your oven—the temperature should be the same as the smoke point of your oil. For grapeseed and our seasoning wax, this is 450F.
- Place your clean, dry pan on the stove over a low flame. Add a few drops of oil, then rub it all over the inside of the pan in a thin layer using a paper or dish towel.
- Turn off the heat, then carefully remove the pan from the stove and place it upside down inside your preheated oven, with the rim placed on the oven rack above the rimmed baking sheet to catch any drips. Leave in the oven for one hour.
- After an hour, turn off the oven and allow your pan to cool completely before using it to cook.
Which Method Is Better?
While we stand behind both of these methods, we do slightly prefer the oven method. While time-consuming, the oven provides a more even heat than the stove, therefore seasoning your pan more thoroughly (and allows you to fully season the exterior, as well).
How to Maintain Seasoning and Care for Your Pan
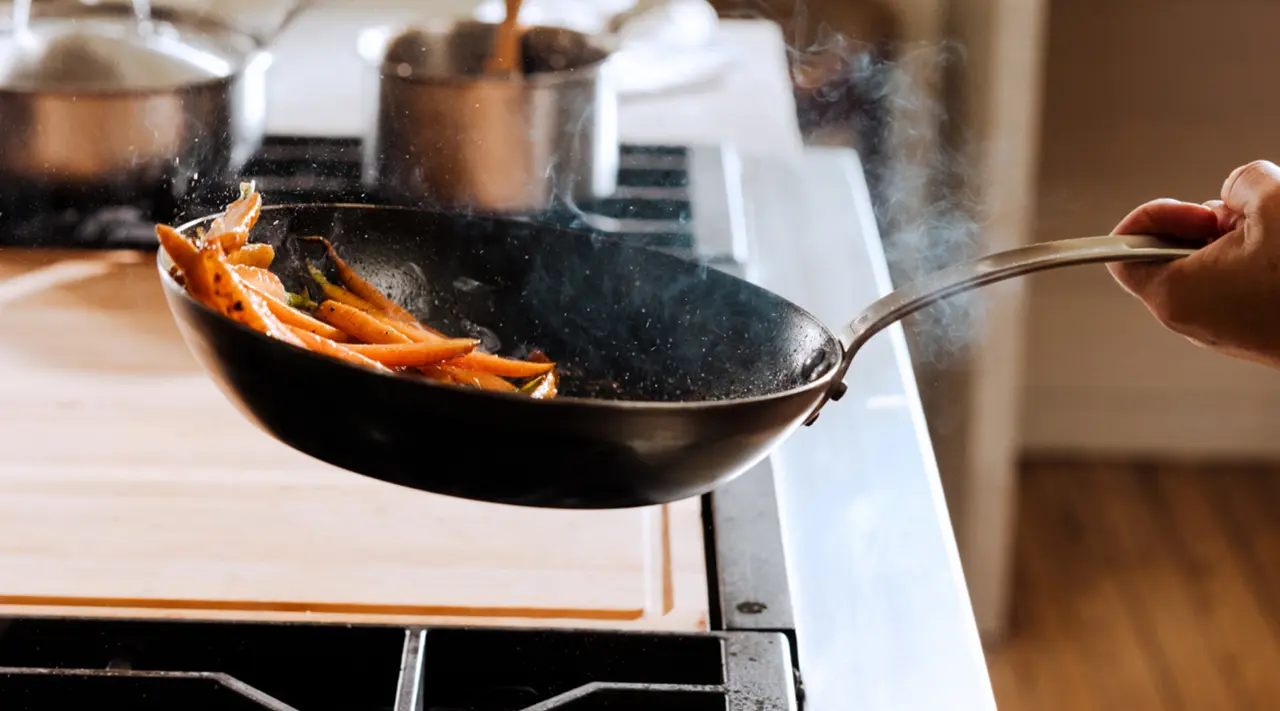
Once you’ve gotten the hang of seasoning your carbon steel cookware, you can pretty much reseason it whenever you need to—such as when you notice it getting a bit sticky, or after cooking with an acidic ingredient that stripped parts of your seasoning.
That being said, however, it’s much less cumbersome and time-consuming to maintain those layers of seasoning than it is to build them back up. Here are some of the best ways to do that.
- Try to avoid cooking with acidic ingredients like tomatoes, wine, or citrus, as these can start to strip the seasoning and produce off flavors. Carbon steel is a reactive material, so acid will react with the metal of the pan.
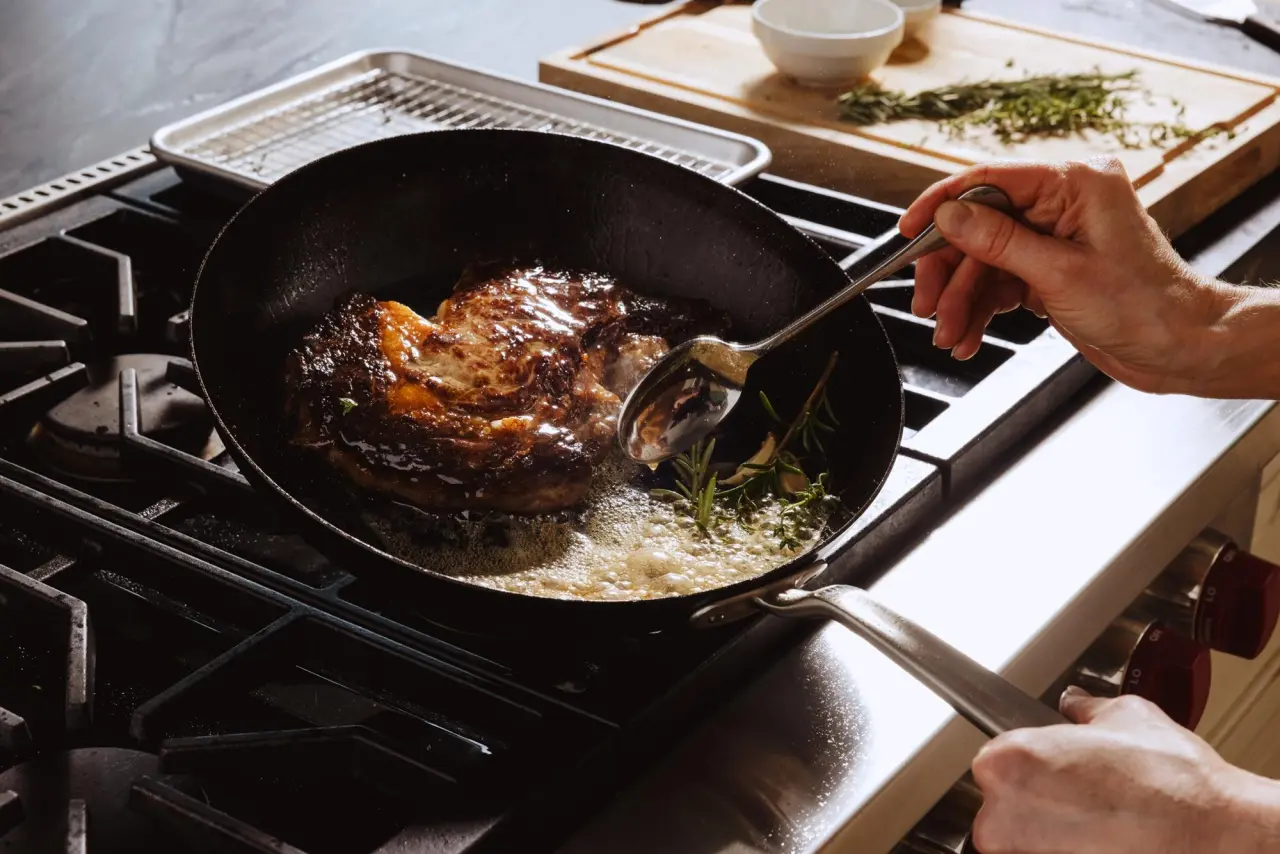
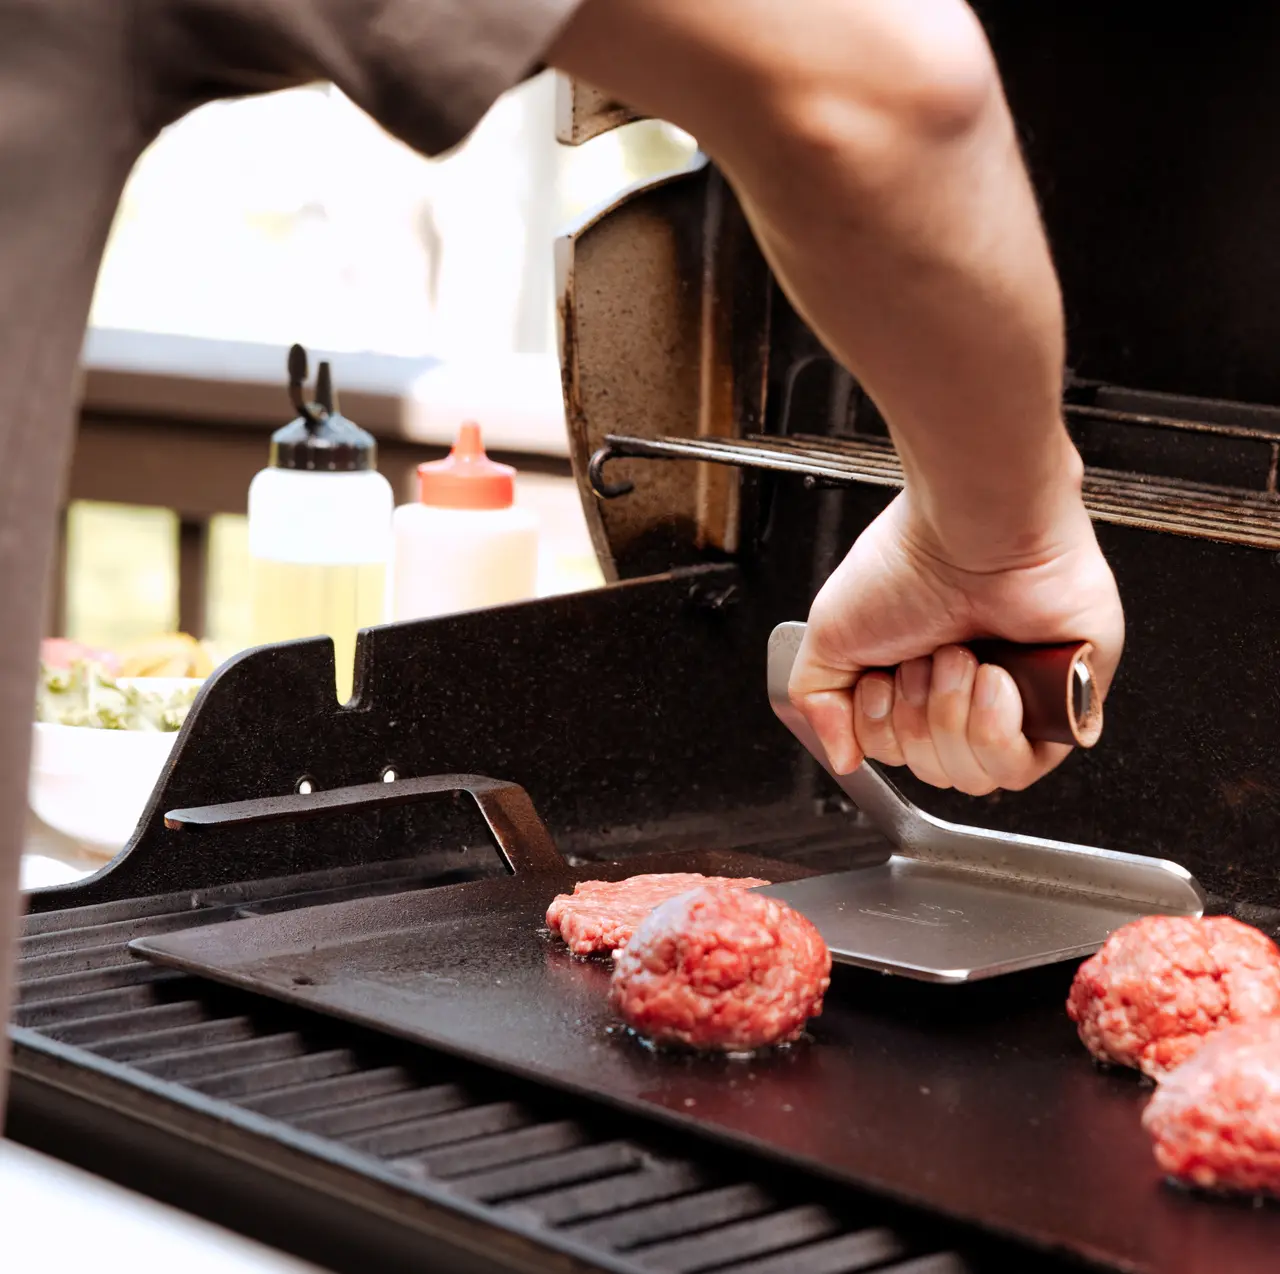
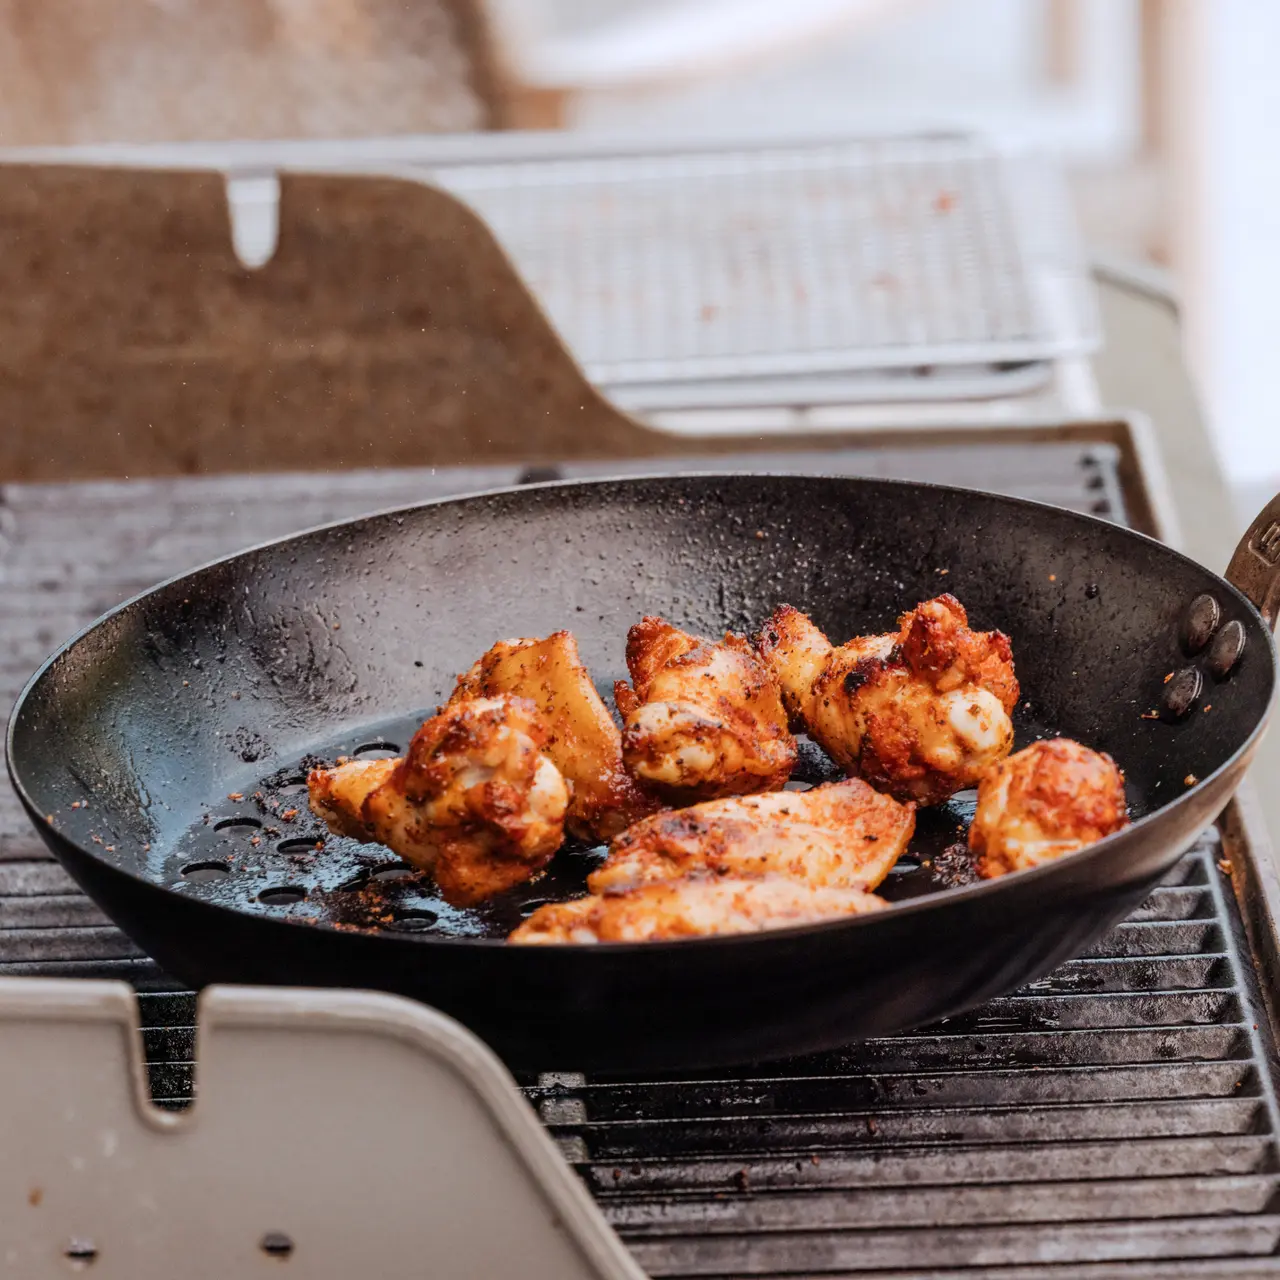
- Do try to cook lots of fatty foods in your pan, especially after the first initial seasoning—like burgers, bacon, or steaks—as this will help kick-start and build up the initial seasoning layer you've put down.
- Don’t use steel wool or similar abrasive materials for cleaning your pan, unless you’re trying to re-season your pan from scratch.
- Keep your pan away from humidity or other moist environments, which can cause your pan to rust. Try to also avoid soaking your pan in water for the same reason, and make sure to dry thoroughly before storing.
Ready to Shop?
Even with a slightly more thorough user manual than non stick or stainless steel, carbon steel pans are well worth the investment of time and energy—particularly if you pick up one of our Carbon Steel Frying Pans. That dark, glossy patina will continue to build up over time, making for beautifully seared steaks, chops, and chicken breasts with minimal clean-up—and a beautiful-looking pan to boot.
