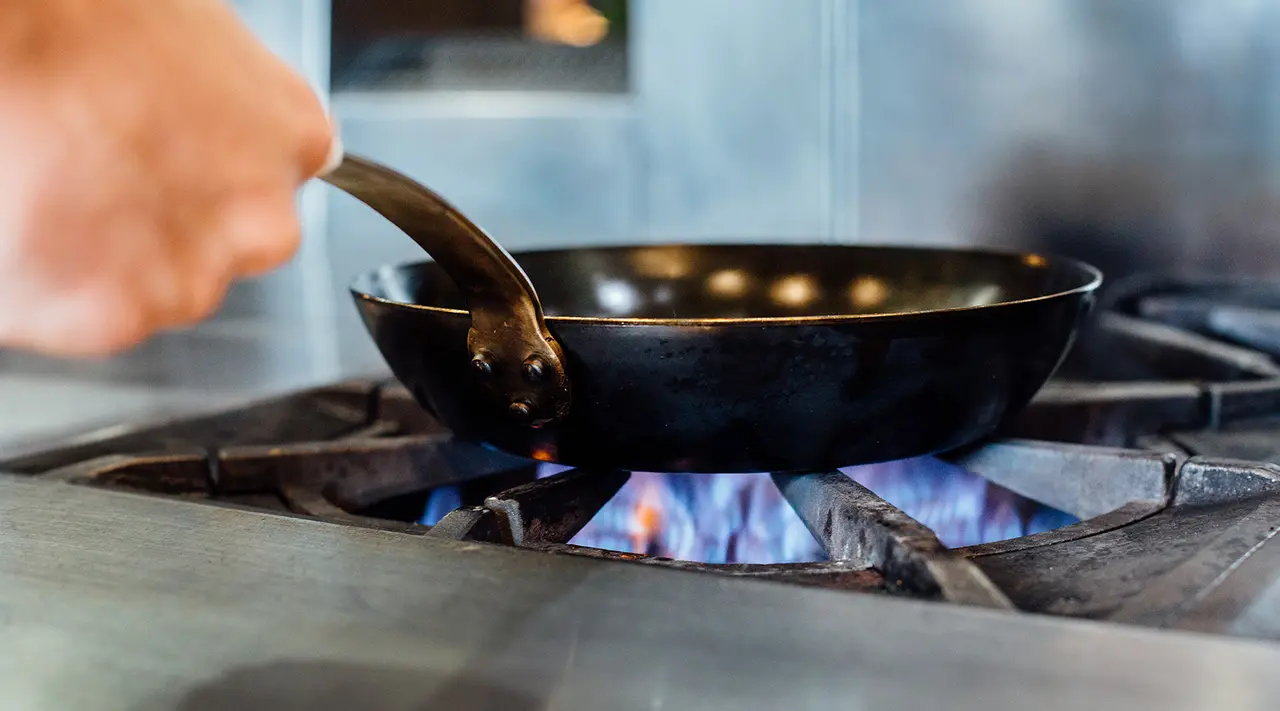
The key to getting the most out of your carbon steel pans for years to come is to maintain its seasoning layer, which provides a naturally non stick layer that can handle even the most delicate ingredients. When you notice cooking isn't going as smoothly as it has in the past, don’t worry—your pan is likely in need of a reseasoning session. Here’s everything you need to know about reseasoning your carbon steel pans.
When Should You Reseason Your Carbon Steel Pan?
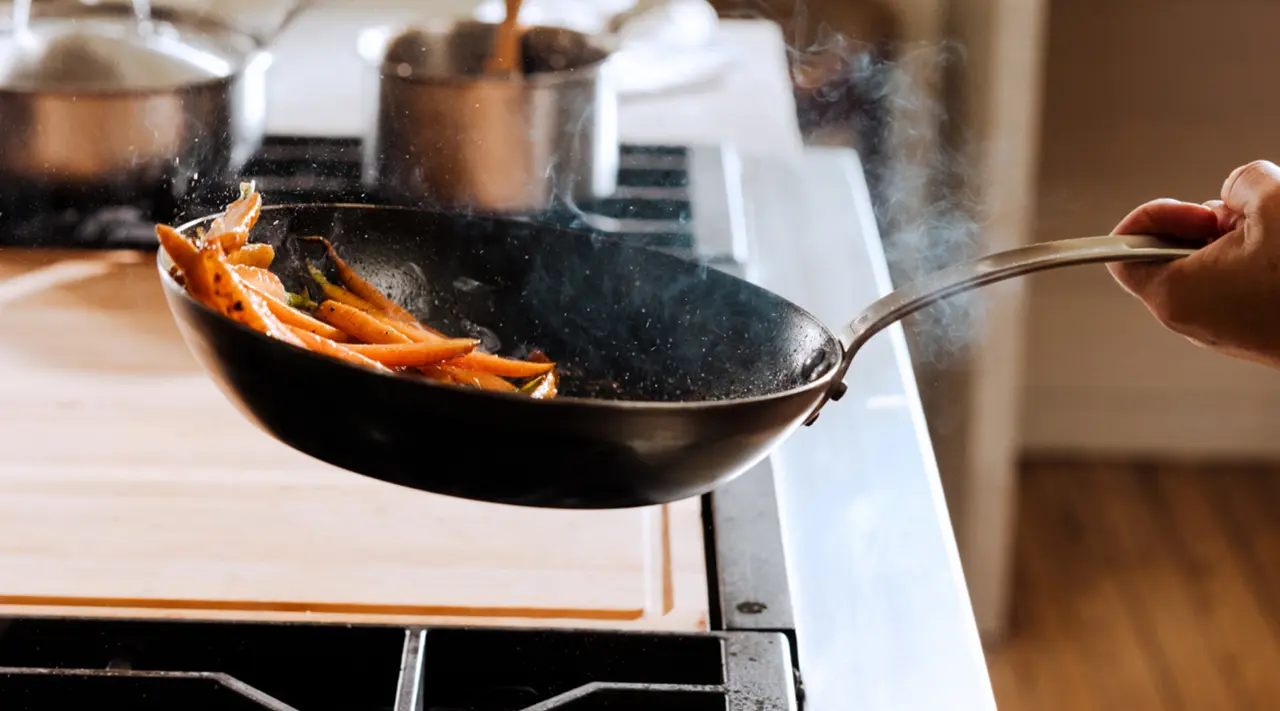
Once your pan has been used for a wide variety of meals and has built up a thick patina, it’s common for your pan to need a reseasoning session, which involves stripping it back down to that base layer.
While there’s no hard and fast rule to when you should reseason, you'll likely run into one of three common issues: rust, a dirty pan that needs a thorough cleaning, or a patchy first layer of seasoning that has resulted in the development of uneven layers of seasoning.
Seasoning is the process of purposefully oxidizing layers of oil onto the surface of your pan to provide a protective, non stick layer (also called a "patina") between the metal surface of your pan and the ingredients it comes into contact with. It not only provides a slick cooking surface to work with, but keeps the high iron contents of your pan protected from rust and corrosion.
How to Reseason Your Carbon Steel Pan
No matter the reason you're looking to reseason your carbon steel, the process stays functionally the same.
Reason #1: Your Pan is Rusty from Disuse
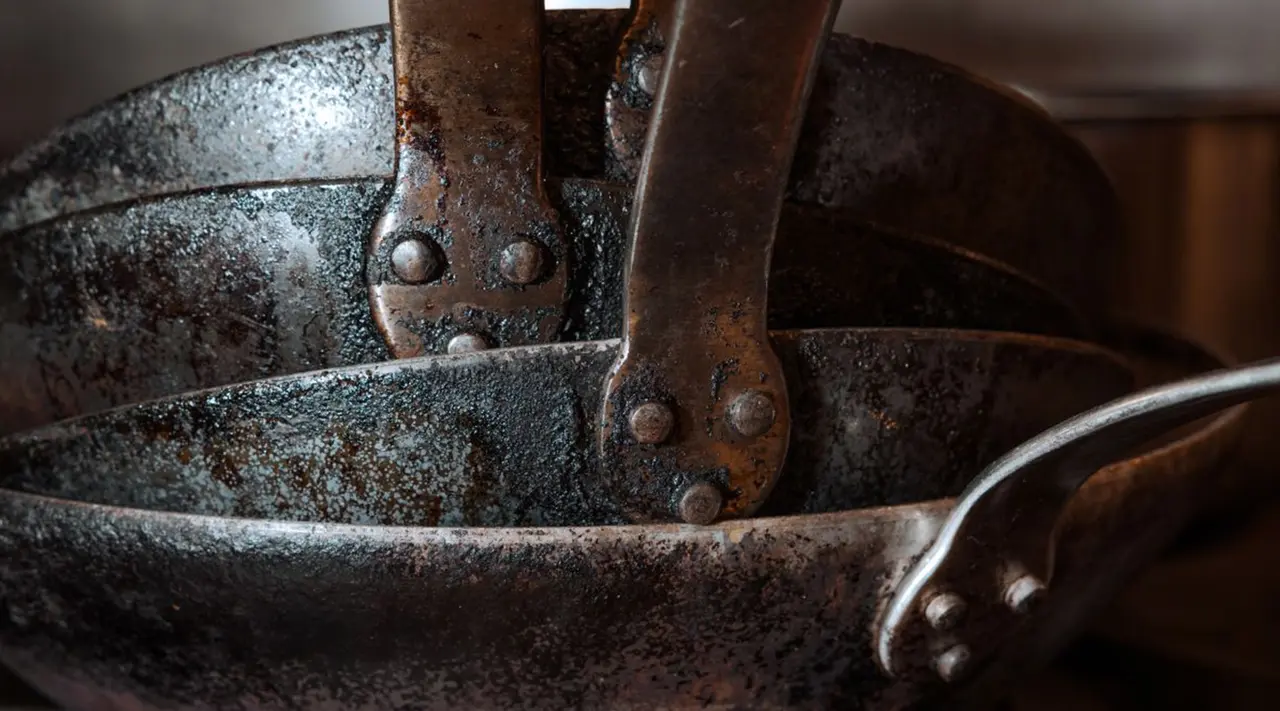
If you stuck your pan in a cabinet or drawer and promptly forgot about it, you may pull out a rusty pan instead of a clean one the next time you reach for it. Since our carbon steel is made of 99% iron, rust is completely natural after being exposed to water for long periods of time. This most commonly happens after it’s been cleaned and wasn’t completely dry before being put away, but it can also occur if you’re living in a humid climate.
Follow along with our video on restoring rusty carbon steel, or read on for step-by-step instructions. We recommend the stove method for reseasoning, but the oven method works just as well.
- Scrub off the rust with dish soap, warm water, and the abrasive side of a sponge. Do not use something super abrasive like steel wool for this, it will backfire and cause more rust.
- Fill your sink with a 50/50 solution of white vinegar and water, then fully submerge your pan (note: no need to submerge the handle!).
- Let soak for 30 mins.
- Drain sink and wash your pan out with soap and warm water.
- Create a paste with baking soda and vinegar on the bottom of your pan.
- Using steel wool, fully scrub the paste into all sides of the pan.
- If there’s seasoning or rust on the handle, apply a small amount of vinegar onto the steel wool and scrub. You can also use our Stainless Clad Cleaner.
- Wash and fully dry your pan. Both the rust and seasoning should be fully removed, leaving behind the bare metal of the pan.
- To ensure your pan is 100% dry before seasoning, heat your empty pan on the stove over low heat to evaporate any remaining water droplets. Water trapped below a layer of seasoning will cause more rust.
- Add a small amount of Seasoning Wax or a neutral oil (we recommend grapeseed) to the pan and buff into a thin layer all over the interior and exterior of the pan with a paper towel. Remove any excess with a clean paper towel.
- Heat the pan on the stove over low heat and slowly increase to a medium-high temperature.
- When the pan starts to smoke, leave it for two minutes. You can carefully rotate it over the burner to ensure every corner of the pan gets seasoned, but it’s not necessary.
- Allow the pan to cool completely. It should change color and darken as it cools.
Reason #2 : Your Pan is Caked in Food Residue
If you’ve made good use of your pan but have too much stickiness and old food residue on the bottom that you can't remove with a simple cleaning, it's time to wipe the slate clean and restart the seasoning.
- Heat your pan over medium heat until a droplet of water is able to evaporate when it hits the surface.
- Remove your pan from the heat and pour in 2 tablespoons of salt and 1 tablespoon of oil.
- Using a paper towel or old dish towel, scrub this mixture all over the pan until food remnants loosen. Be careful, as the pan will still be hot.
- Rinse your pan with hot water and pat it dry, ensuring all moisture is removed.
- Apply 1-2 teaspoons of your seasoning oil onto the pan, wiping away any excess oil with a paper towel.
- Place your pan over medium heat until the oil starts to bead.
- Carefully wipe beads away with a paper towel.
- When the pan starts to smoke, leave it on the heat for two minutes.
- Turn off the heat and let it cool completely. The Pan should darken in color as it cools.
Reason #3 : Uneven Seasoning Layers
If your seasoning got off to a rocky start and you spend more time scraping up stuck-on food residue than you do cooking, then it's likely time to start over.
This process can follow the same as the above, and be sure that your pan is fully stripped back to the bare metal before seasoning again—if there's any initial seasoning left, then you'll have the same problem later on. If seasoning is proving too much of a headache, we also offer a seasoned option that comes to your door with the initial first layers of seasoning done for you, so you can spend less time stressing over the perfect first seasoning layer, and more time cooking.
Ready to Cook?
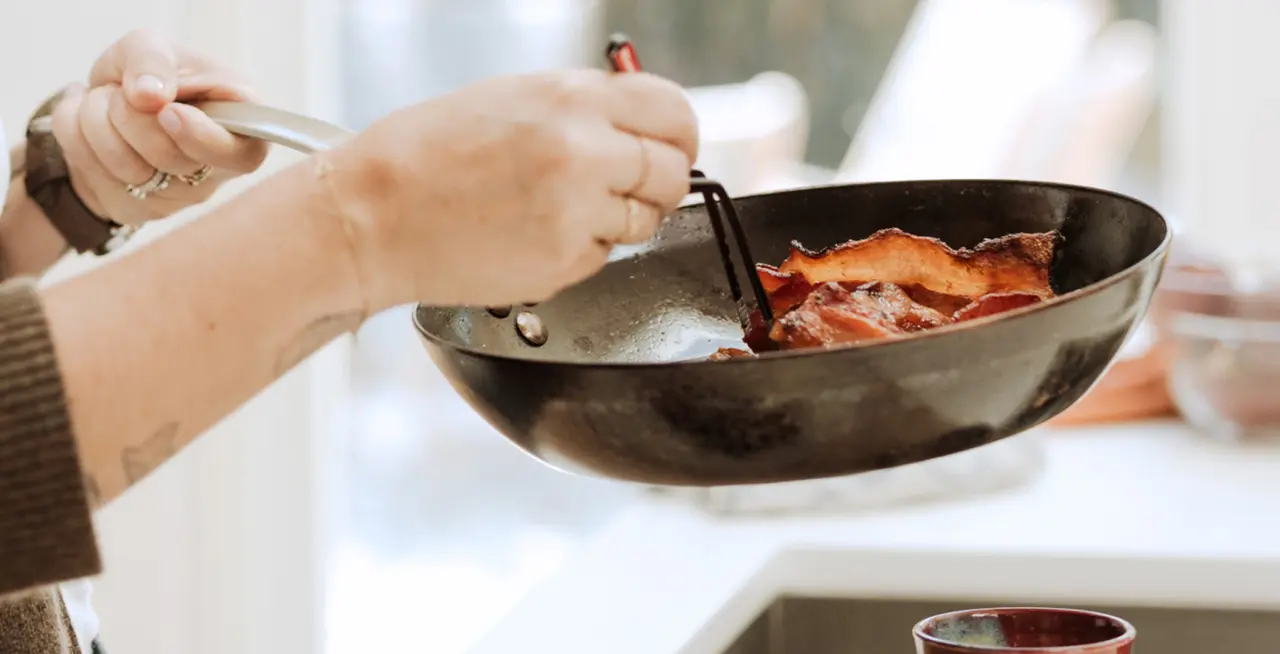
We recommend cooking something fatty (like bacon) in your pan after reseasoning or seasoning for the first time to build up that smooth, non stick patina that well-used carbon steel is famous for.
A new seasoning can do for your pan what a new coat of wax does for your car—provides a layer of protection between the surface and the rest of the world. Once it’s been reseasoned and restored, you can cook confidently knowing your pan is well-suited for any task.
