Like so many kitchen questions, it can be embarrassing to admit that—after years of owning one—you have no idea how to sharpen your serrated knife. So your poor little blade languishes in the drawer, dull and unloved, until you’re forced to replace it entirely. We think your knife deserves better—and so do you.
In this guide, we’ll break down these ubiquitous, yet oft-misunderstood, kitchen tools: how they’re made, why they work so well on soft breads and squishy tomatoes, and, yes, how to keep them sharp.
What are Serrated Knives?
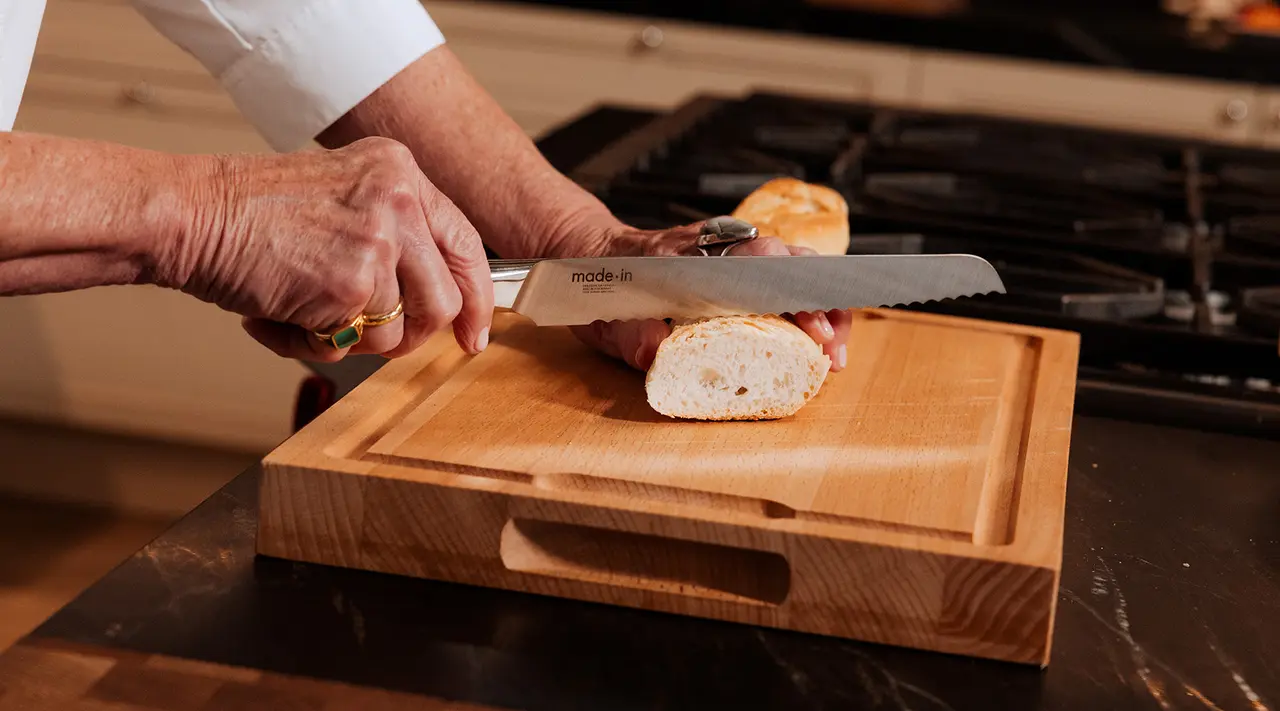
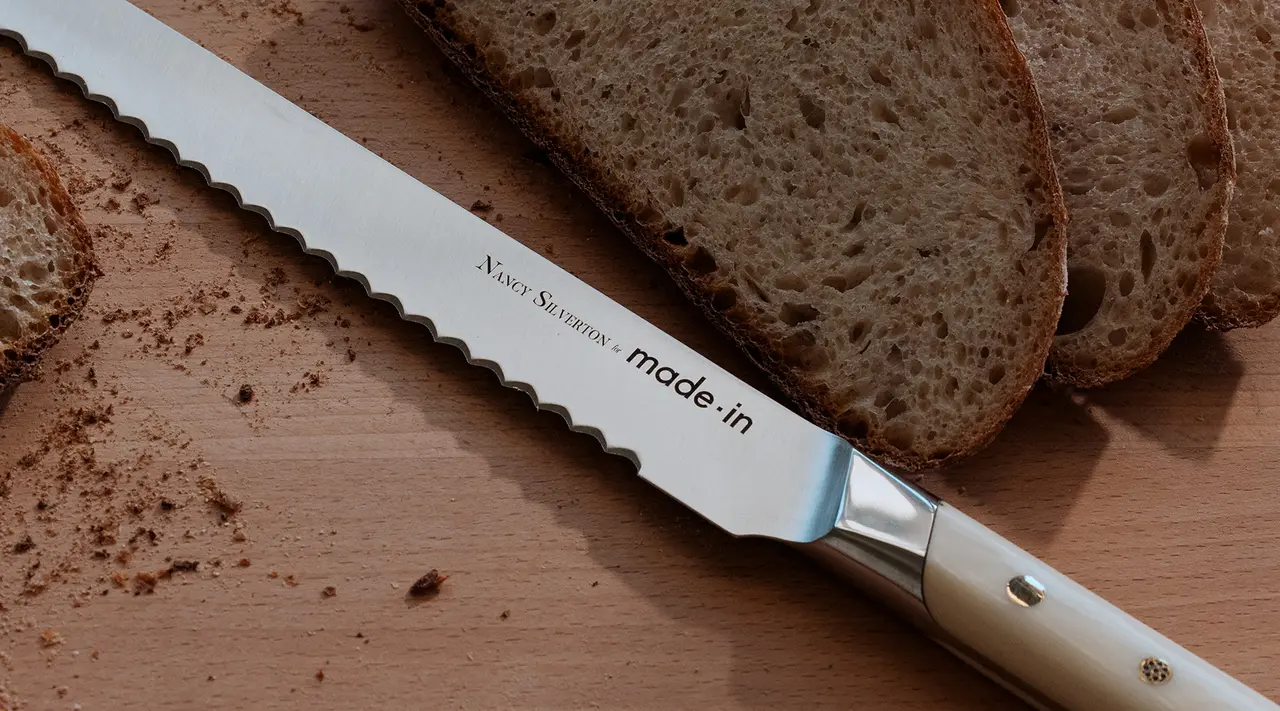
Serrated knives have sharp, tooth-like edges (called serrations) running along the length of their saw-like blade, separated by small indentations. These serrations work by piercing the crusty surface of a loaf of bread or the taut skin of a tomato without crushing the interior, something you couldn’t do with a chef’s knife. We also love these knives for slicing delicate baked goods like cakes, and even for carving whole roasted chickens.
Yet while serrated knives are one of our kitchen must-haves, a dull serrated blade isn’t terribly useful. Whereas a sharp serrated knife will slice cleanly through your tomatoes or bread, a dull knife might require you to put more pressure on the spine of the knife. This is cumbersome, as well as risky: press down too hard, and you’ll crush your loaf at best, or slip and cut yourself at worst.
Types of Serrated Knives
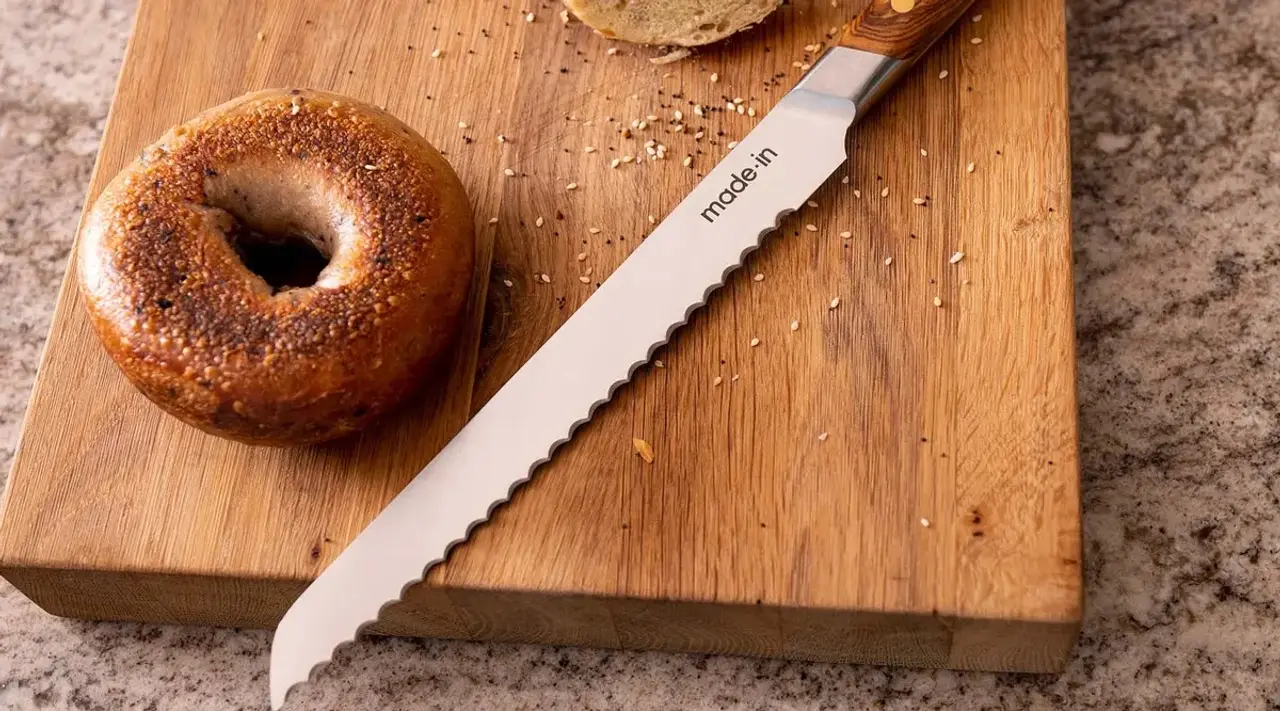
Bread knives are the most common type of serrated knife. They’re included in almost any knife set, and we wouldn’t dare try to slice a bagel or sourdough loaf without one.
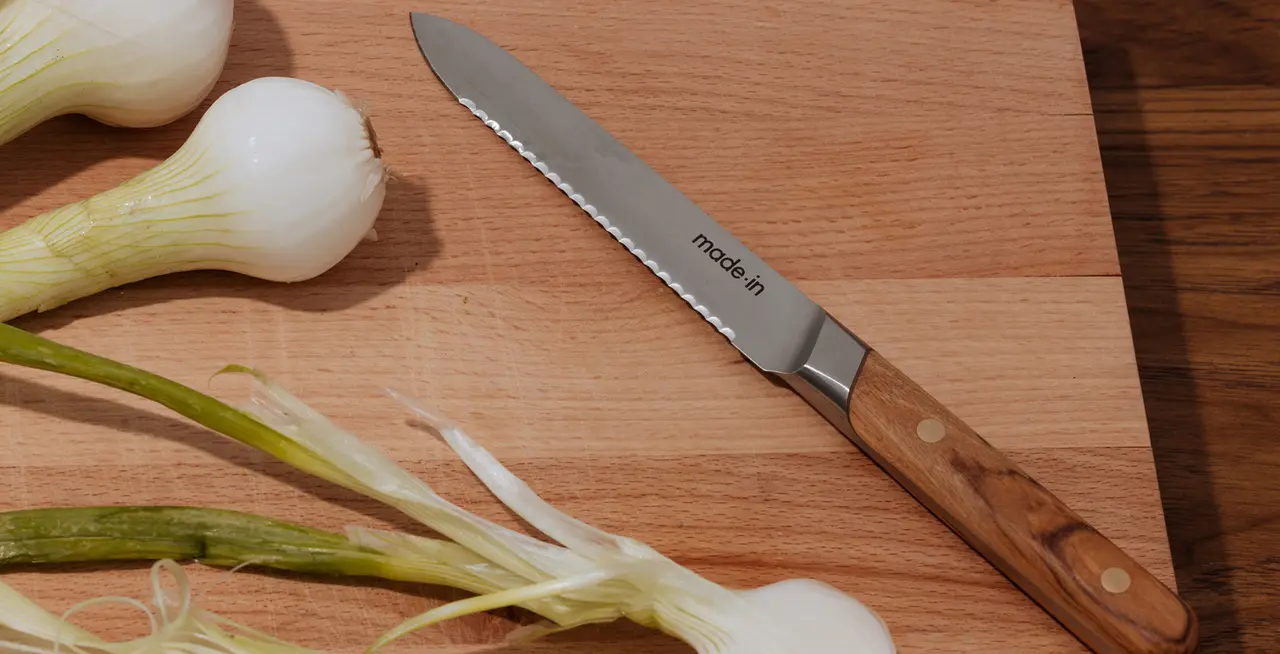
Yet bread knives—which typically measure 9 or 10” long—are hardly the only knife with a serrated edge: you can also find serrated utility knives or paring knives, both of which are extremely handy for slicing tomatoes, salami, or citrus.
Signs Your Serrated Knife Needs Sharpening
If you notice that the blade is squishing, tearing, or otherwise destroying whatever food you’re trying to slice, it probably needs a good sharpening. This is a slightly more arduous task than sharpening your chef knife, since you’ll need to sharpen each individual divot. The good news? You’re very likely not using your serrated knife as often as your chef knife, which means you won’t have to sharpen as frequently.
How to Sharpen Serrated Knives
Because of the unique shape of a serrated blade, you’ll have to use something called a sharpening rod—rather than a whetstone or electric sharpener—to sharpen it. This looks a lot like a honing rod, but is slightly smaller and tapered at one end as it’s designed to sharpen instead of hone.
Sergio Menchaca of Texas Sage Forge, a Texas-based custom knife manufacturer, recommends a ceramic rod as they are harder. “[Ceramic] will remove some metal, but you will get more of that desired sharpening effect,” he says.
Step 1: Grip the handle of your knife using your dominant hand, and the sharpening rod in your other hand.
Step 2: Identify which side of the knife is beveled—i.e. ground down at a slight angle. This is the side you’ll sharpen. Once you’ve found it, set your knife bevel side-down on the sharpening rod with the edge facing away from you.
Step 3: Drag the sharpening steel through the first divot and away from your body, making 4-5 strokes: you should notice a slight burr, or rough edge, beginning to form on the side you’ve just sharpened. Continue on until you’ve sharpened every single divot.
Once you're finished sharpening, the burr can be smoothed out by a regular honing rod or whetstone.
Additional Tips and Tricks for Maintaining Sharp Serrated Knives
Outside of occasional sharpening, there are a few ways to keep your serrated knife in great condition.
Cut on the Correct Surface
You’re no doubt familiar with how important it is to use the right cutting board with non-serrated knives, and the same logic applies here. Always reach for a board made from wood, plastic, or other soft materials, as these are easier on your blade and won’t cause it to dull as quickly. Anything made from a hard material like glass, marble, granite, or metal is a no-go.
Store in the Right Place
You should also pay attention to where your knife is stored when it’s not in use. Keeping your serrated knife safe and snug in a drawer organizer or block will keep the blade from clinking against items in your drawer or on the counter (which also happens to be super dangerous for wandering fingers), thereby protecting it from dulling.
Wash Properly
A final note: while it may not seem strictly relevant to the topic of sharpness, you should also make sure to wash and dry your serrated knife immediately after use to prevent rusting, as this will also add to the lifespan of your knife.
Ready to Chop?
If the topic of serrated knife sharpening seems a bit niche, that’s probably because you’ve never tried cutting with a freshly sharpened serrated blade. “If you have a cheap Serrated Knife, you might as well just throw it away and buy a new one,” says Menchaca. “It’s not worth the time and effort.”
That’s why it’s important to make sure you’re starting out with a great knife to begin with—our full tang, fully forged Bread Knife and Utility Knife hold an edge for way longer than cheaper-quality knives, so you can spend less time sharpening, and more time slicing and enjoying your favorite loaf.
