Poppy Seed Country Sourdough Loaf
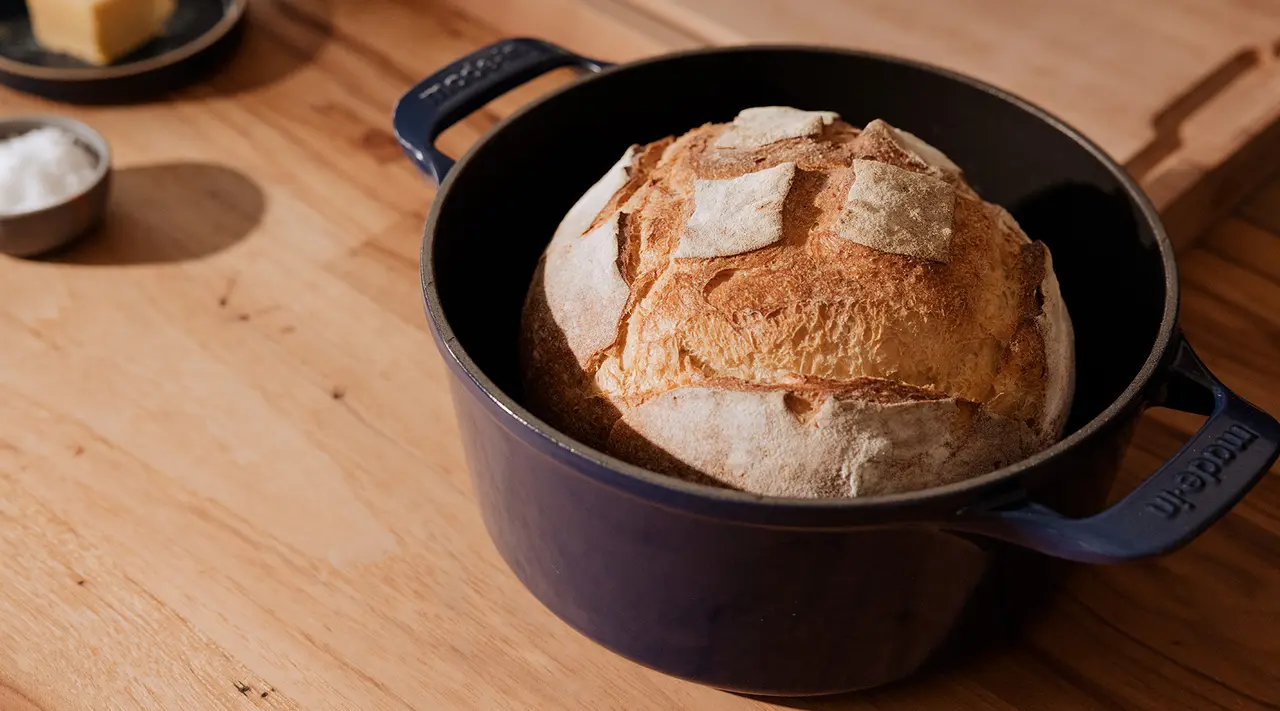
This Poppy Seed Country Sourdough Loaf from Mel the Bakery's Nora Allen is perfect to make in our Enameled Cast Iron Dutch Oven.
Mel, a Bakery in Manhattan’s Lower East Side, has become a breeding ground for bread-lovers and pastry aficionados alike. Whether it’s their Spelt Baguette, their Pistachio-Almond Twice-Baked Croissant, or their Pecan Honey Bun, if you venture into the establishment, you’re bound to leave with something delicious.
The other day, we had a chance to bake with the Owner and Head Baker of Mel, Nora Allen. Nora used our new Dutch Oven to craft a beautifully crusty, one-of-a-kind Poppy Seed Country Sourdough Loaf. She said throughout the pandemic, she was teaching tons of people how to bake sourdough (if they could find flour, that is), and this quickly became many of her student’s go-to. It’s a good basis for if you want to get more into bread baking, she said, and you can also push the limits a little bit if you’re feeling fancy. The way the poppy seeds look, and the flavor, a little tinge of bitterness, makes the crust all the more sumptuous.
Poppy Seed Country Sourdough Loaf
This Poppy Seed Country Sourdough Loaf from Mel the Bakery's Nora Allen is perfect to make in our Enameled Cast Iron Dutch Oven.
Nora Allen
- 1.
DAY 1: Set aside 2 tablespoons of water.
- 2.
In a mixing bowl, combine flours and remaining water by hand until shaggy, around 2 minutes. Let the mixture rest.
- 3.
After 30 minutes, begin your final mix by slowly adding in the remaining 2 tablespoons of water. Stretch and knead the dough in a downward motion. The dough will be wet and sticky, but keep on working it until all the water is absorbed, around 3 minutes.
- 4.
Add in your ripe starter and continue kneading and pulling/pressing the dough down in a fluid motion. Continue until the dough absorbs all of the starter, around 3 minutes.
- 5.
Add salt and mix for an additional 2 minutes. Let the dough rest, covered in your mixing bowl for 20 minutes.
- 6.
Spray a glass or plastic container or bowl with cooking spray and lift the dough from your mixing bowl and fold it over itself, tucking the edges under the dough to create tension. The dough should become tighter and sit taller in the container after a successful turn.
- 7.
In a room that is ideally around 74F, let the dough rest or “bulk ferment” for around 4 hours, or until it has grown ⅓ in size and can hold a finger impression. You can also perform the float test by grabbing a corner of your bulked dough and if it floats, you’re ready to divide and shape.
- 8.
Get your proofing basket ready. A Bread Banneton is ideal, but any non-metal bowl will work. If using a non-metal bowl, line it with a kitchen cloth and lightly flour it with a low gluten or gluten-free flour or grain.
- 9.
After 4 hours, turn the dough out on a lightly floured surface. Using a bench scraper or both hands, gently pre-shape the dough into a tight round. Let the dough rest for 30 minutes.
- 10.
After 30 minutes, shape the dough into a tight round.
- 11.
Top with poppy seeds. To do this, grab a wet kitchen towel and evenly spread out poppy seeds onto a half sheet pan. Gently roll the top of your loaf in the wet kitchen towel and then carefully roll the top of your loaf in the Poppy seeds.
- 12.
Flip over and set the loaf in the proofing bowl, with the bottom side up to ensure no extra flour gets in the bowl. Cover the loaf with a kitchen towel and proof at room temperature for 1.5 - 2 hours, depending on the temperature of your kitchen. The colder the kitchen, the more time your loaf will need. After it is fully proofed, place your loaf in your proofing bowl in the refrigerator overnight until you are ready to bake the next morning.
- 13.
DAY 2: When you’re ready to bake, preheat your oven to 465F with the Dutch Oven placed inside for around 40 minutes.
- 14.
Grab your loaf from the refrigerator and carefully top it with gluten-free flour and then place the loaf in the middle of a piece of 18x13 parchment paper.
- 15.
Remove your Dutch Oven from the oven.
- 16.
Score your loaf by using a sharp knife.
- 17.
Grab either side of the parchment paper and gently hoist the scored loaf into the Dutch Oven and immediately cover it with a lid to trap the steam. Place the Dutch Oven back in the oven and bake for 37 minutes.
- 18.
Decrease the oven temperature to 410F and remove the lid.
- 19.
Finish cooking to your desired bread color, around 12 minutes.
- 20.
Remove from the oven, take the bread out of the Dutch Oven and place on a wire rack to cool fully. Enjoy!


