When high-quality scallops are seared to perfection, they have a slightly briny, buttery, and sweet flavor that, in my opinion, surpasses even the best raw oyster. And while most of us think of them as indulgent once-in-a-while treats only enjoyed in restaurants, achieving that perfect sear at home is pretty straightforward.
What Are Scallops?
Scallops are a marine bivalve, which means they have a hinged shell that opens and closes. They’re not sentient and they lack a central nervous system, which some people believe makes them comparable to plants, and thus vegan. They can, however, swim, and they have up to 200 eyes.
Scallops are often considered a luxury best left to the professionals, but you can absolutely make them at home.
Tips for Preparing Scallops
Ideally, you’re purchasing and cooking them on the same day, so it’s helpful to do your research ahead of time. Generally, however, any reputable local seafood purveyor will point you in the right direction.
How to Choose the Best Scallops
Scallops come with an array of labels, including “wet,” “dry,” “bay,” “sea,” “jumbo,” and “diver.” Combined with the various sizes available to you, it’s difficult to figure out what’s best.
Wet Scallops: “Soaked” or “treated” scallops are submerged in a formula of phosphates, which gives them an appealing but superficial plumpness. This added water-weight (which you pay for) evaporates during cooking, ultimately leaving you with a tough and shrunken scallop that tastes like rubbery nothing. They’re much larger than dry scallops and unnaturally white in color. We don’t recommend them.
Dry Scallops: Dry-packed scallops skip the phosphate soak, so they sear better and have a more natural, undiluted flavor. They’re smaller than wet scallops and probably fresher, too. It’s usually cheapest to find a local fishmonger, but you can also purchase them online.
Sea Scallops: These are harvested from the ocean and tend to be saltier in flavor. They’re much more widely available and can be sourced year-round, though their season peak spans fall into winter. They tend to be chewier and larger than bay scallops, usually around 20-30 per pound.
Bay Scallops: Found only in the estuaries and bays along the Atlantic during their autumn season, bay scallops are smaller (up to 220 in a pound) and sweeter tasting than their sea-dwelling counterparts. They also cook much faster, and the end result is usually more tender than a sea scallop.
Diver Scallops: Unlike the higher yield and lower cost “mechanical drag” method, in which day boats harvest wild scallops by towing a dredge along the surface of the ocean floor, diver scallops are harvested by hand by scuba divers. They’re considered more sustainable because divers don’t harvest young or under-matured scallops, but due to the labor and skill required they’re also much more expensive.
Selecting What Size Scallop You Want
As with all seafood, scallop sizing is a murky business. Because they’re sold by weight, scallop size is determined and designated by how many are in a pound. You can get really technical, but basically all you need to know is this: the smaller the number on the package, the larger the scallops inside it.
Sea Scallops: Smaller sea scallops list a number range like “20/30” or “40/50,” which mean there are between 20-30 and 40-50 scallops per pound respectively. The largest size of scallop is “U-8,” or under 8 in a pound. Sea scallops range from about 1½ to 2 inches in diameter.
Bay Scallops: Bay Scallops are much smaller than sea scallops, and are often labeled 170/220, meaning there are between 170-220 in a pound. While this seems like a large range, they’re usually around ½-inch in diameter.
Use the Correct Pan for Better Searing
Even with such a delicate protein, achieving a deeply caramelized sear can be simple when you’ve got the right tools. While Non Stick is great for fish cooked gently, it’s meant for low-medium heat cooking, whereas scallops want a quick but high-heat sear.
We recommend either Carbon Steel or Stainless Clad, both of which heat quickly, retain high temperatures more readily, and are quite literally designed for searing. If you’d like to make a pan sauce including acidic ingredients to go with your scallops, opt for Stainless Clad over Carbon Steel.
Make sure to use a large enough pan that you can fit all your scallops in one evenly spaced layer. You’ll want plenty of space in between to promote better and faster searing.
Cook Them the Day You Buy Them
With scallops, it’s all about preserving flavor and delaying odor. The fresh salinity of a just-harvested scallop deteriorates quickly, so either buy them day-of or plan to store them in the coldest part of the fridge, on (but not directly exposed to) a bed of crushed ice.
For Wet Scallops, Consider Brining
Wet scallops aren’t our preference, but sometimes they’re the only option. Fortunately, brining wet scallops actually helps refresh them, despite seeming counterintuitive.
According to Molly Birnbaum of America’s Test Kitchen, briefly brining scallops masks the chemically and slightly soapy taste imparted by the phosphate soak: “Soak them in 1 quart of cold water with 1/4 cup of lemon juice and 2 tablespoons of salt for 30 minutes. You almost can't tell the difference.”
How to Sear Scallops
Searing scallops takes less time, but otherwise is not much different from achieving perfectly seared steak. Think cooking over high heat, and doing it quickly.
Step 1: Remove the Side Muscle
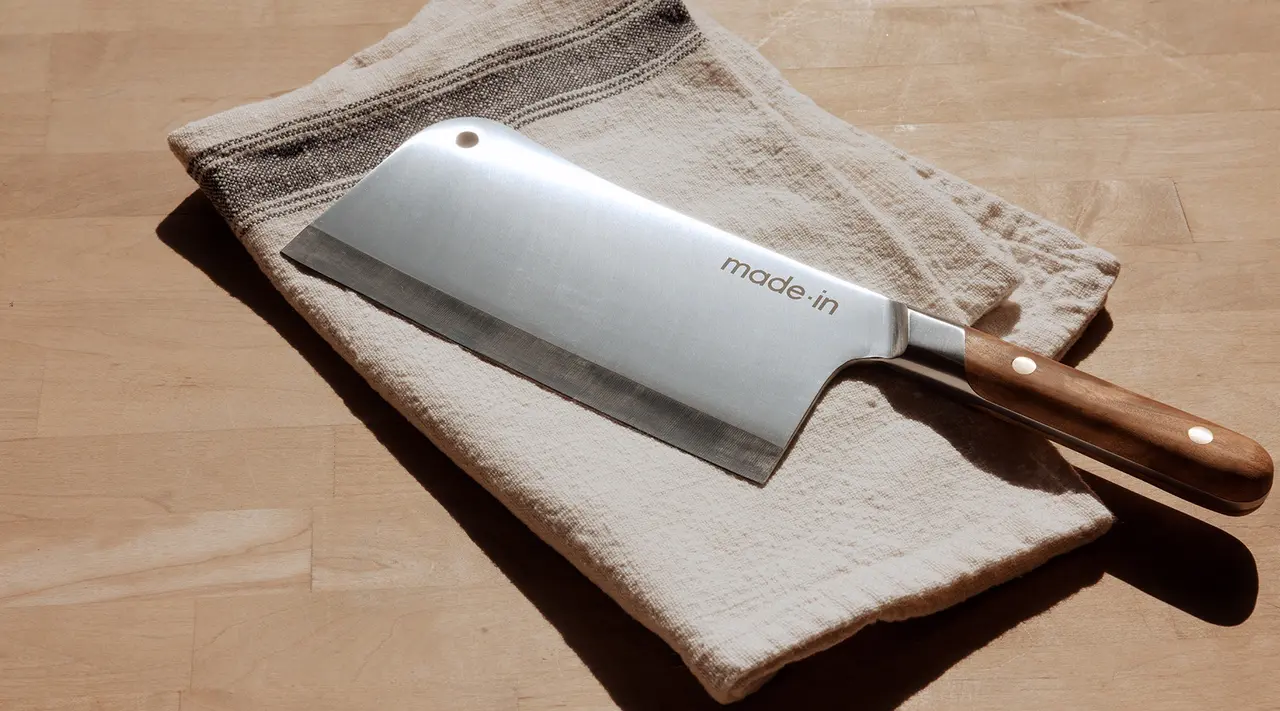
Check over your scallops and remove any remaining side muscles, which look like tough and fibrous flaps protruding from the side of the scallop. They’re easy to pinch and tear off, but a Paring Knife will be neater and more precise than your hands. If you leave them, they’ll become tough during cooking.
Step 2: Rinse, Pat Dry, and Season
Give your scallops a quick rinse to remove any grit, then thoroughly pat dry with a few paper towels, as excess moisture will inhibit searing. For added insurance, you can dry your scallops in the fridge for an hour or two before cooking. After patting the scallops dry, simply layer paper towels on a plate, place your scallops on top of the paper towels, and leave them uncovered in the fridge.
Season both sides with salt, pepper, and any other herbs or spices. The salt will draw out additional moisture, so you may need to blot again just before adding your scallops to the pan.
Step 3: Preheat Your Pan
Preheat your Carbon Steel or Stainless Clad pan over medium-low heat for 3-5 minutes. This is especially important with delicate ingredients that are prone to sticking, like scallops.
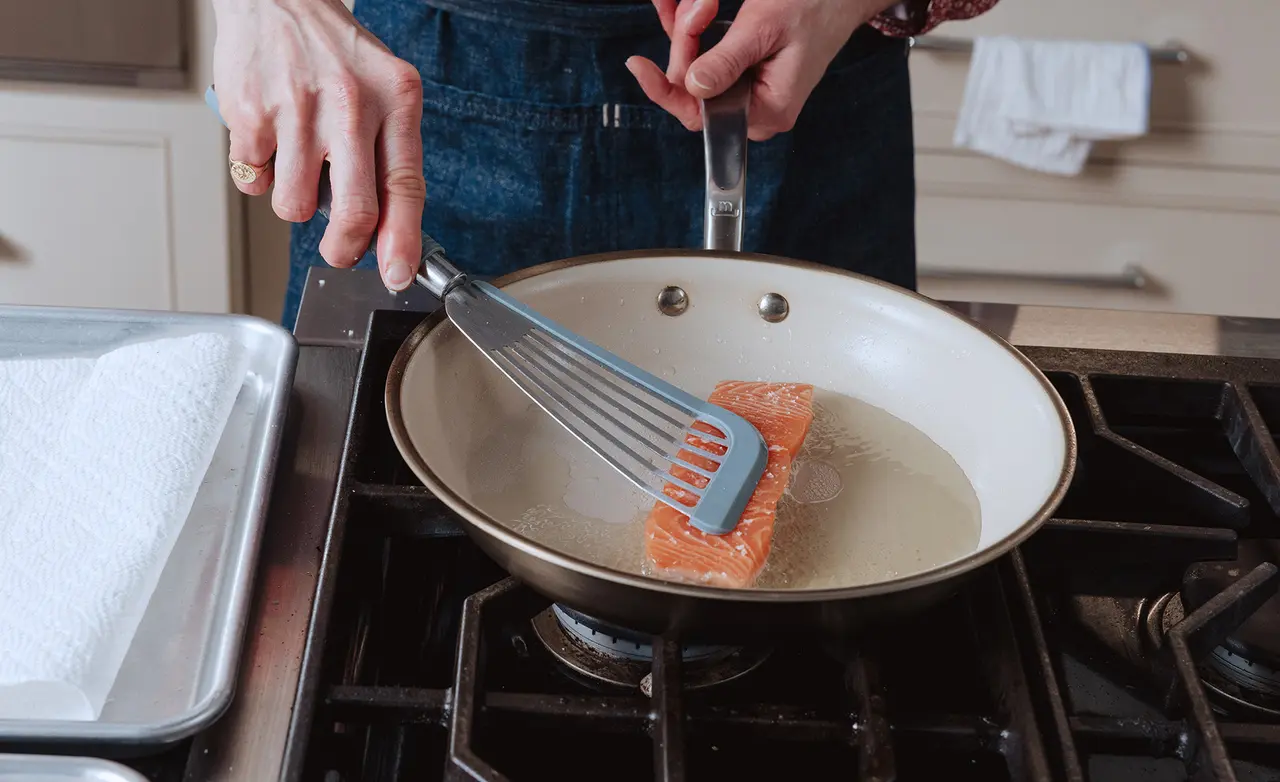
Step 4: Sear the Scallops
Increase heat to medium-high, add your preferred fat (we recommend butter or oil), and give both a minute to heat up. Then add your cleaned and dried scallops to the pan, making sure not to crowd them.
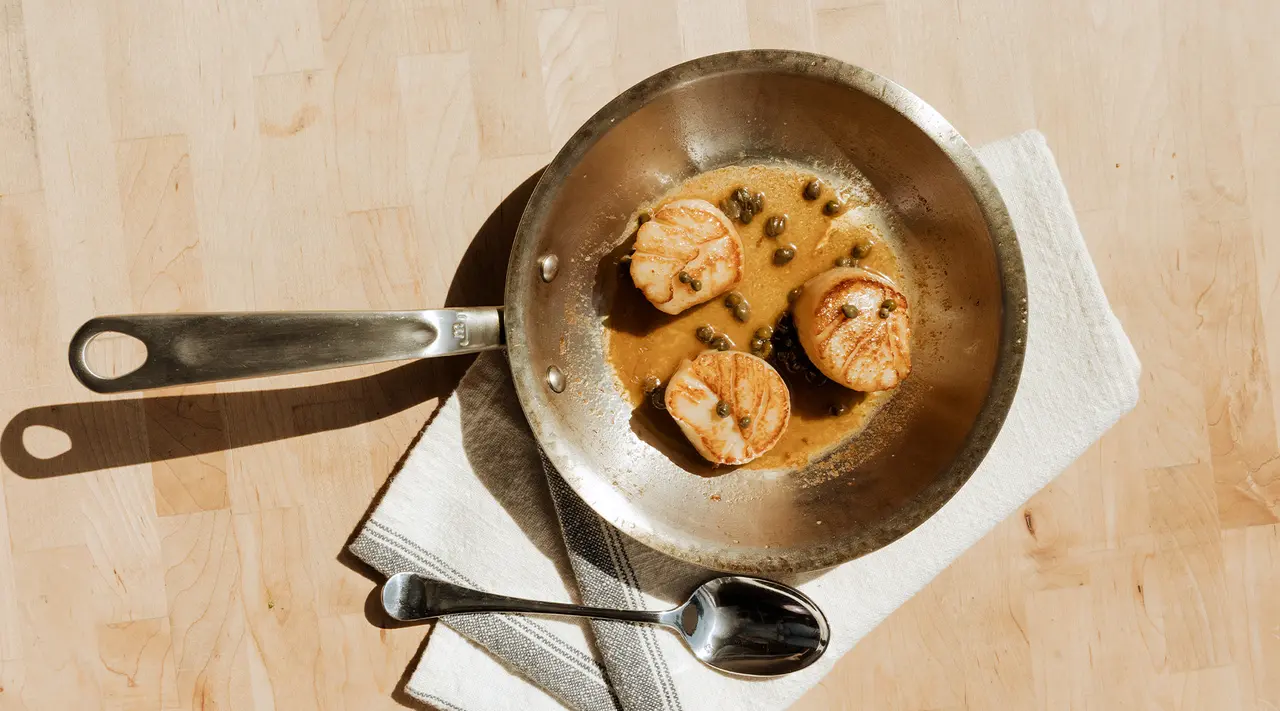
Don’t touch them until the bottom of the scallop is a deep caramel color, at which point they’ll release from the pan. Flip them, add slightly more chilled butter than you think you should, any aromatics (alliums, citrus, peppers, herbs), and butter-baste the scallops while they finish cooking.
Total cooking times range depending on size, but usually searing each side for 1-3 minutes is enough for bay scallops. For sea scallops, aim for 2-5 minutes per side. If they’re not caramelizing and searing in that time, your heat is too low. Typically you’ll need less time for the second side.
Remove scallops just before they finish cooking. A cross-section should reveal opaque and creamy edges and a faintly translucent strip in the center.
Step 5: Optional Pan Sauce
Pull the scallops off heat and onto your Serving Platter. For the pan sauce, lower the pan’s heat to medium, deglaze with wine or stock, and allow it to reduce. Go back in with additional butter, stock, and herbs and allow it to reduce slightly. Serve over your scallops.
Note that Carbon Steel Cookware requires some routine maintenance, and highly acidic ingredients often used in pan sauces will strip its protective patina. Either emit acid, commit to restoring its seasoning, or switch to a Stainless Clad pan.