You already know that a quality non stick pan is the best tool for cooking fish filets, omelets, and other delicate, stick-prone foods. But when it comes to getting a hard sear on proteins like steak or pork chops, you’ve probably been taught to reach for cast iron or carbon steel over non stick. And while those pans are unmatched in their ability to get—and stay—ripping hot, you don’t have to run out and buy one just for cooking the occasional steak (though we definitely recommend them for other types of cooking).
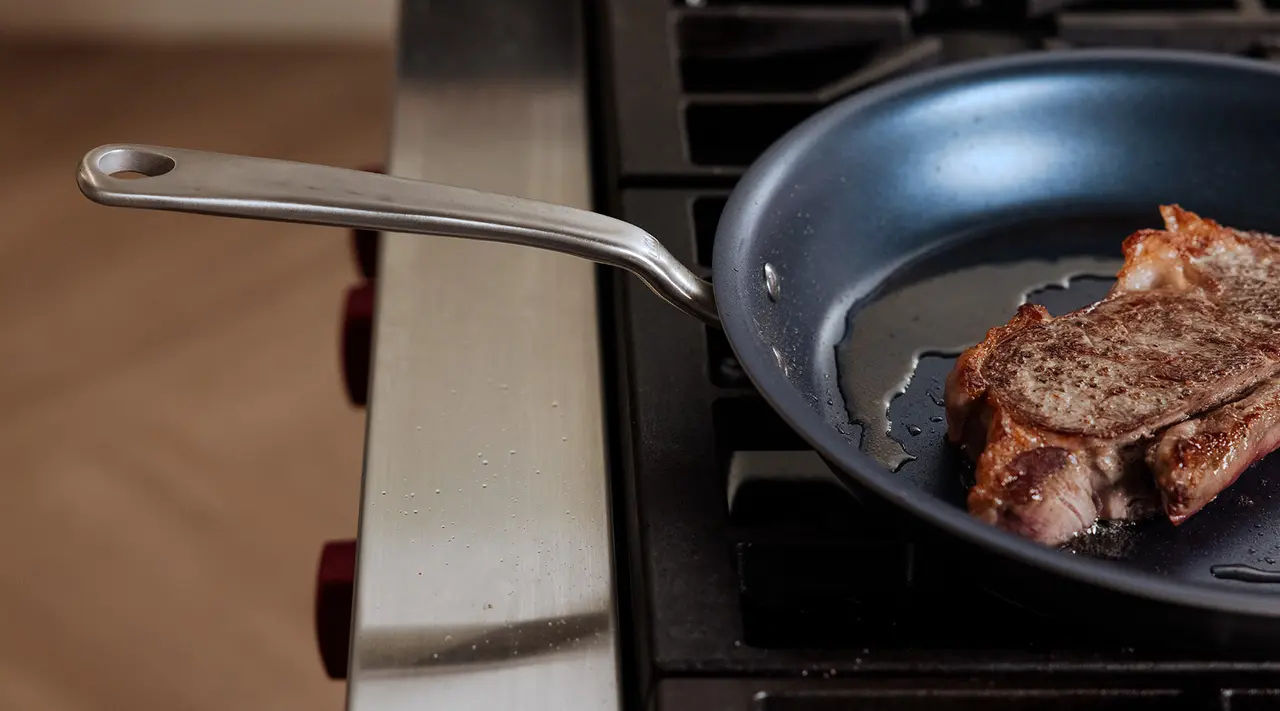
Instead, we’re here to show you that you can cook an excellent steak in your trusty non stick—golden brown crust and all. Since searing in these pans isn’t exactly the same as searing in cast iron or carbon steel, there are a few things to know before you start.
Can You Sear in a Non Stick Pan?
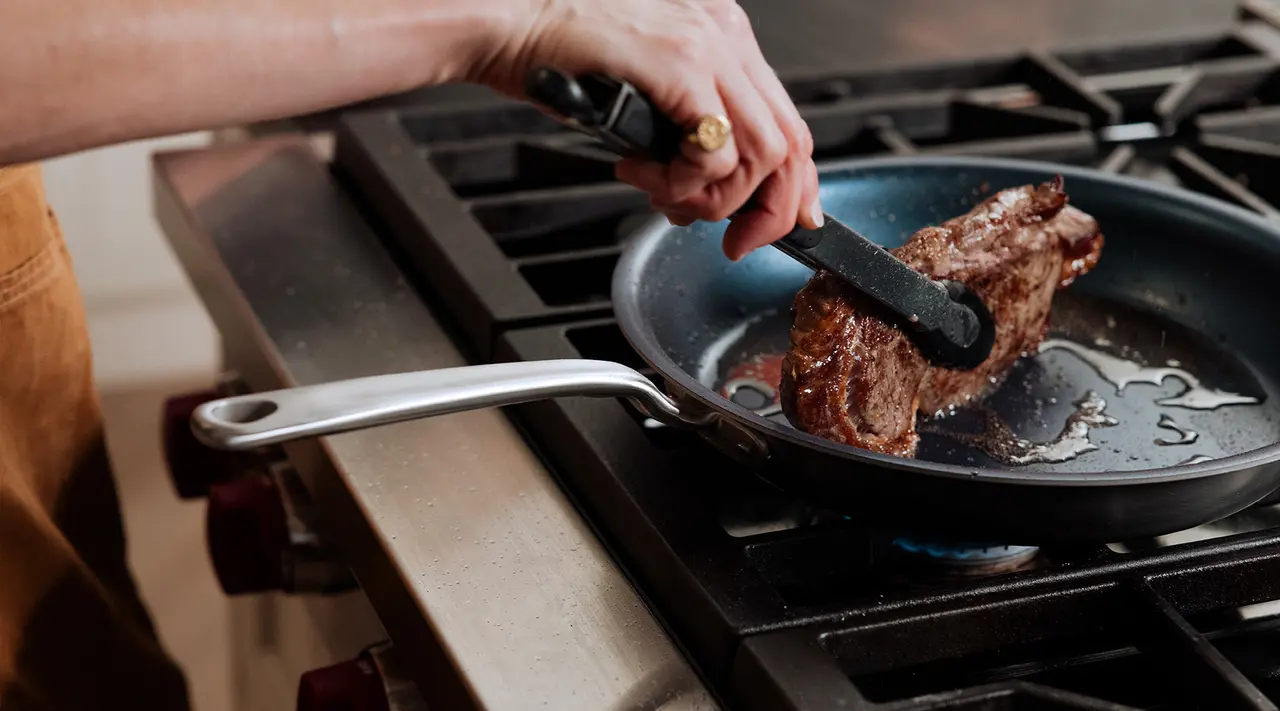
One of the main arguments you may have heard against searing in non stick cookware is that you’re not supposed to use it on high heat. This is only partially true: while subjecting your non stick to a super hot stove or oven on a regular basis can—and will—damage the coating, it’s fine to dial up the heat once in a while if your pan is designed to withstand high temperatures, like ours. And, since a great steak is an occasional treat, you probably won’t need to do it very often.
How to Cook Meat in a Non Stick Pan
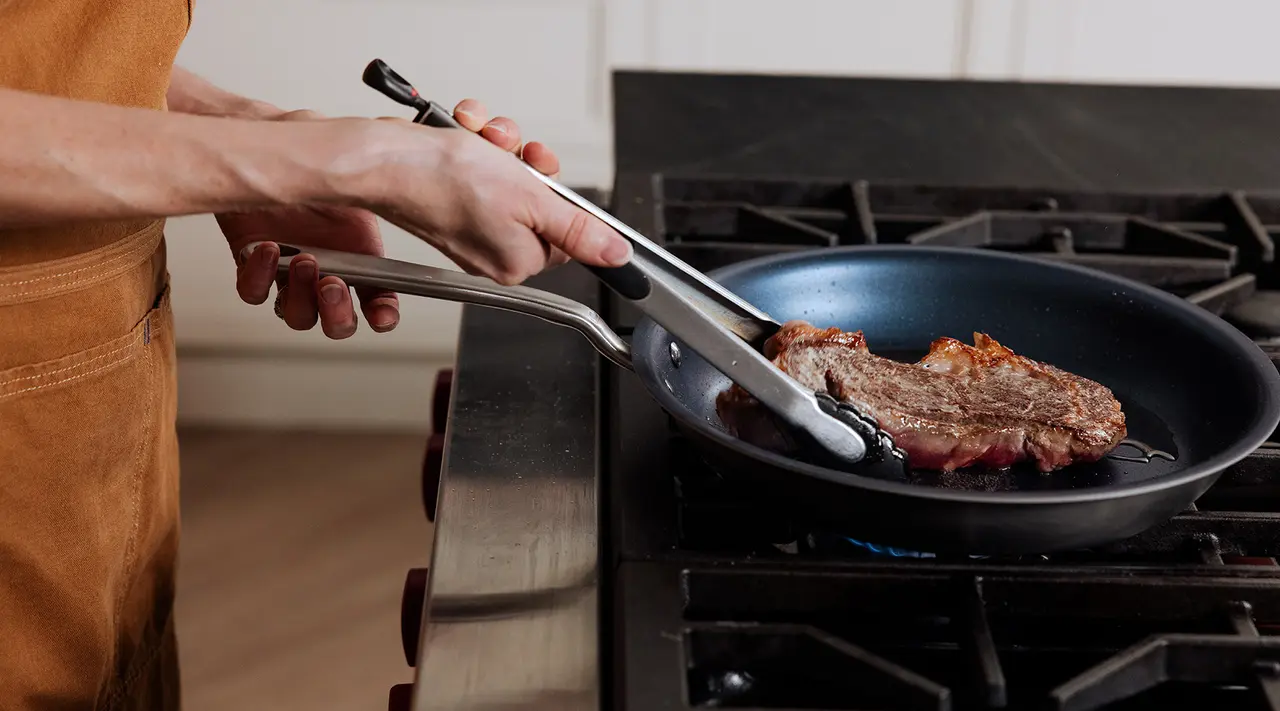
There are a few small—but key—differences between searing meat in a non stick skillet vs. searing in cast iron or carbon steel. Here’s a step-by-step guide to achieving that coveted golden brown crust using non stick (note that this method is recommended for thicker cuts of meat, like pork chops or ribeyes, as thinner cuts like skirt steak can quickly become overcooked).
You'll need a non stick pan, your protein to be thoroughly dry, tempered, and seasoned, a spatula or tongs for turning, and a meat thermometer.
Step 1: Start With a Cold Pan
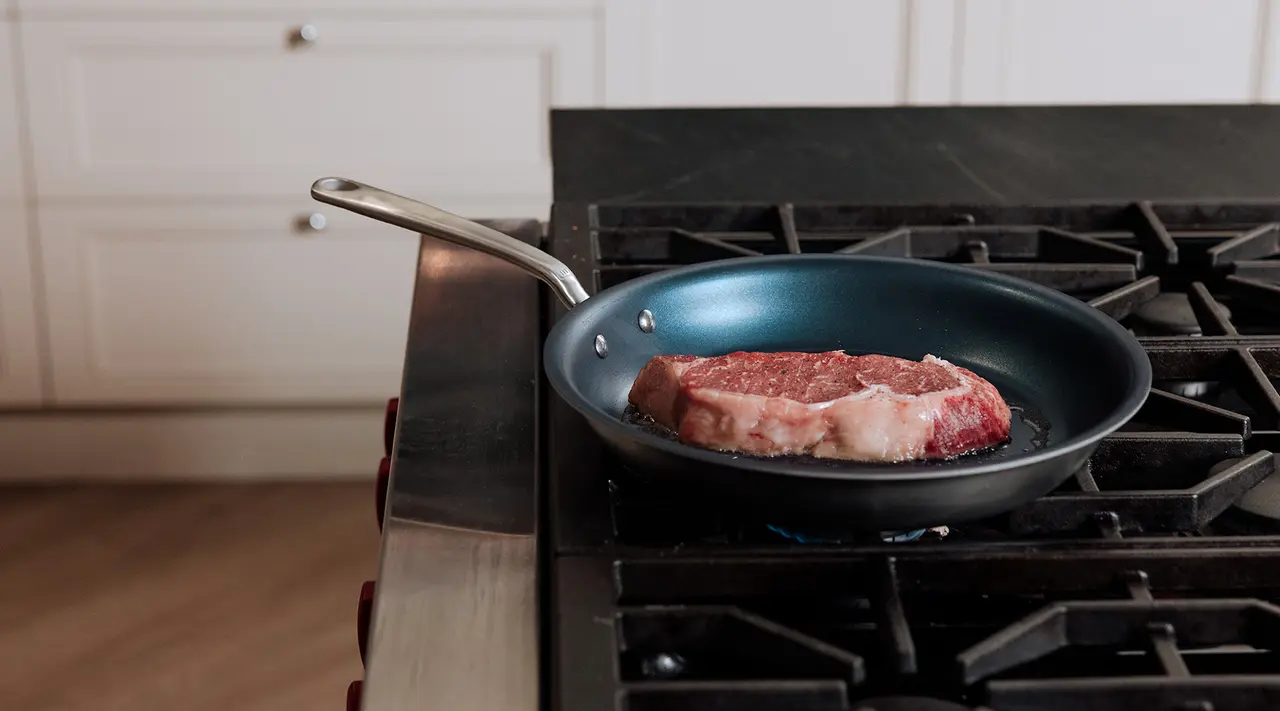
Rather than preheating an empty pan, as you would with cast iron, stainless steel, or carbon steel, you’ll want to add your protein to a cold pan along with your preferred cooking fat.
For well-marbled cuts, like ribeye or New York strip, you won’t need to add any oil, as you’ll get plenty of rendered fat from the steak as it cooks.
Step 2: Crank the Heat
Once you’ve added your meat to the pan, turn the heat up to high. The temperature of the protein will keep your pan from overheating, while allowing the heat to build gradually—similar to using the reverse sear method, but on the stovetop. Cook for a couple of minutes on each side.
Step 3: Lower the Heat
After cooking on both sides on high heat, lower the heat to medium and cook, flipping every couple of minutes. This allows you to build up a crust gradually without producing a gray band of overcooked, tough meat on either side. Using your meat thermometer, cook to your desired level of doneness, depending on the type of protein (for example, steak is medium-rare between 120-125F).
Other Proteins to Cook in Non Stick
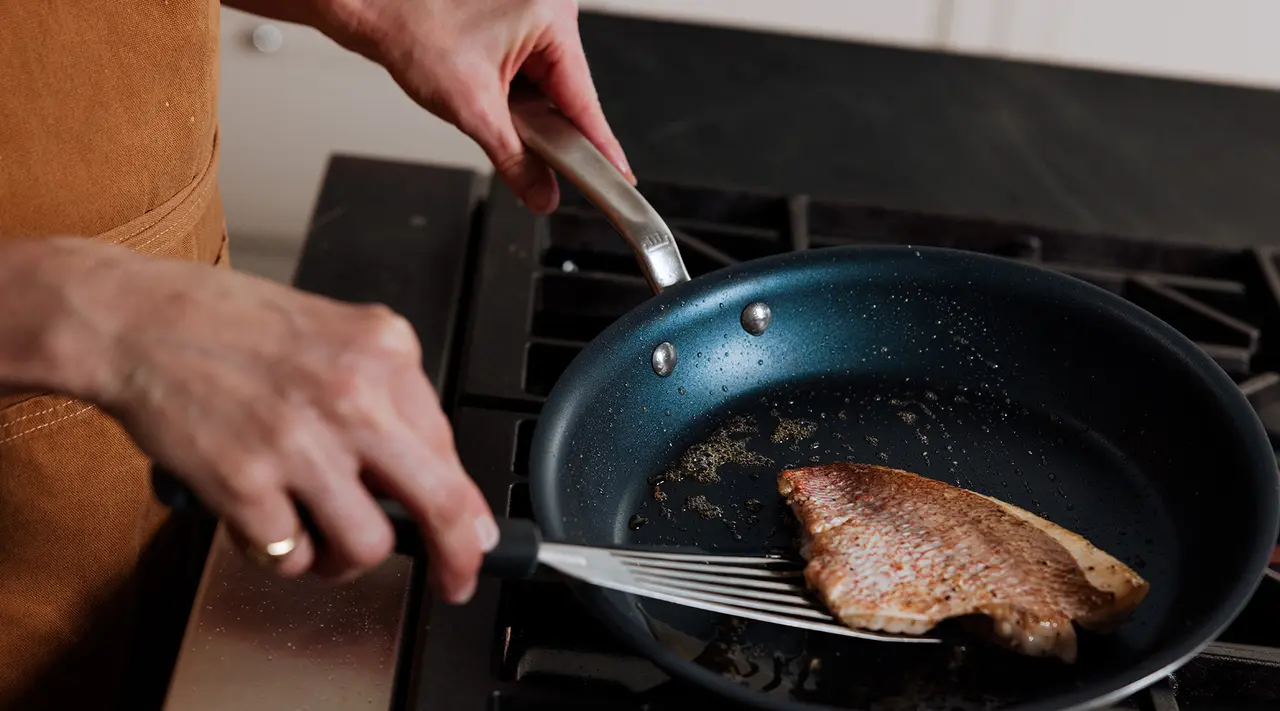
From boneless chicken breasts to pork chops, non stick works well and car sear almost any quick-cooking protein (especially delicate ones like fish or scallops).
We’d advise against using it for whole chickens or other large cuts, however—even if your pan is oven-safe, it’s not the best option for any meat that requires long periods of time over high heat, as this could shorten your pan’s lifespan.
Tips When Searing in a Non Stick Pan
To help make searing in non stick even more fail-proof, here are a few other tips to keep in mind.
Tip 1: Don’t Overcrowd the Pan
While this may not be an issue if you’re searing a single piece of meat, it’s important not to overcrowd your pan when cooking several cuts or pieces simultaneously. If you’re searing smaller cuts (like steak tips) or multiple whole steaks, make sure you leave plenty of extra room in the pan—since non stick doesn’t have the same heat retention as a cast iron or carbon steel skillet, overcrowding can lower the overall temperature of the pan, which leads to uneven cooking and steaming instead of searing.
Tip 2: Thoroughly Dry Your Meat
Since it’s already requires a bit of work to get a good crust on food with non stick, you don’t want to make it any harder by adding overly moist ingredients to your pan. One way to make sure your protein of choice is nice and dry is by doing a dry brine—this involves salting it ahead of time, letting it sit for at least 30 minutes, and patting it completely dry just before adding to the pan.
This not only helps to season the meat more thoroughly than if you salted it right before cooking, but it also helps draw out more of the moisture. Pat some of this moisture off before adding to the pan.
Tip 3: Use a Good-Quality Pan
Not all non stick is created equal. High-quality non stick cookware (like our chef-approved ProCoat Non Stick collection) has better heat retention, resulting in a more evenly cooked steak and better browning, as well as a much longer lifespan than others on the market.
You’ll also want to make sure your pan is safe for high heat cooking, even if you’re only cranking the heat for a few minutes. Ours is, but that may not be the case with cheaply-constructed ones.
Ready to Shop?
Whether you’re motivated by easy clean-up or you just have the one skillet, let this be all the permission you need to try searing in non stick. Hopefully, this guide has convinced you that it’s possible to safely achieve Maillard perfection without a cast iron, stainless steel, or carbon steel pan.
Since our ProCoat Non Stick Collection combines durable, professional-grade coating with a 5-ply Stainless Clad body, you’ll get the excellent heat retention required for getting the perfect sear, along with easy clean-up.
