If you’ve ever made steak at home, you know it doesn’t always come out with a perfectly browned sear and juicy, pink interior. In some cases, cookware develops hot spots that change the rate at which the steak cooks while in others, the steak ends up overcooked and tough.
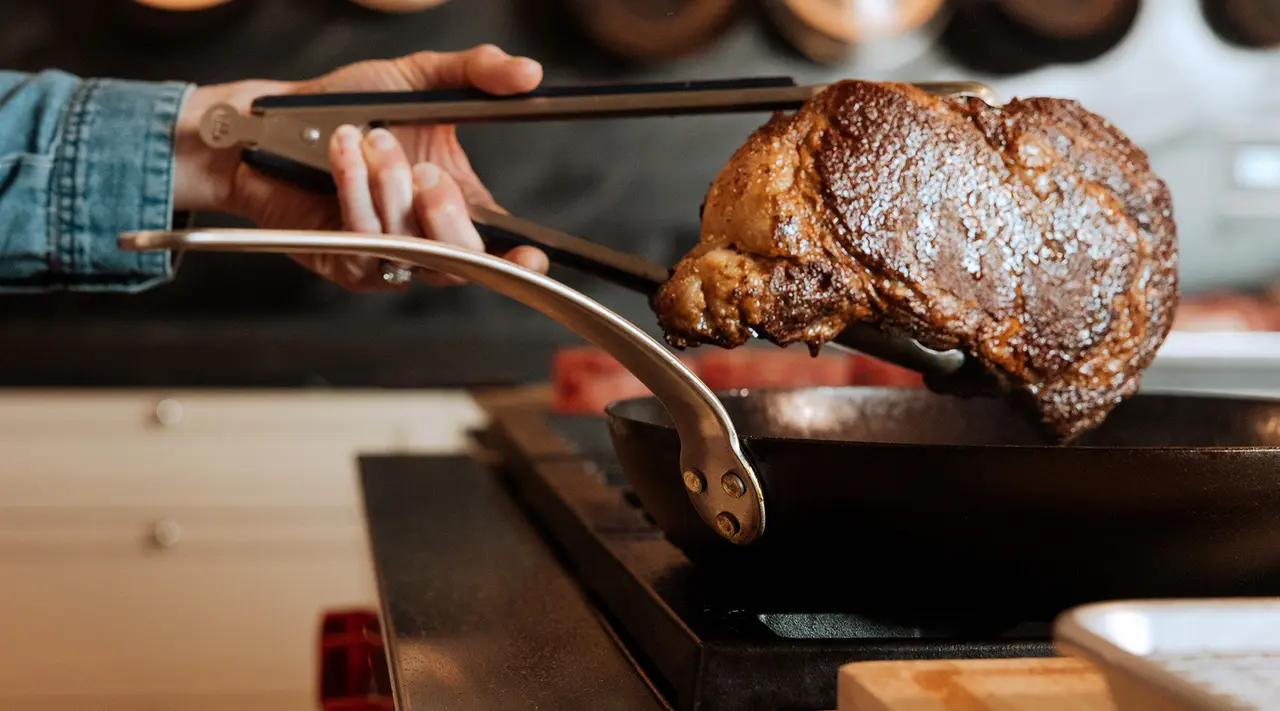
That’s where reverse searing comes in. A perfect fix for home cooking, reverse searing allows your steak to evenly cook through on a low temperature in the oven before finishing in an extra hot Carbon Steel Frying Pan.
Why Reverse Sear?
Reverse searing helps to improve a steak by creating a piece of meat that is cooked with consistency. You often hear that searing a raw steak helps to “lock in” the juices, but that isn’t exactly true. Instead, it’s a catalyst for a quick Maillard reaction, or the chemical reaction of the steak’s sugars and amino acids when they quickly hit a high temperature, which creates that perfectly browned, seared crust.
The crust of a steak is crucial to its final texture and taste. The thicker the steak, the longer it has to be held on high heat when searing, which contributes to dryness and uneven cooking. The reverse sear not only provides a low-and-slow cooking environment for the center of the steak, it also helps dry the outside of the steak, which encourages the Maillard Reaction when the nearly-done steak hits that frying pan.
And since most of the cooking happens in the oven, all those delicious bits of fond typically found at the bottom of the pan stay stuck to the steak instead, providing even more crunchy, savory flavor.
How to Reverse Sear in the Oven
By giving your steak a pre-bake in the oven, you’re reducing surface area moisture that makes crisping difficult. And if you’re new to cooking steaks at home, the oven method gives you the opportunity to achieve your desired doneness without worrying about overcooking. This method works well for medium-rare to well-done steaks.
Step 1: Prep your Raw Steaks
Pat your steaks dry and season with kosher salt and freshly ground pepper. You can also add herbs for more flavor, or use a seasoned salt blend. For the best results, pick a steak that’s about one and a half to two inches thick. Place the seasoned steaks on a Sheet Pan or Roasting Rack atop a Sheet Pan to encourage air flow and even browning on all sides.
Step 2: Cook the Steak in the Oven
In an oven preheated to between 200F and 275F (depending on the size and thickness of your steak), cook the steak until the internal temperature is about 15 degrees below your desired finished temperature—which is 125–135F for medium-rare, 135–145F for medium, 145–155F for medium well, and 155F for well done.
Step 3: Preheat a Frying Pan
When the steak is nearly done in the oven, preheat a Frying Pan (we recommend Carbon Steel or Stainless Clad to get a nice sear) on medium-high to high heat until a drop of water sizzles in the pan.
Step 4: Sear the Steak
After you remove the steak from the oven, immediately transfer it to the hot pan (it’s going to keep cooking out of the oven, so do this quickly). Sear the steak for a few minutes on each side, until cooked to your desired temperature with an evenly browned crust. Let steak rest for 10 minutes before slicing and serve with a sprinkle of flaky salt.
How to Reverse Sear on the Grill
There’s nothing quite comparable to a grilled steak, with its signature char and smokey flavor. To achieve the reverse sear on the grill, your setup needs both an area of direct heat as well as an area with indirect heat.
Step 1: Preheat the Grill
Get the indirectly heated area of your grill to about 225F. While the grill preheats, season your steak as desired. Press the seasoning into the steak to make sure it’s properly adhered and won’t flake off and burn during the grilling process.
Step 2: Cook the Steak on the Indirect Heat
When your grill is preheated, place the steak directly on the grill grates of the low-temperature zone. Close the lid and let the meat cook until it is about 15 degrees below your desired finished temperature.
Step 3: Sear the Steak
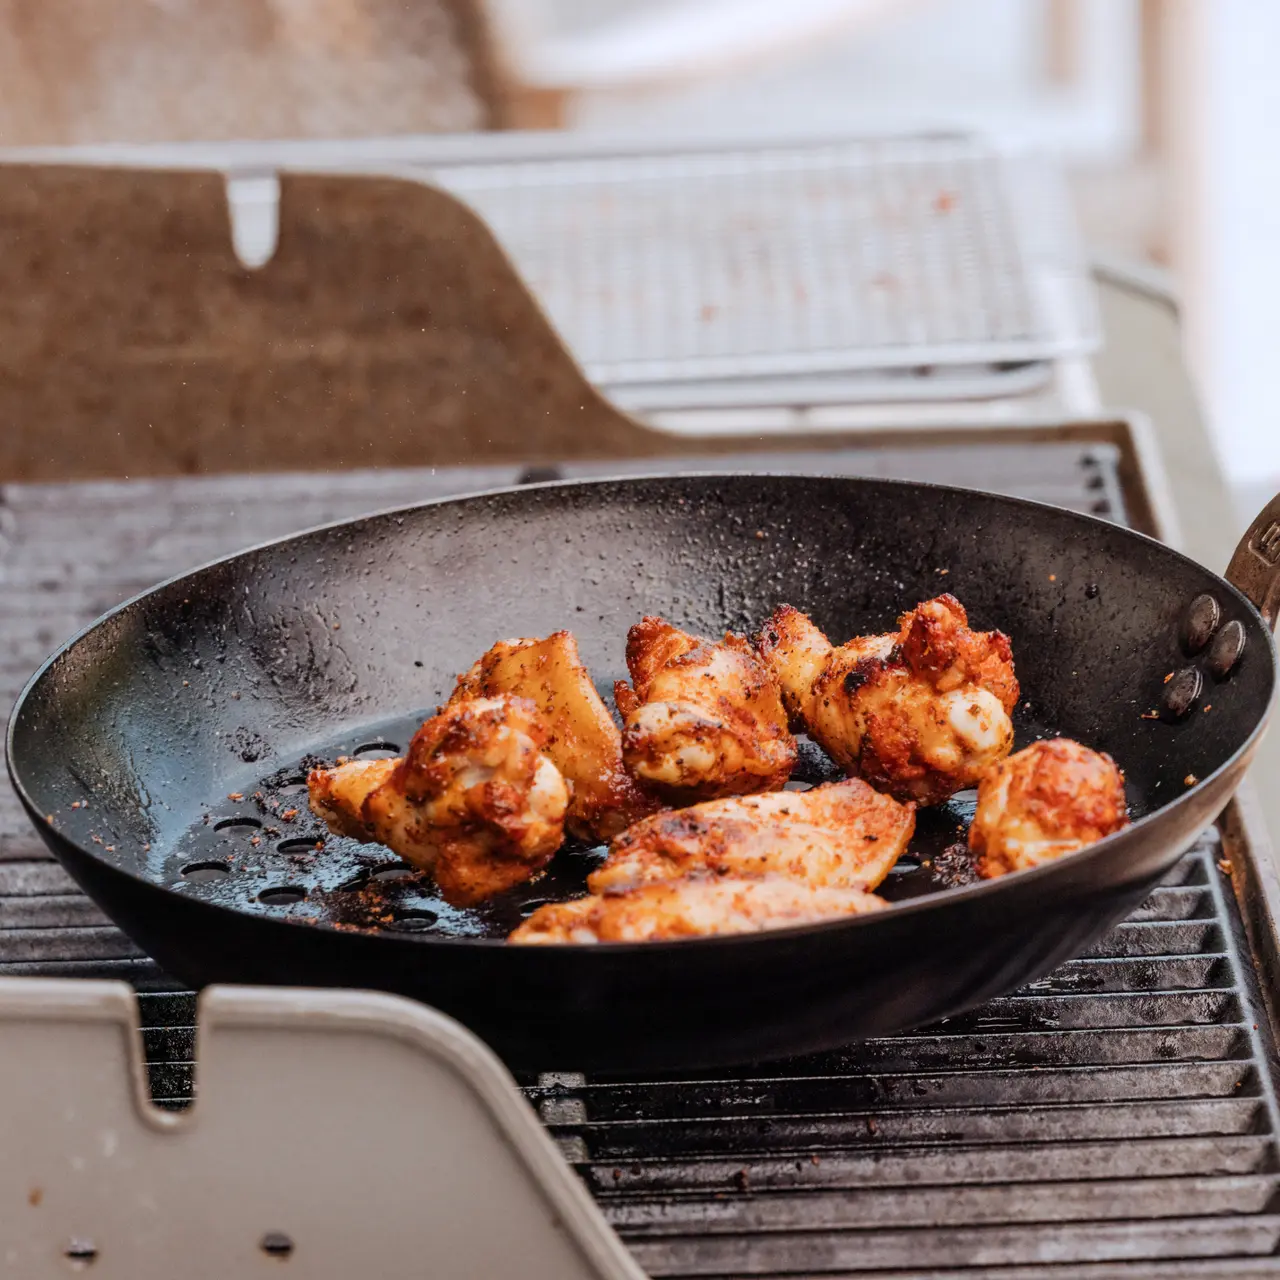
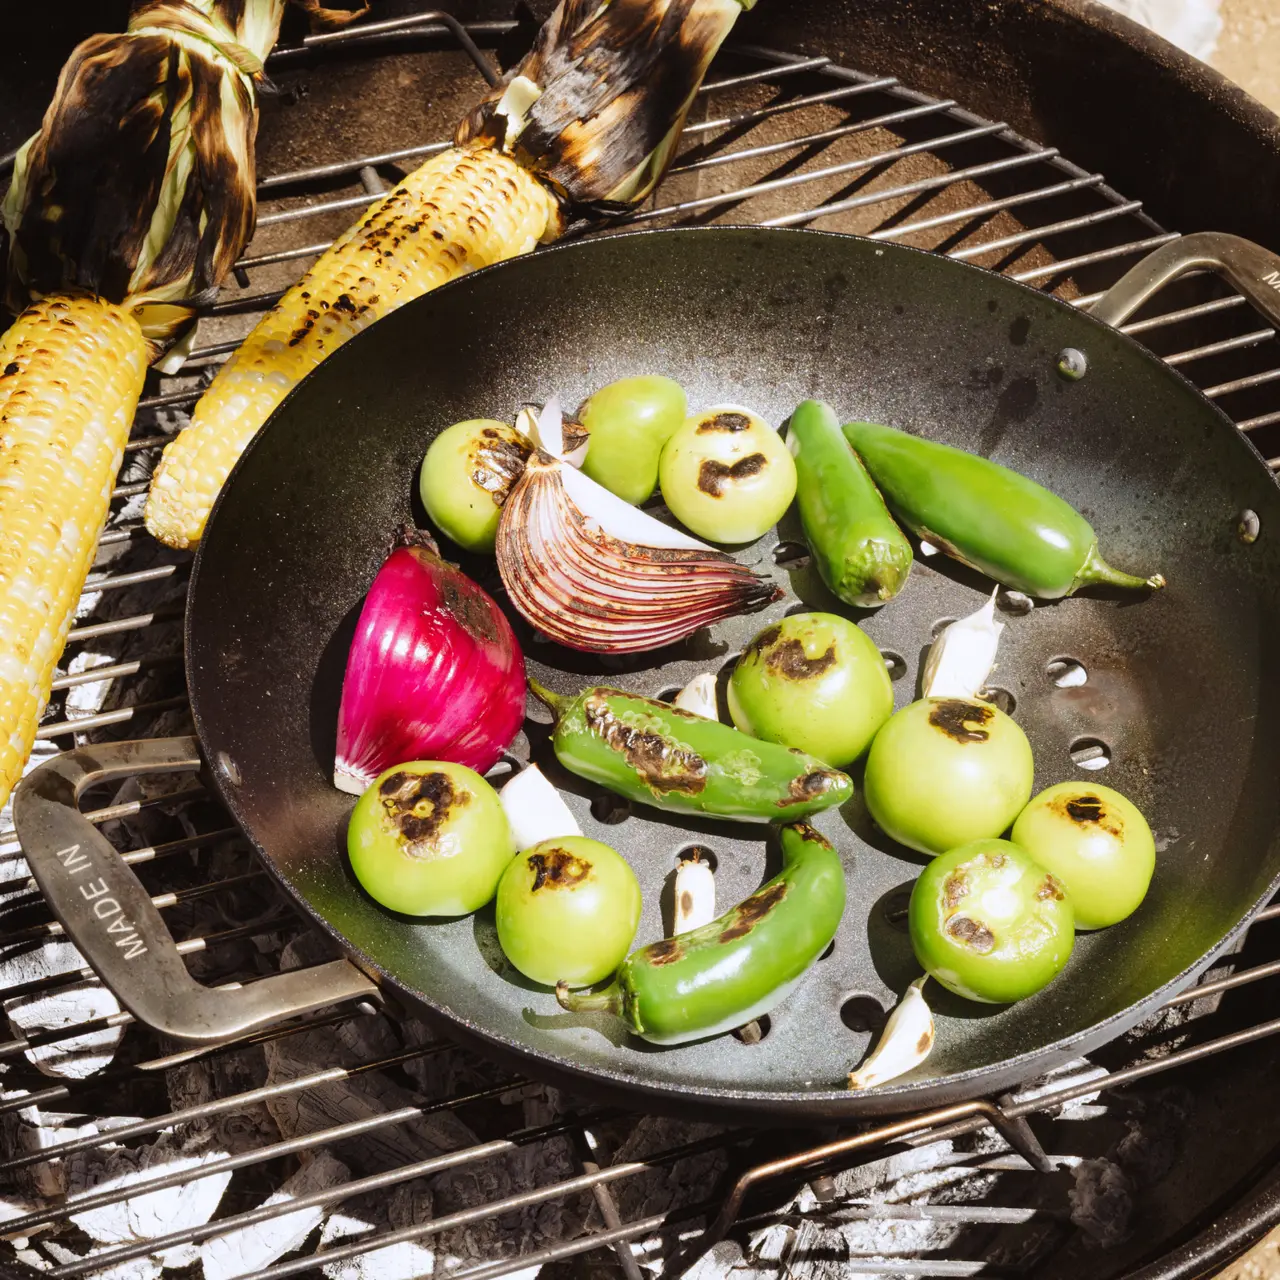
heat to direct heat (either directly on the grill grates or into a preheated Carbon Steel Grill Frying Pan), and sear it on each side for 2–3 minutes, or until done to your liking. Let steak rest for 10 minutes before slicing and serve with a sprinkle of flaky salt.
Reverse Searing Tips
With a little practice, reverse searing will have you making the steaks of your dreams in no time. Here are some tips for achieving the perfect reverse-seared steak, no matter which method you choose.
Use the Right PanCast iron is typically considered ideal for steaks due to its excellent heat retention and built up patina, which makes it naturally non stick. But cast iron skillets can be heavy and heat up slowly, so many chefs opt for Carbon Steel Pans which combine the heat retention properties of cast iron with the lightness of Stainless Steel.
A Carbon Steel Frying Pan can handle extreme heat on the stovetop while distributing it evenly across your steak. If you prefer to finish your grilled steak in a pan, you can preheat a Carbon Steel Grill Frying Pan right on the grill.
Refrigerate Overnight for Even Better ResultsReverse searing may take more prep time than just putting your steak straight on the grill, but if you invest the time, the end result is hard to beat. For even better browning, place the meat on a rack over a Sheet Pan and put it in the fridge uncovered overnight. The chilled airflow will help to dry the surface of the steak, making the Maillard reaction that much more effective.
Pick the Correct Cut of SteakWhile you can reverse sear any cut, certain cuts and thicknesses have more success.Ribeyes, filet mignon, tomahawk steaks, and t-bone steaks are all good choices for this technique. Additionally, a steak that’s between one and a half to two inches thick is best, especially for the oven method, as it can cook at a sufficient speed.
Ready to Cook?
You can achieve restaurant-level steaks at home with the right cut of steak, a Carbon Steel Frying Pan, and patience. If you can resist eating your steak straight off the grill, try it in recipes like Chef Kevin Fink’s Charred Steak Sandwich. Complete with mild Anaheim chilies and chewy Oaxacan cheese, these sandwiches are juicy, full of flavor, and cook up in just 30 minutes on the grill.
