"Julienne" is a French cooking term for the method of cutting vegetables into thin strips or strands, or the thin strips themselves. Here, we’ll walk you through how to julienne step-by-step, plus show you some different ways to use this versatile cut.
What Is a Julienne?
The julienne is one of 19 types of classic knife cuts used in cooking. First introduced in 1772 in a French cookbook "Le Cuisinier Royal," the julienne involves cutting ingredients, usually vegetables, into long, thin strips that can range from 2-3 inches long by 1/8-inch by 1/8-inch. It's also known as a matchstick cuts. Common foods to julienne are carrots, celery, cucumbers, and radishes.
Julienne vs. Chiffonade
Julienne and chiffonade both involve cutting an ingredient into thin pieces. While julinning is used primarily for vegetables, chiffonade is used for leafy foods like herbs. A julienne is usually about 1/8-inch wide, but a chiffonade can range from extremely thin to wider ribbons.
How to Julienne
Julienning is done by making thin slices in different directions, resulting in long strips of food. It creates attractive ingredients that can be just as decorative as they are delicious. The five-step method outlined below is perfect for those who are just beginning to perfect their knife skills. Follow along to see how it’s done.
Step 1: Have the Right Knife
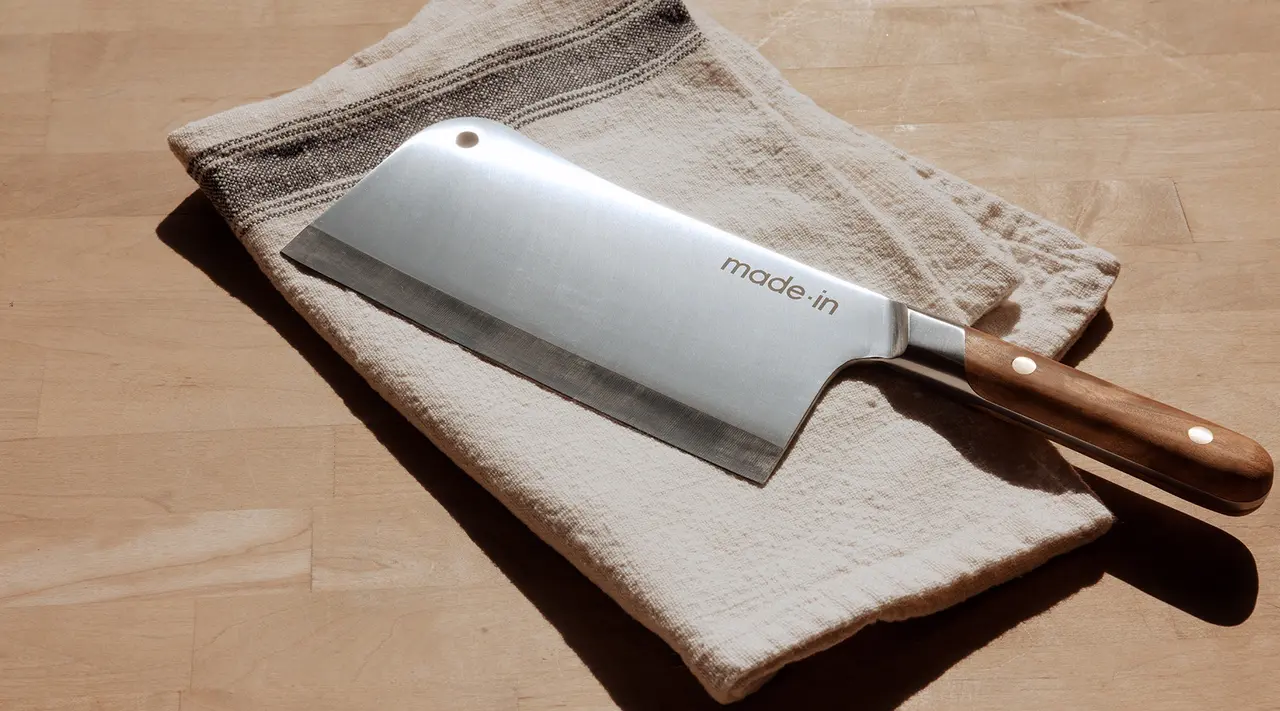
The first step to any cut, julienne included, is to have the right knife, preferably one that is thin, flexible, and sharp. We recommend a Santoku Knife as it is particularly well suited for cutting vegetables and has a straight blades. However, a Chef Knife works perfectly well, too. Make sure your knife is properly honed or sharpened before you begin.
Step 2: Prep Your Ingredients
Gather your vegetables, wash them carefully, and lay them on a paper towel to absorb the excess water. If using ingredients with a peel, like cucumbers or carrots, peel them and place them in a bowl next to your cutting board.
Step 3: Cut Crosswise
Start with a pinch grip on your knife, then cut your vegetable crosswise into segments 2-3 inches long. This will make it easier to make sure all of your strips are evenly sized later on.
Step 4: Slice Lengthwise
Working one segment at a time, make 1 thin slice lengthwise down one side and turn the vegetable piece so that it lays flat on the board. Curve your fingers and carefully hold your ingredients while you cut. Now continue making 1/8-inch thick slices lengthwise down the the side until you have cut the segment into thin planks.
Step 5: Slice Into Strips
Gather up your planks and stack them one on top of another. Make sure all of your planks are even and begin making 1/8-inch thick slices lengthwise until you have a bunch of thin strips or matchsticks.
If you’re new to knife skills, you may want to practice this a few times before using it for a dish you plan to serve. Once you perfect it, find a dish that shows off your new skill. The end result will be rewarding, beautiful, and most importantly, delicious.
Ready to Learn Even More?
Now that you’ve mastered the julienne, the next step is the brunoise. A brunoise is smaller than a small dice, but not quite as fine as a mince. It’s great for cutting aromatics such as shallots or onions, as well as for cutting vegetables that will cook down and incorporate seamlessly into a dish. Like the julienne, it can also be used as a garnish.
To brunoise, simply julienne your ingredients, then gather them together in a small bundle. Try to line up the ends to get your cuts as even as possible. Next, turn your bundle at a 90 degree angle, then slice down to create cubes that are about 3mm on either side. You don’t need to measure with a ruler, but they should be small, evenly-sized cubes. Now you have a perfect brunoise.


