Out of all our favorite ingredients, few are as versatile as fresh garlic. Savory and assertive, this concentrated flavor bomb adds complexity to everything from fresh pesto sauce to fiery Indian achaar. We can’t think of many reasons not to add it to every dressing, pasta sauce, and curry—except, of course, the fact that it can be a little annoying to prep if you’re not used to it.
Instead of shying away from this aromatic all-star (or reaching for a pre-minced jar), we want to show you how easy it is to separate, peel, and chop fresh garlic. Here’s how to safely and efficiently break down a whole bulb, as well as how to smash, mince, and thinly slice garlic for a variety of different dishes—as well as why you should always use a good, sharp knife.
How to Properly Cut Garlic
Garlic bulbs can be unwieldy, and really fresh garlic—like the kind from the farmers market—can be even harder to break down and peel. Here’s how to do it safely.
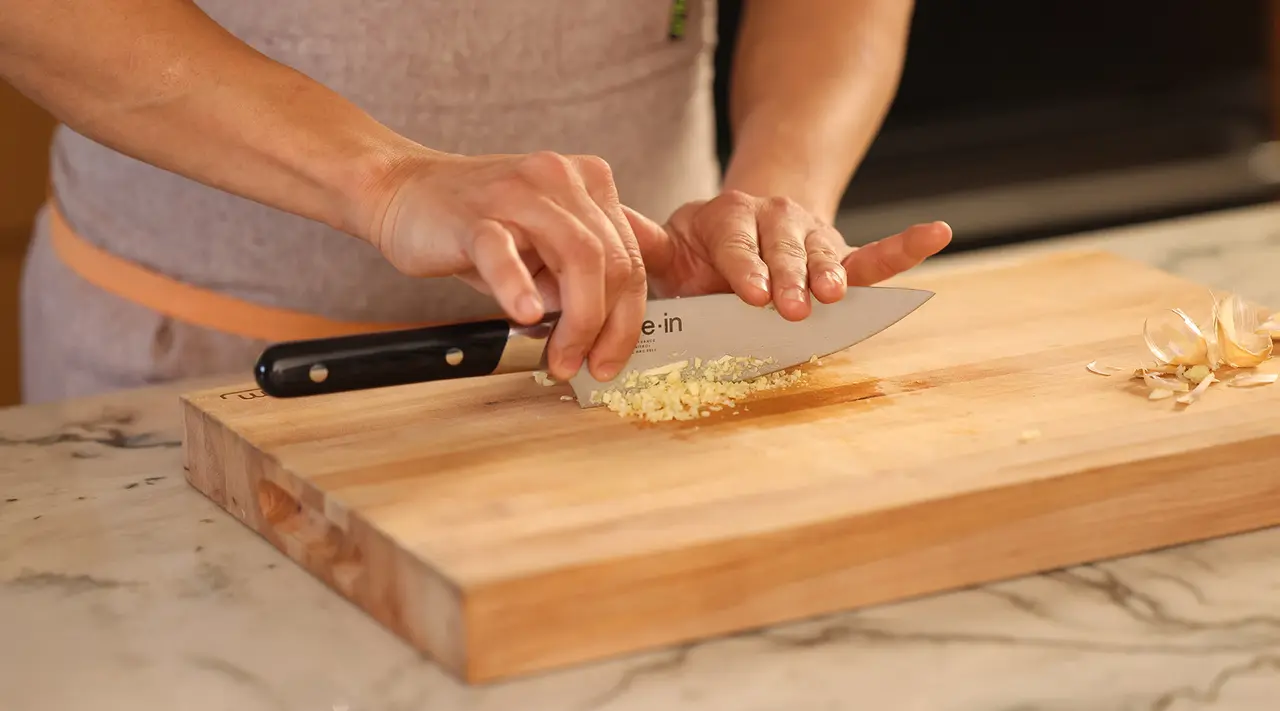
Other than using a sharp knife to minimize the risk of slipping, one major way to stay safe while working with garlic is to keep your fingers slightly tucked in while holding the knife (a good technique to practice when cutting almost anything).
Step 1: Set Up
The setup for cutting garlic is similar to how you would prep most fresh vegetables, with an emphasis on safety. You should have a solid, sharp knife and a cutting board or butcher block, ideally propped on a damp kitchen towel to minimize slipping.
Step 2: Separate the Cloves
Once you've loosened the cloves loose from each other, you should have an easy time using your fingers to separate the cloves from the root of the bulb. The number of cloves in a bulb of garlic will vary depending on size, but most bulbs will separate into around 10 individual cloves.
Step 3: Trim the Root Ends
Next, you'll want to remove the root ends from each bulb to make sure you get the best flavor possible. This can be done by simply cutting them away with a sharp Knife.
Step 4: Crush the Cloves
Place the loosened cloves flat side-down on your cutting board. With the heel of your hand, press down gently using the flat side of the knife (with the cutting edge facing away from you).
Step 5: Peel the Skin
Next, you should have an easy time removing the skin from each clove with your fingers. Yes, your fingers are going to smell like garlic for a bit after this (sorry, not sorry).
Step 6: Choose Desired Cut
Next, cut your garlic according to your recipe requirements: typical cuts include minced, sliced, and crushed. Sliced garlic imparts a subtler flavor to dishes, whereas crushed or minced garlic tends to be more assertive, and should be used sparingly.
Why Is It Important to Cut Garlic Correctly?
First things first: We will almost always recommend using fresh garlic over the jars of pre-minced or whole peeled cloves (though for some, jarred garlic is a godsend).
However, fresh garlic is so potent, it can easily overwhelm a dish if it’s cut incorrectly. That’s why it’s so important to make sure you’re using a sharp knife, as a dull blade can release more of garlic’s bitter, pungent flavors and aromas—which then make their way into your otherwise-perfect stir fry or pomodoro sauce. Then, make sure to cut each clove into consistently-sized pieces. You may not mind chomping down on a wayward chunk of garlic halfway through your meal, but not everyone feels the same way.
Best Knives for Cutting Garlic
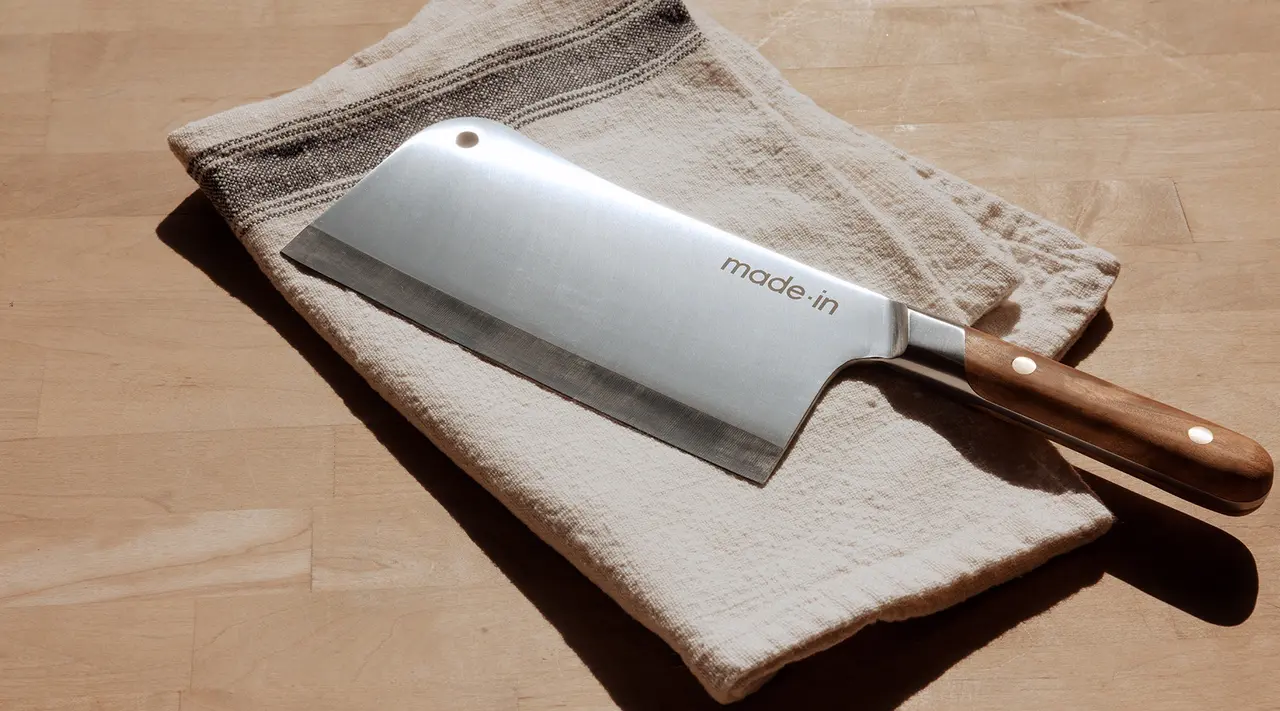
Though a good, sharp chef knife is our top pick for cutting garlic, a designated vegetable knife—like a nakiri or santoku—can work equally well. Depending if you’re looking to chop a truly small amount of garlic, or are looking for neat, perfectly even cuts, you might reach for a paring or utility knife.
Ready to Cook?
Mastering basic garlic cutting technique opens up a world of culinary possibilities, and you’ll be surprised by how much better your food will taste. As we’ve pointed out, however, using a great knife can make a noticeable difference in how your prepped garlic turns out. Not only does it make for less effortful chopping, but it helps keep your garlic from tasting too bitter or spicy.
Our Chef Knife, Nakiri, and Santoku knives give you all the power and precision you need to give this flavor-packed allium its due.
