Stock is a wonderful way to add flavor to a dish. Whether you’re making a batch of soup or whipping up a pan sauce, it’s an important ingredient and something that professional chefs always have on hand. While there are many varieties of stock available at your local grocery store, from robust beef to delicate dashi, this is an ingredient that benefits from being made in your own kitchen if at all possible.
“Having homemade stock on hand is a must,” says David Carrier, of Certified Burgers and Beverage in Saint Simons, GA. “There’s simply nothing on a store shelf that can replace something you can make—it’ll just turn out so much more rich and succulent if you do it at home.”
Besides being a fun and rewarding weekend project, stock helps cut down on food waste by putting vegetable scraps and animal bones bound for the trash or compost to delicious use. Best of all, while you can follow a recipe, you don’t need to. No batch may ever be exactly the same, but that’s part of the fun of it.
Once you know the basic premise, you can experiment with different ingredients, cooking times, and spices to create different flavor profiles. Follow along to learn how to make your own stock at home.
What is Stock?
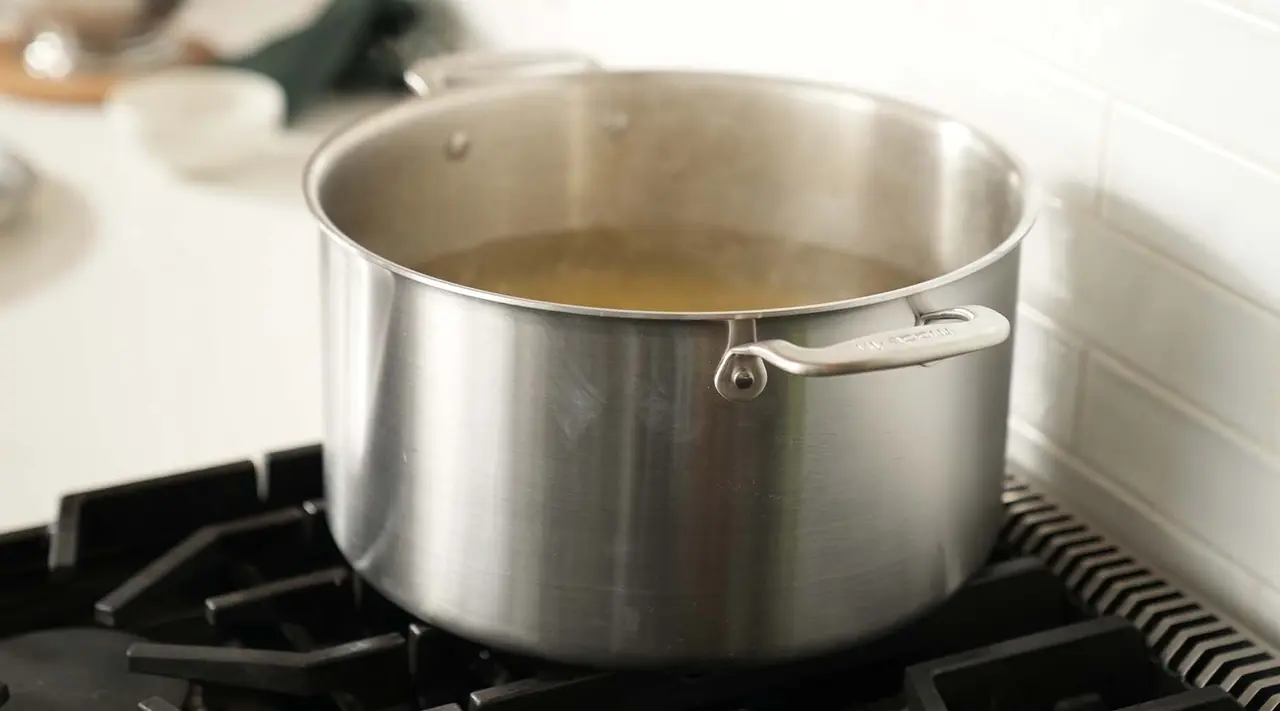
Stock is a flavorful liquid made from slow simmered bones, vegetables, and aromatics. Unlike broth, the addition of protein, specifically bones, is crucial as over the course of the cooking time, it breaks down, giving the stock a gelatinous quality when cool. Because of this, there’s technically no such thing as vegetable stock. Stock also has a much longer cook time than broth, ranging from four to six hours.
What’s the Best Pot to Use?
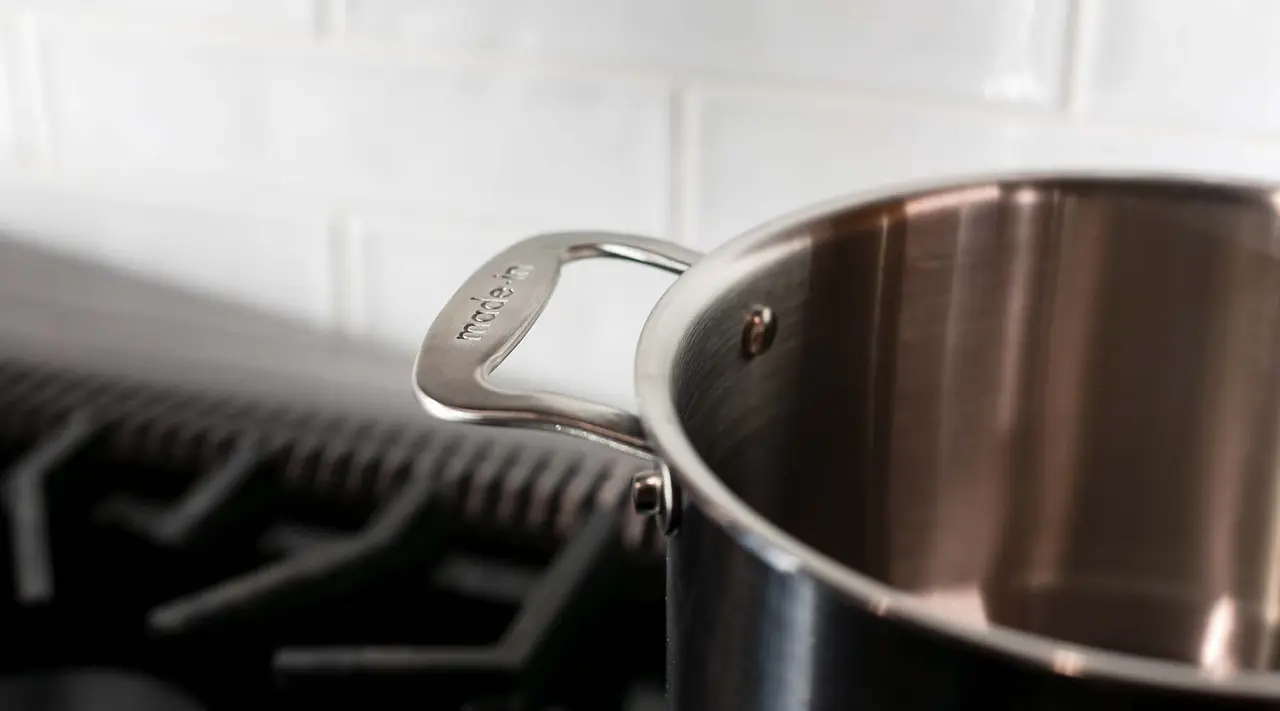
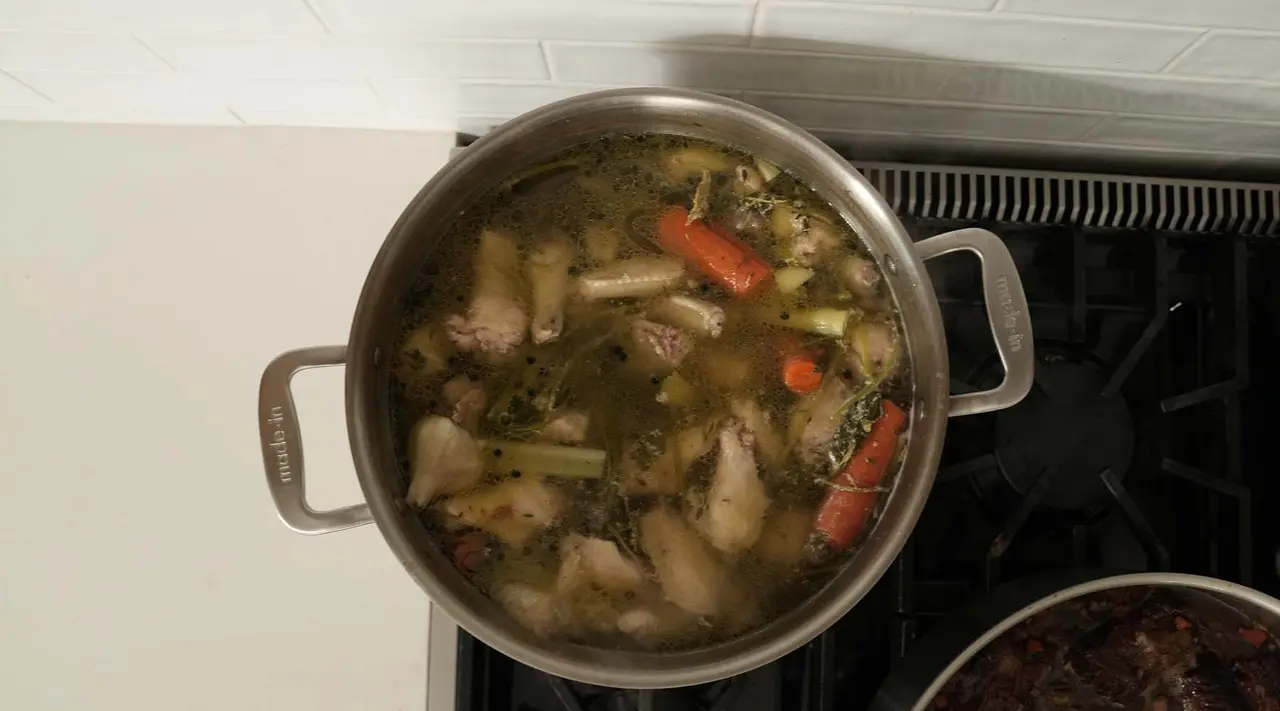
To make stock, you need a pot that’s large enough to fit all of your ingredients and liquid and can maintain a constant heat for a prolonged period of time. Our Stock Pot is specially designed for this purpose. Its Stainless Clad construction keeps heat distribution even, so you can bring your liquid to a boil and simmer the stock for several hours. What size Stock Pot you choose depends on the size of the batch you’re making.
What Can You Add to Stock?
Rather than buying ingredients specifically for stock-making, Chef Carrier likes to keep a bag in the freezer to collect scraps and bones. Each time you peel or trim a vegetable, as long as you’re not removing something that’s gone bad, add them to a gallon freezer bag and keep them in the freezer. “You’d be surprised how quickly you can collect enough for a batch of stock,” he laughs.
This is especially good around the holidays when there will be plenty of peelings from potatoes, carrots, shallots, onions, and garlic as well as mushroom stems and leek tops. Though many stocks include celery, Chef Carrier opts to omit it. “The long cooking time of stock tends to draw out the bitterness of celery,” he says. “Also, if you’re adding herbs to just add the leaves and avoid the stems—they can impart a woodiness.”
The same goes for other scraps, from rotisserie chickens to Thanksgiving leftovers. If you’re breaking down a whole chicken, make sure you save all the bones and unused meat because they’re perfect for stock. Keep in mind that stronger flavors impart stronger tastes, so add your ginger knob or parmesan rinds in the last hour of cooking so as not to overwhelm the final product.
How to Make Stock
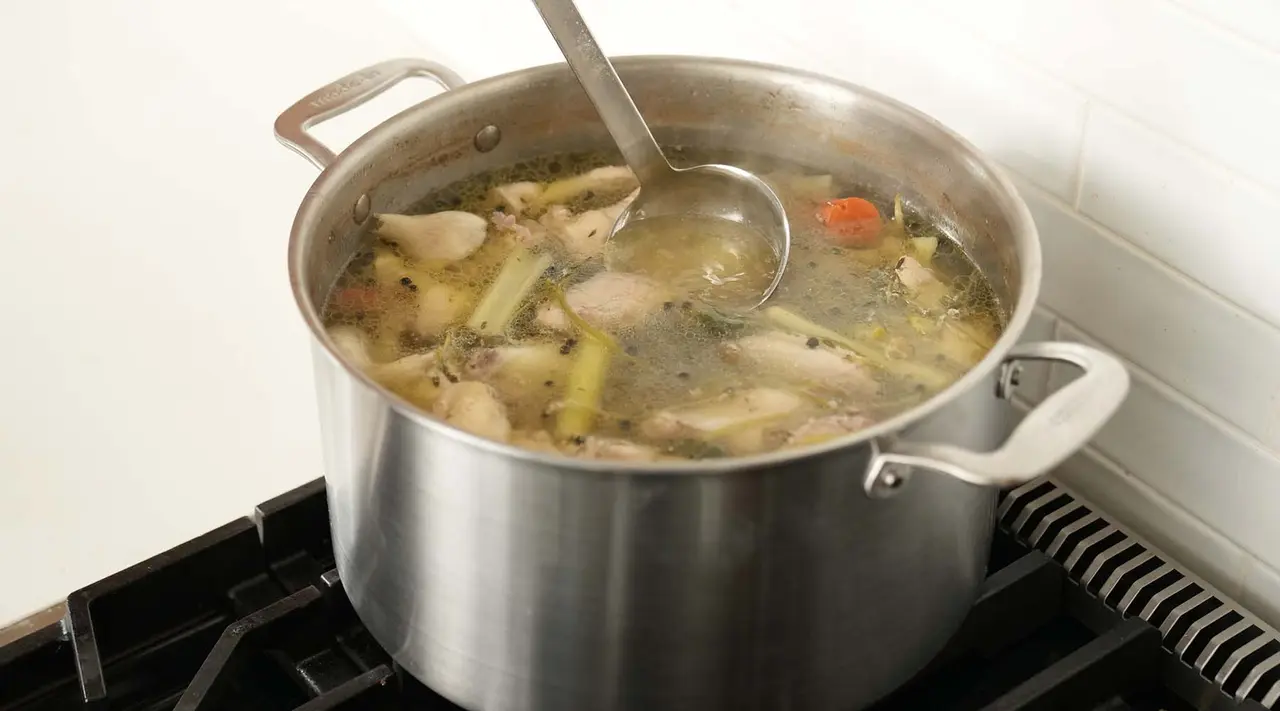
Now that you know what to cook your stock in and have some ideas on how to flavor it, follow these guidelines to make it. Keep in mind what you plan to use the stock for. If it’s going in soup, you may want to keep the flavors more mild, but if it’s the basis of a pan sauce, you can lean into other flavors present in the dish.
Step 1: Bring to a Boil
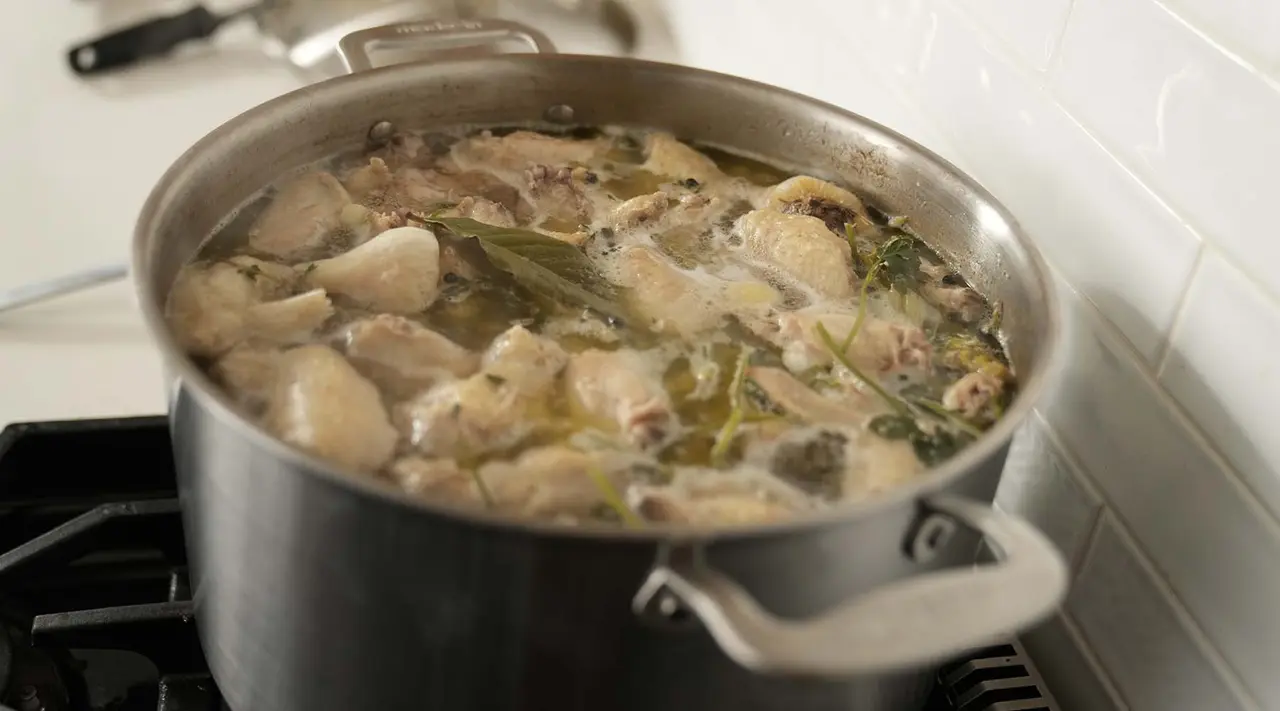
Place all your bones in the Stock Pot, cover with water and bring to a boil. If you want to add an even deeper layer of flavor, you can roast your bones and vegetables first and then proceed to add in just the bones.
Step 2: Skim the Scum
Once the mixture comes to a boil, the bones will start to release foamy bits of protein called scum. Just like when you’re cooking beans, skim off this scum as it rises to the surface. This may take a few minutes. Once it’s gone, return the mixture to a simmer.
Step 3: Add in the Vegetables
Allow your stock to simmer for one to two hours before you add in your vegetables. This allows the meat some time to infuse into the broth and the vegetables won’t get in the way of skimming the scum. Add in your vegetables and continue to simmer. The longer you cook your stock, the more intensely flavored it will become.
Step 4: Cool, Strain, and Decant
After your stock has simmered to your desired level of flavor, allow it to cool fully. Next, strain out the solids and discard. You can then transfer your stock to containers. It will keep in the fridge for about a week and can be frozen for up to six months. We recommend freezing it in deli containers or large ice cube trays so you can defrost the amount you need based on the recipe you’re using it for.
Ready to Cook?
Making stock from your scraps is not just endlessly customizable but a great way to reduce waste in the kitchen. For those who crave a specific recipe where you’ll get the same result each time, we have you covered too. Our Classic Chicken Stock is a nearly all-purpose stock. It’s a welcome addition to soups and risotto, where it’s light enough to not overwhelm the finished dish, and it’s also a key ingredient in holiday gravy.
