Buying a whole chicken and breaking it down yourself is beneficial for a few reasons—it’s great for your knife skills, your wallet, and your ego. Trust us, you will feel rightfully proud of yourself once you’ve mastered this skill.
Plus, you’ll have a whole bird complete with breasts, legs, back, and potentially liver, heart and gizzards, all for the price of what two breasts would cost you (not to mention the scraps for stock). Here's how to get started.
What Knife Is Best for Breaking Down a Chicken?

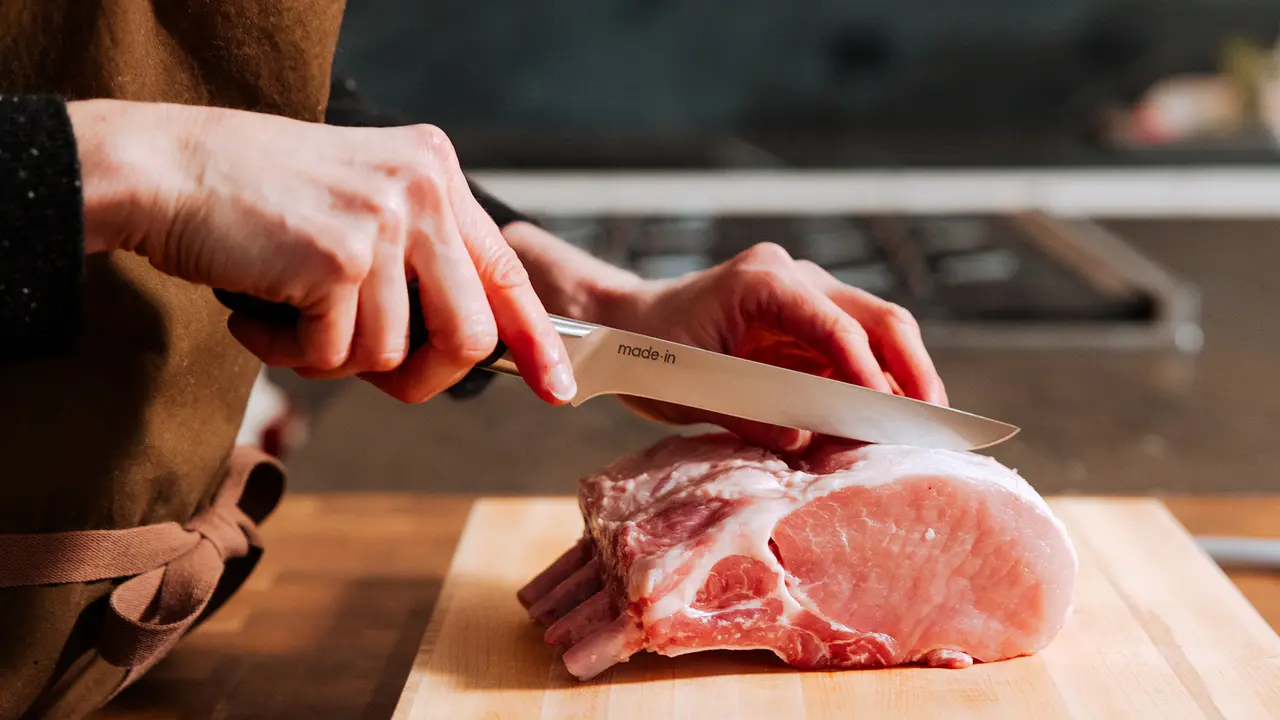
No matter if it's your first time breaking down a chicken or your thousandth, it’s important to have a flexible knife that's able to safely and efficiently navigate around bones and separate flesh from muscle.
We recommend a using a boning knife for this task. The blade is flexible enough to deftly slip between wings and drumsticks, but sturdy enough for cracking the back or spatchcocking. If you don't have one on hand, a standard 8" chef knife or 7" santoku knife can get the job done, but note that they're not as flexible as a boning knife and more caution needs to be used.
How to Break Down A Chicken Into Four Pieces
The simplest way to take apart a chicken is into four pieces—two breasts and two legs for eating, plus the back, two wingtips and a few bones for chicken stock. If possible, we recommend using an air-dried bird for this process, instead of one that’s been dipped in an ice bath.
Step 1: Remove Chicken From its Packaging
Take the chicken out of its packaging and pat it dry. We prefer to use paper towels for this, but you can use a clean kitchen towel too. Also, make sure you’re working with a non-porous cutting board, so opt for plastic over wood.
Step 2: Trim the Wings

Start by trimming off the tips of each wing. Slice through the joint located at the wing and set it aside for making stock. If your chicken also came with a neck, put it in the stock pile too.
Step 3: Remove the Wishbone
Next, make a small cut down each of the longer bones of the wishbone, to separate it from the meat. Get your fingers behind it and grab the part that connects to longer bones. Pull the wishbone free of any connective tissue and set it aside for stock.
Step 4: Remove the Back
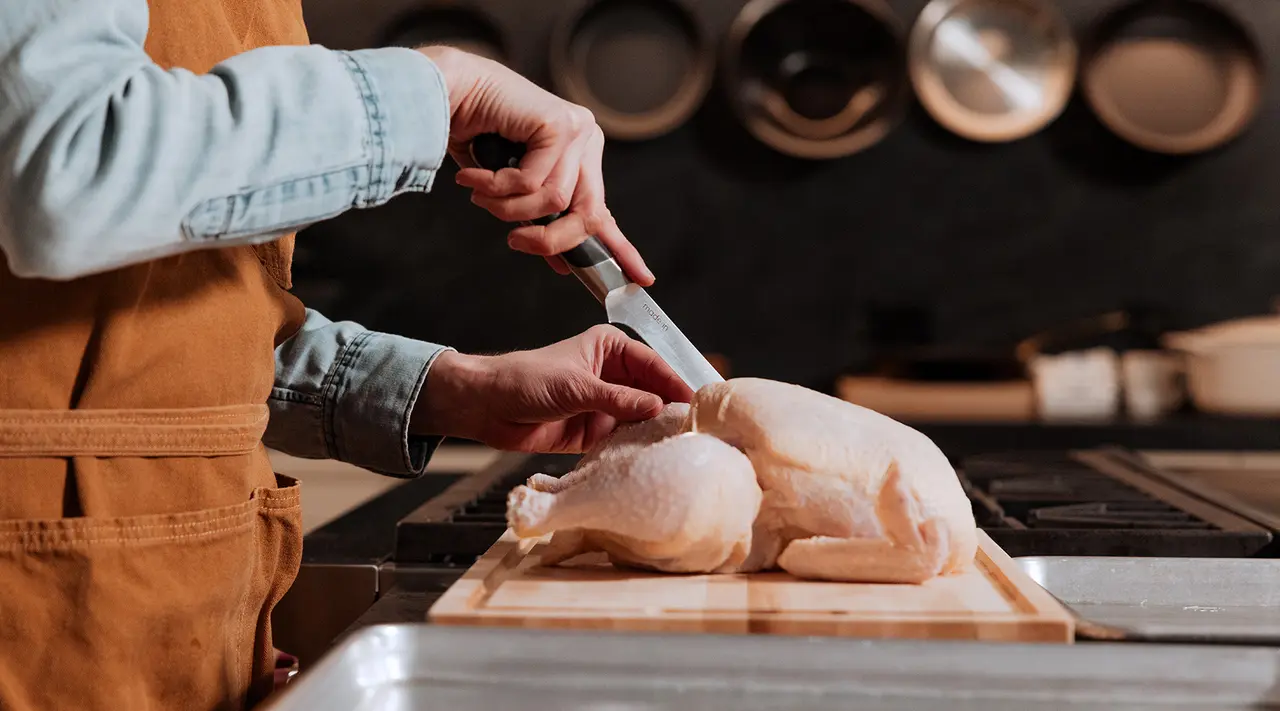
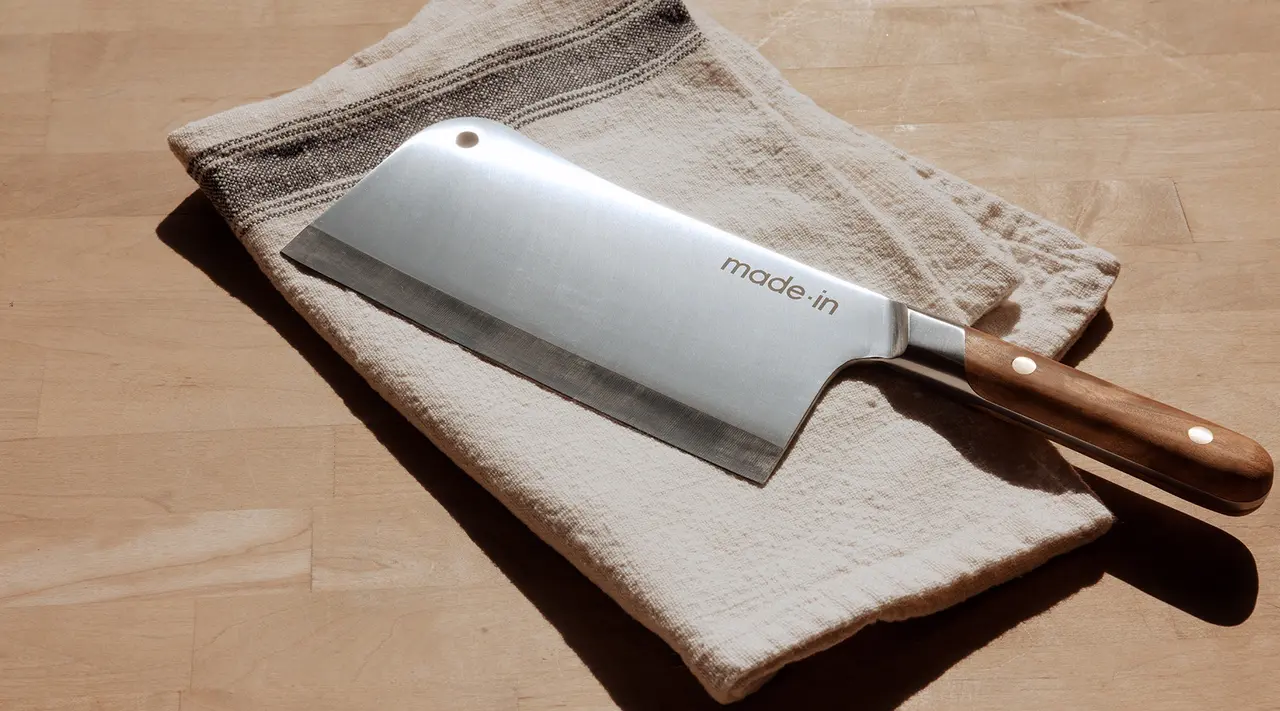
This step can still be done with a boning knife, but if you have a cleaver handy, feel free to break it out. Set your bird vertically on your board, with its back facing up. Slice through the cartilage that connects the breasts to the back, but don’t go past the second rib.
Make short cuts with you knife, and once you’ve sliced through the shoulder on both sides, the back should come free. With the addition of the back, your stock bag is now complete. Store it in the freezer for future use.
Step 5: Split the Breasts
Place the bird skin side down on your cutting board. Run your knife down the middle, just to the left of the breast bone. Be gentle—the meat will pull away and expose where you need to cut. Then, place your knife along one side and press down until the bone cracks. Repeat this on the other side and set the two breasts aside.
Step 6: Remove the Legs

Hold one of the drumsticks and pull it outwards so the skin is taut. Slice through the skin between the leg and the body, but don’t go too deep. Grab the leg and then pull and twist downward. This should cause the ball joint to pop out of the socket.
Step 7: Remove the Oyster
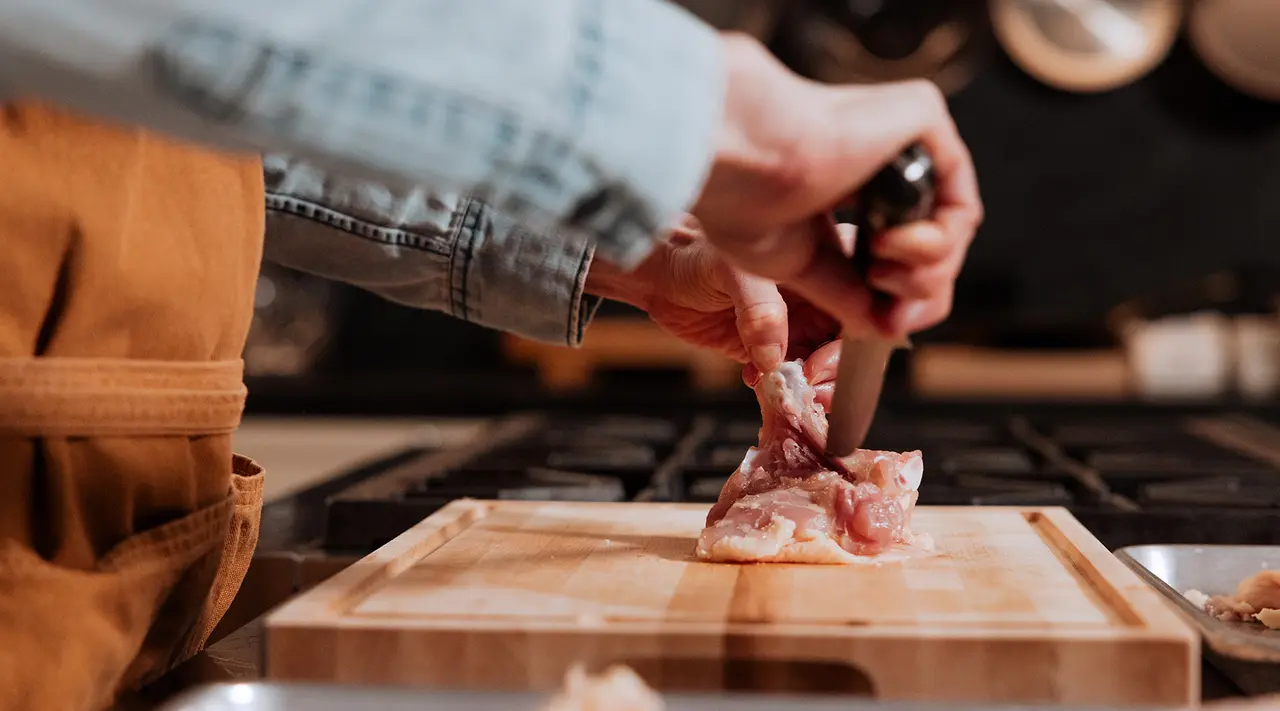
Now that the joint is exposed, you can cut through it. Make sure to get the oyster, which sits close to the spine and is sometimes referred to as the tenderloin of chicken. This is one of the most coveted morsels of meat, and since you took the time to break down this bird, it’s rightfully yours.
Step 8: Repeat on the Second Leg
Now it’s time to do this all again on the second side. Repeat and set them both aside. You should now have two legs and two breasts.
How to Break a Chicken Down into Eight Pieces
If you want wings and drumsticks, you can break your chicken down even further. Going from four pieces to eight is fairly simple, and you’ve done most of the hard work already. This is a good option if you’re hosting a party, as prices for wings tend to go up around events like the Super Bowl. Here’s how it’s done in just two steps.
Step 1: Break Down the Legs
To separate the drumstick from the thighs, locate the ball joint between the two pieces. Slice through the joint—you now have two pieces. Repeat with the other leg.
Step 2: Break Down the Wing and Breast

Locate the shoulder joint to separate the wing from the breast. Hold the wing in your free hand and cut through the joint. Repeat with the other breast.
Ready to Cook?
If you're thoroughly inspired now that you know how to break down a chicken like a professional butcher, all you need is the right tools to get the job done quickly and safely. Our Boning Knife features a flexible, yet durable full tang and fully forged blade, perfect for breaking down a whole chicken.
