The French word chiffon means cloth, sometimes more directly rags. To chiffonade then translates to “crumpling” or “making rags”. If you think about your ingredients like cloth, then this makes a lot of sense. The chiffonade cut is made by layering leaves—whether small like basil or large like collard greens—on top of one another to cut thin strips.
Chopping, slicing, even dicing sound exactly like what they are and are likely easy to picture. The term chiffonade may conjure up images of fancy dresses or fine dining—however, it too is a basic cut that is useful in many applications and is easy to master.
What Is the Chiffonade Cut?
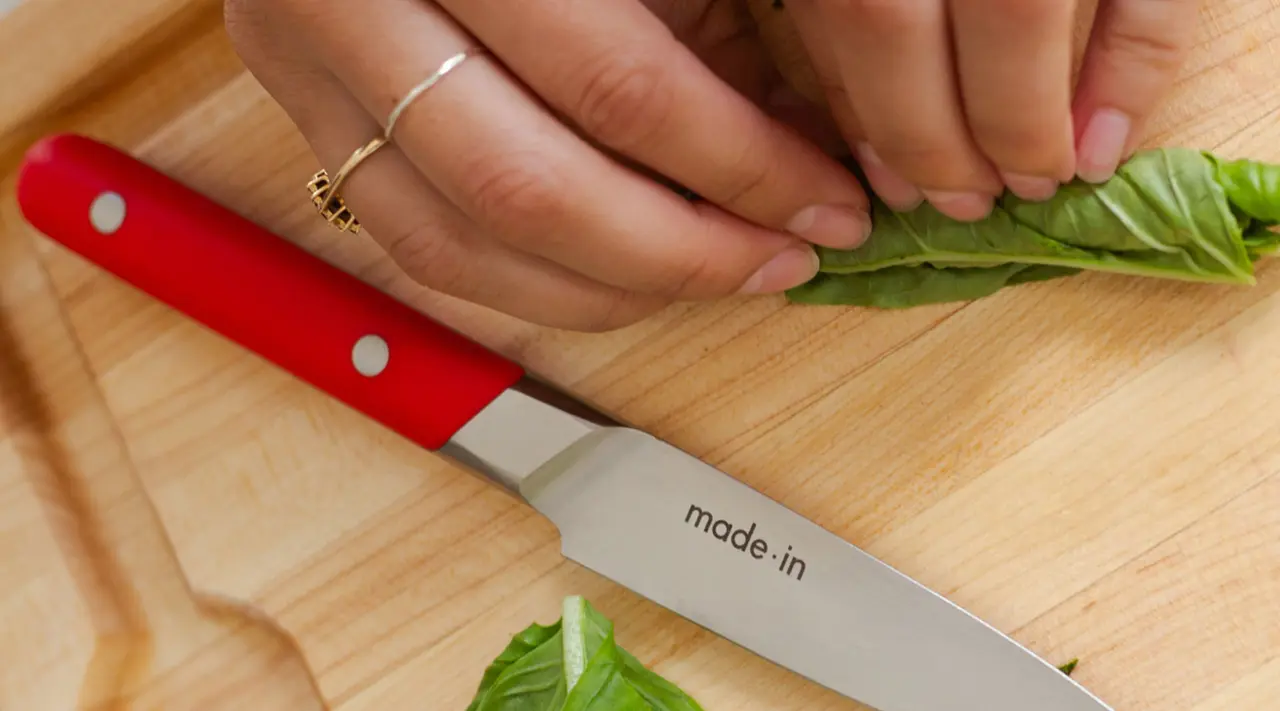
The chiffonade cut is essentially a modified type of slice for more delicate leaves, typically used as a garnish or as a way to incorporate leafy greens into a dish so they cook down into silky ribbons. For example, herbs like basil are often given the chiffonade treatment for a more attractive presentation in salads, sauces, or to top a dish. For leafy greens like kale, collard greens, or chard, using the chiffonade cut is great for cutting them down for easier incorporation into pasta dishes or soups.
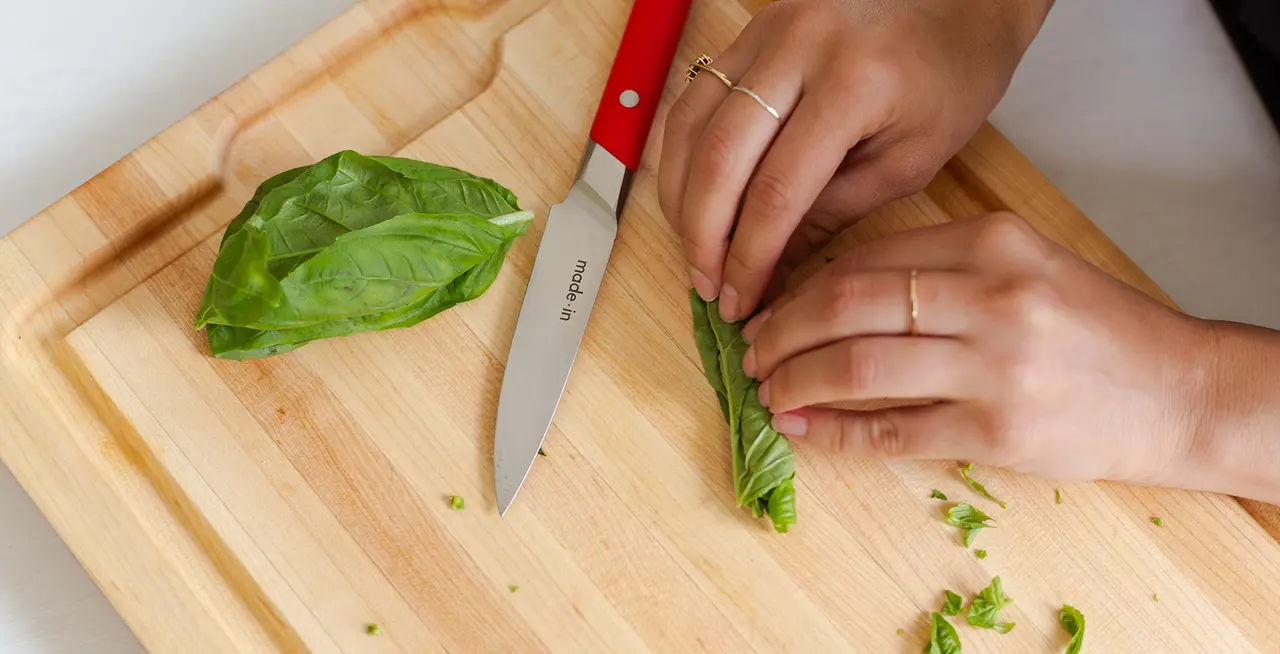
To help keep the leaves together, they’re often rolled into a tube and then sliced. This allows you to cut multiple leaves at once, no matter the size, and ensures that they all turn out relatively uniform. For more herbs, chiffonading helps make more manageable and attractive pieces without bruising the delicate leaves.
What's the Difference Chiffonade vs. Julienne Cuts?
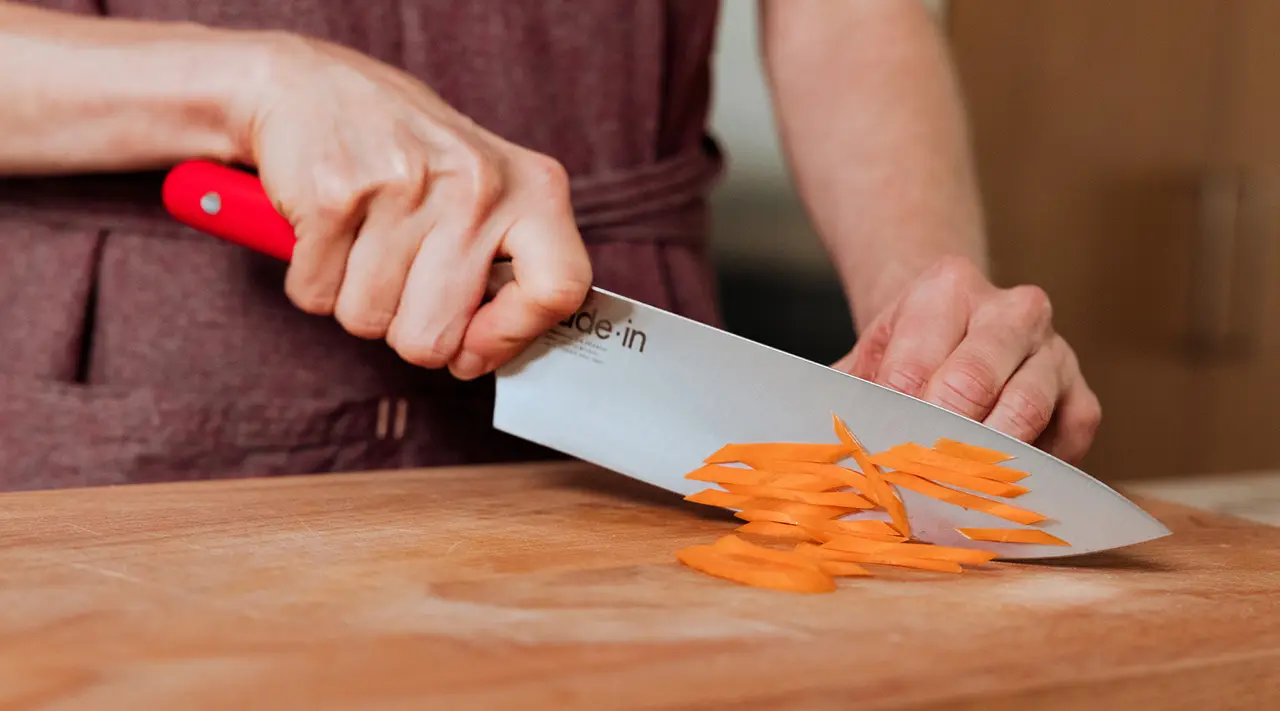
The idea of making thin cuts while chiffonading is very similar in practice to the julienne cut, and the end result of both techniques are alike in size and shape.
What sets chiffonading and julienning apart are the ingredients these cuts are used on. While a julienne cut can be used on a variety of vegetables and even proteins, the chiffonade is only for leaves. For example, you can julienne a beet, but you would chiffonade its greens.
How to Chiffonade Herbs
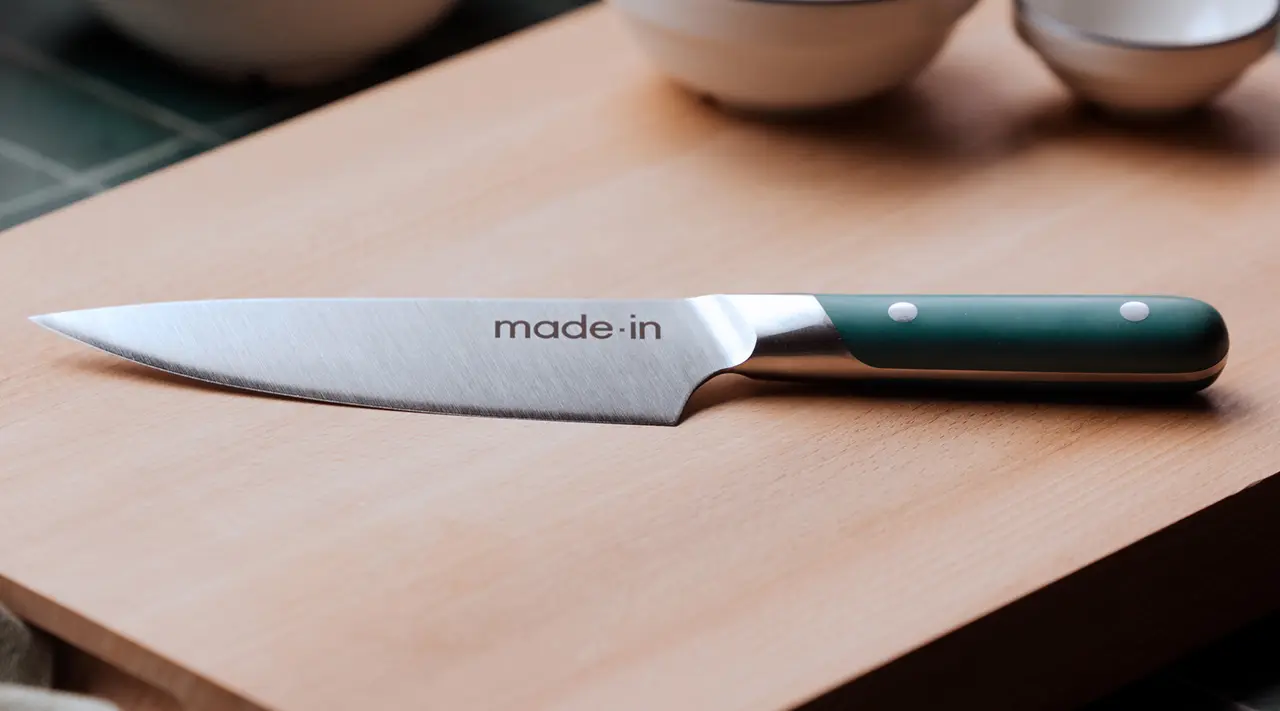
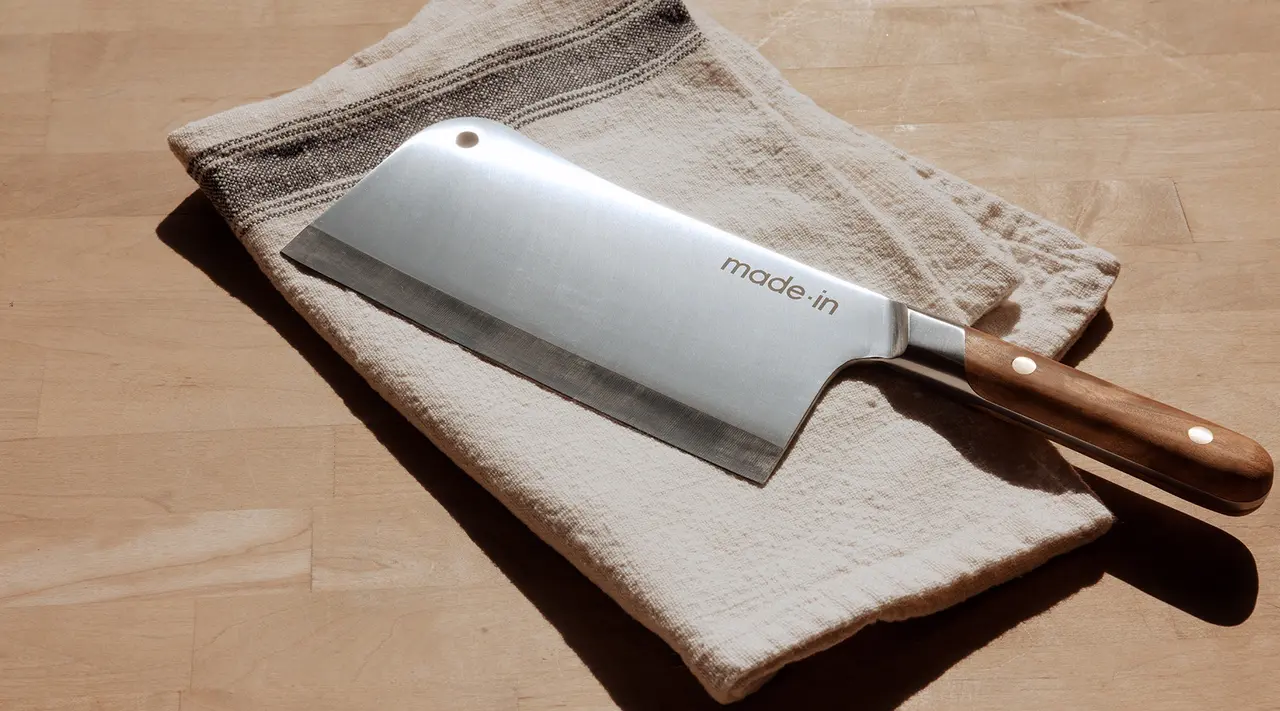
Chiffonading is often used for leafy herbs such as sage, mint, or most commonly basil. Here, we will be outlining how to chiffonade basil, but this same technique can be replicated on leafy greens. For herbs, we like to use either a 6” Chef Knife or Nakiri for maximum control. Make sure your knife is very sharp to avoid bruising the leaves, which will discolor them. If you’re chiffonading larger greens, feel free to use your Nakiri or scale up to an 8” Chef Knife.
Step 1: Stack the LeavesStart by removing the leaves from their stems and stacking them one on top of another. Try your best to line them up so that your final ribbons are as even as possible.
Step 2: Roll the LeavesWorking from the smaller end, roll the leaves up into a tight bundle. You want to try to keep them together as best you can by holding them with your non-dominant hand.
Step 3: Slice the LeavesStarting at one end, slice down to create strips of leaves, as thin as you like, usually between 1/16” and ¼”. Move your knife up and down in a rocking motion, keeping the tip fixed to the board for maximum speed and precision. Note: once you’ve completed your chiffonade, use the basil to keep it from wilting or discoloring.
Ready to Cut?
Now that you know how to chiffonade, try your hand at some more basic cuts like the slice, dice, mince, or julienne. Chef Sarah Heard from Austin’s Foreign and Domestic walks you through the techniques every home chef should know with easy to follow along instructions for verbal and visual. Make a big salad or soup to build your confidence and show off your new skills.
