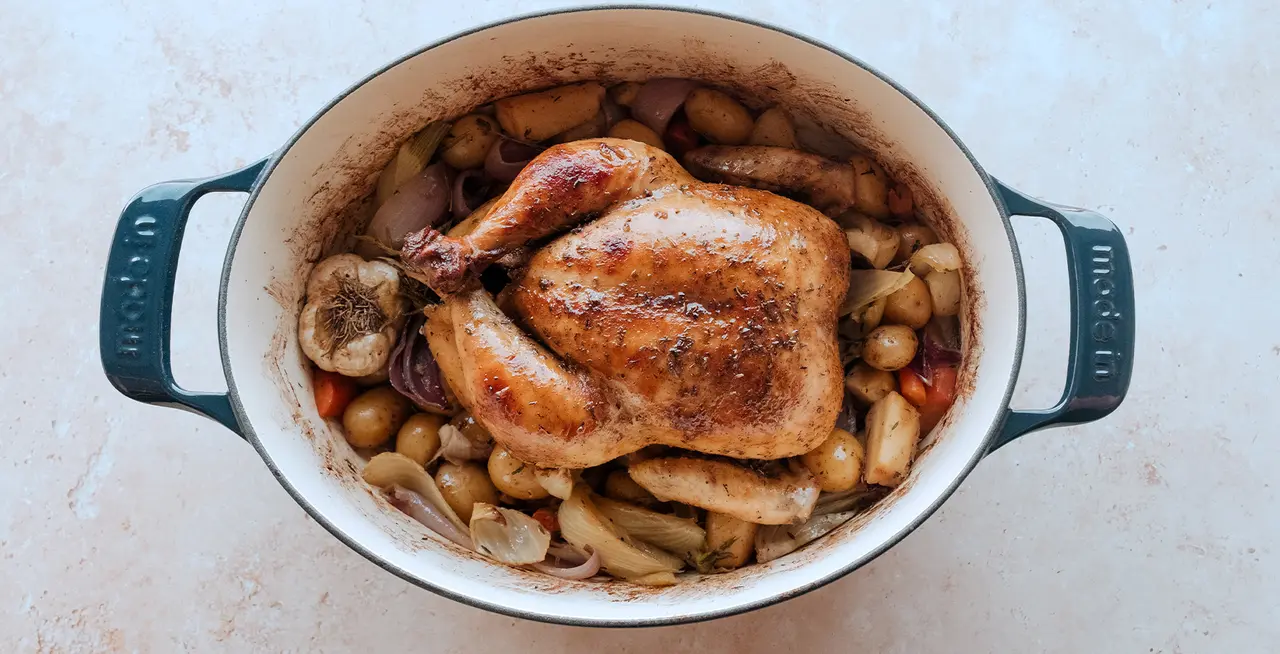
Sometimes you need the comfort of a whole roasted chicken. One of our favorite ways to achieve the ideal roasted chicken is by using a Dutch oven. Not only does using the enameled cast iron pot help the bird retain moisture, it also enhances flavor and requires very little effort. Roasting a chicken in a Dutch oven gives you an easy-to-make, tender, and flavorful meal. Keep reading to learn how to cook a whole chicken in a Dutch oven.
Why Roast a Whole Chicken in a Dutch Oven?
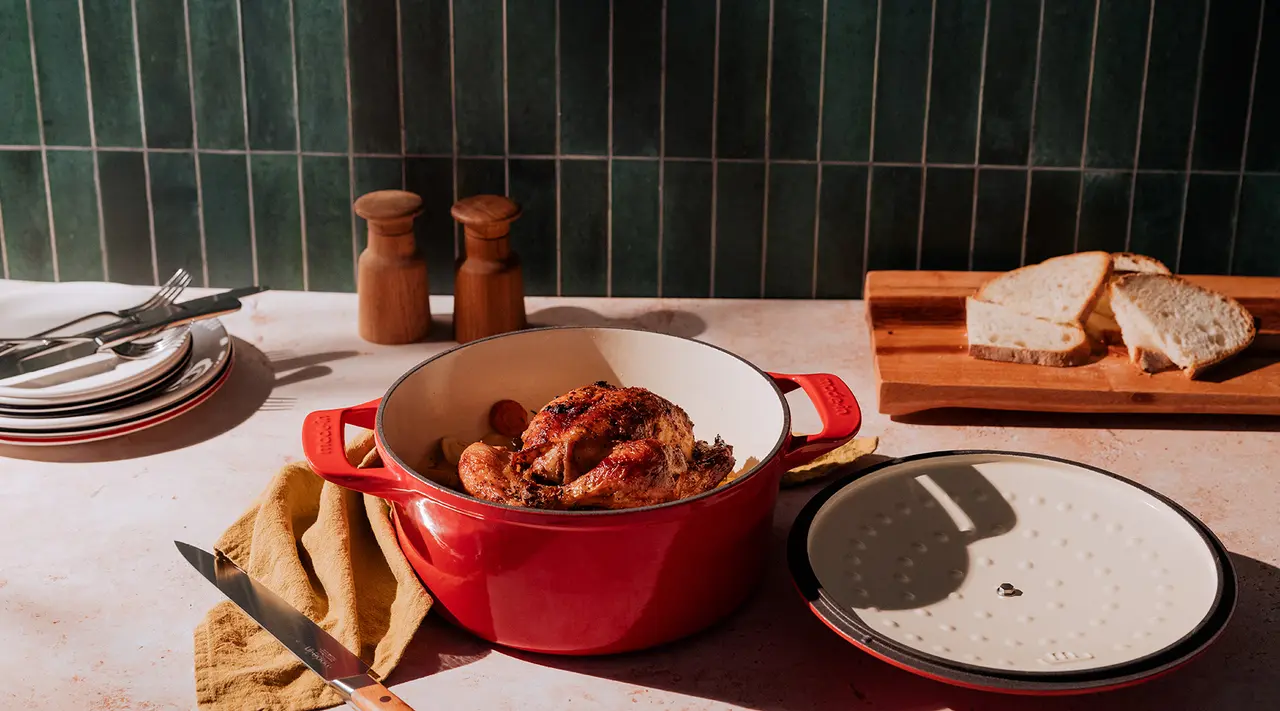
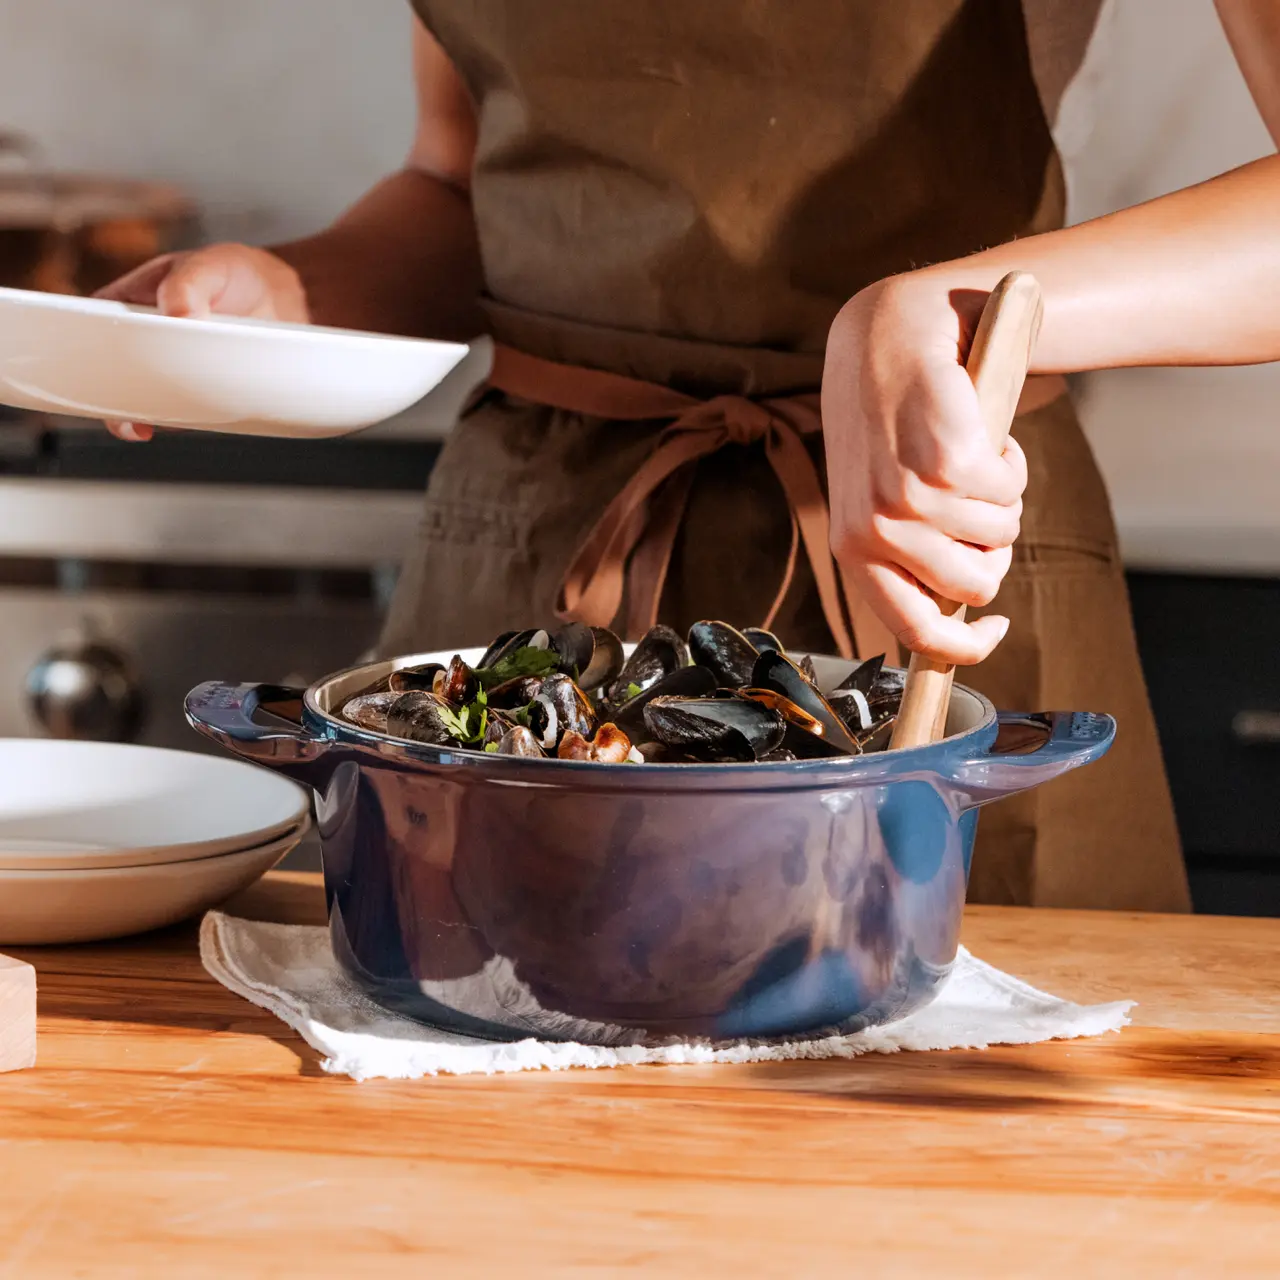
Our Enameled Cast Iron Dutch Oven excels in many scenarios, including slow-cooked stews, hearty pasta sauces, and flavorful braises. The cast iron core of a Dutch oven means it distributes and maintains heat incredibly well. Meanwhile, the enamel coating protects against sticking and the proprietary Cloud Cover Lid traps steam to lock in moisture.
With these powers combined, when you cook a whole chicken in a Dutch oven, you’ll be rewarded with a perfectly cooked, juicy chicken in relatively little time. You can also roast other vegetables in the pot, letting the chicken fat and juices flavor them, too.
A roasting pan also works well for roasting chicken, with slightly different results. Roasting is a method of dry heat cooking, meaning ingredients inside will crisp and brown rather than steam. (You can still achieve golden brown crispy skin on a chicken in a Dutch oven, don’t worry.) There’s no wrong option, but we’ll show you how easy it is to cook a whole chicken in a Dutch oven below.
How to Choose the Right Dutch Oven for Whole Chicken Recipes
When roasting a chicken in a Dutch oven, it’s important to choose the right size. A typical bird will fit in a 5 to 7 QT Dutch oven. Enameled cast iron is also the ideal choice because it prevents sticking and makes cleaning up easy, while the cast iron retains heat and encourages even cooking. And, since we’re utilizing the lid, it’s important that the Dutch oven is deep enough for the lid to fit over the chicken, and also that the lid is tight-fitting, which will both trap steam and retain moisture.
Step-by-Step Guide: Cooking a Whole Chicken in a Dutch Oven
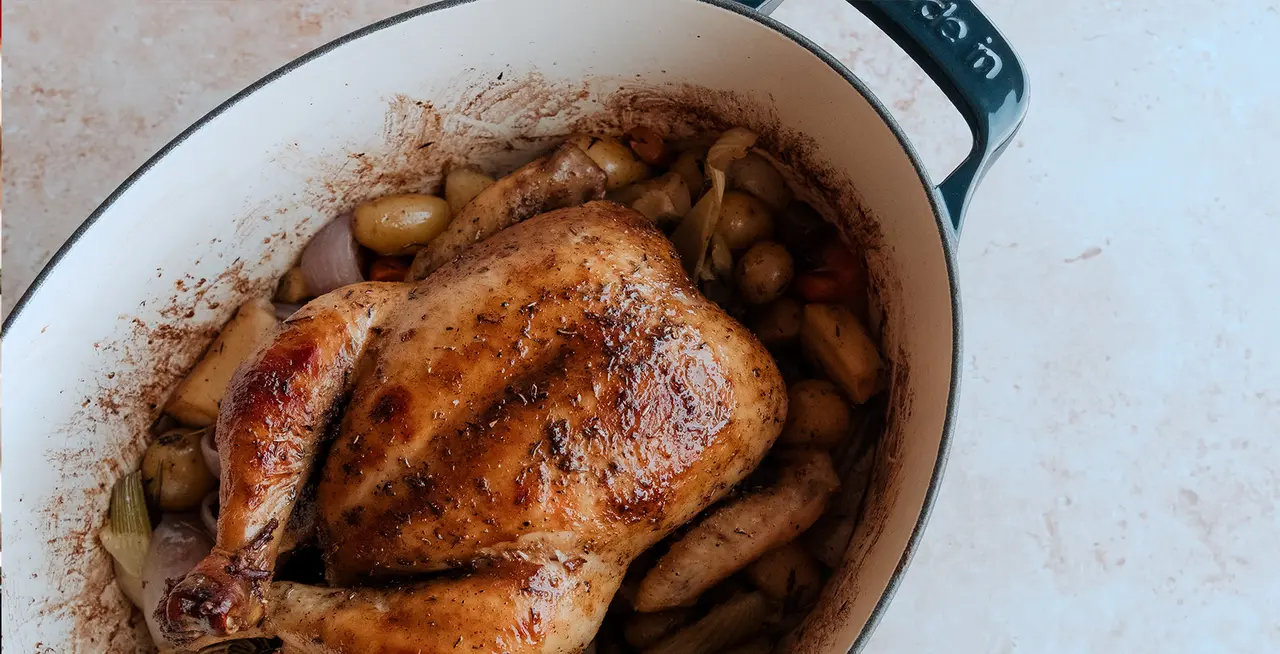
Step 1: Prepare the Chicken
First, choose your seasoning, whether herbs or spices. Fresh herbs add lots of lift, whether you chop them to incorporate into oil or butter for rubbing the chicken, or slip whole leaves of tender herbs like sage under the skin. You can also tuck a handful of woody herbs like rosemary and thyme into the chicken cavity. Lemon and chicken is a natural pairing, whether you roast lemon wedges in the pan or spritz the cooked bird with fresh lemon juice. Another great way to add flavor and ensure moisture is brining, whether dry or wet.
Step 2: Preheat and Sear the Chicken
Next, you’ll sear the chicken to build flavor and color. Warm 2 tablespoons of oil (choose a high smoke point one like avocado or grapeseed) in your Dutch oven over medium heat, then add the chicken. Let it brown on all sides, turning carefully to avoid ripping the skin, about 15 to 20 minutes total. Adjust the heat as necessary so the chicken skin and any seasonings brown rather than burn.
Step 3: Add Aromatics and Vegetables
Once you’ve browned the chicken, you can add vegetables and other aromatics. Place the chicken on a sheet pan, then add diced or chopped vegetables like carrots, potatoes, onions (also excellent: leeks), celery, or sweet peppers. If you’re cooking potatoes, use about 1 pound of small fingerling or baby potatoes—just cut any larger ones so they’re all about the same size, or roughly 1 ½ inches in diameter. Season your vegetables with salt, pepper, and any other seasoning you’d like, then stir to coat and spread them out into a flat layer. Your chicken is going to rest on top of the vegetables and lend all its schmaltzy, savory notes.
Step 4: Cover and Roast
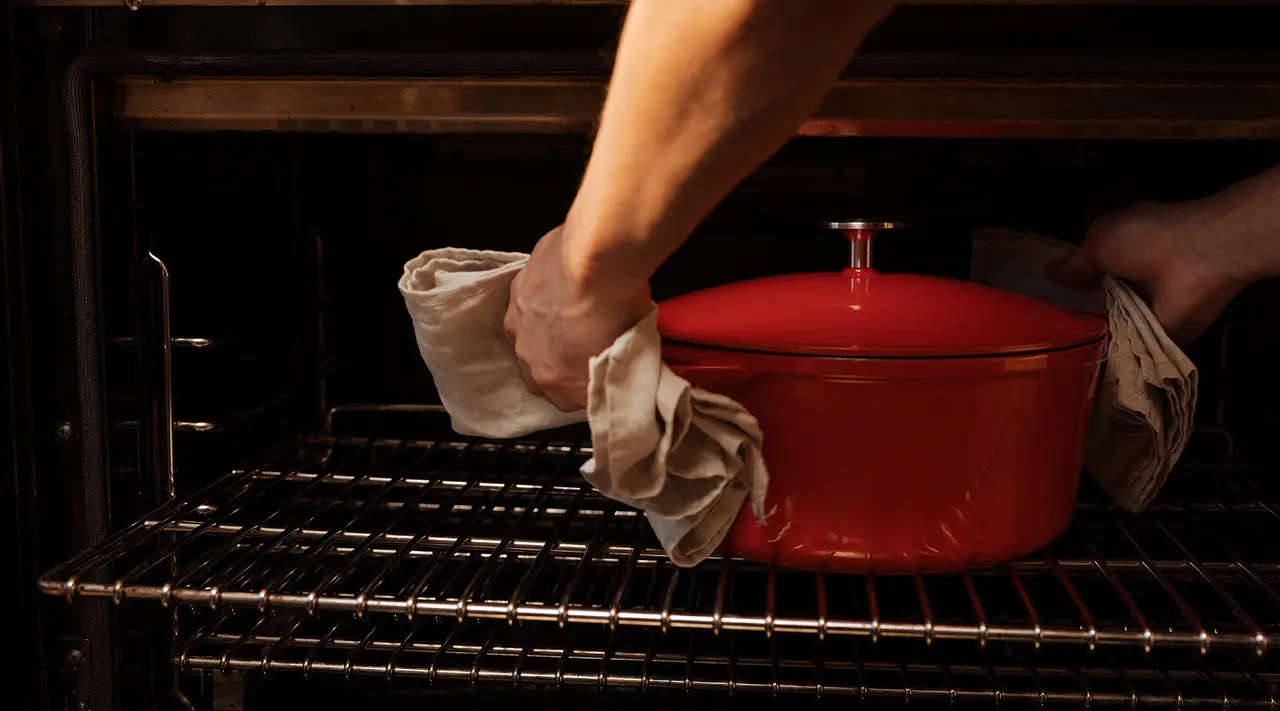
To protect against scorching and to add another layer of flavor (plus moisture!), you can add about ¼ cup of broth or wine to the pot. Then, set your chicken, breast side up, on top of the flat layer of vegetables. Cover and roast at 375F to 400F for 40 minutes. At this point, carefully remove the Dutch oven and take the lid off (watching out for steam). You can baste the chicken with pan juices if you’d like. Then, return the chicken to the oven to finish roasting uncovered, so the skin has a chance to recrisp, about 20 minutes or more, depending on the bird.
If the skin is getting too brown, drape a piece of foil over top to prevent burning. When done, an instant read thermometer inserted into a chicken thigh will read 165F.
Step 5: Rest and Serve
Remove the chicken and let it rest on a cutting board for 15 minutes before carving, which lets the juices redistribute and makes for a much tastier bird. If you have vegetables still in the Dutch oven, you can return them to the oven to get a little brown and toasty on top. Or, if you roasted just the bird, then you should have plenty of pan drippings which you can use to make a quick gravy or pan sauce right in the pot.
Why a Quality Dutch Oven Matters
One last word of importance: quality. Pick out a bird from a farmers market, butcher, or grocery store that sells high quality meat (i.e. not factory farmed and mass-produced), and your finished product will taste all the better. Choose a well-made Dutch oven for its durability and enhanced performance, and you’ll be rewarded with a piece of cookware that will last for years and years—and a recipe you can turn back to time and time again.
Ready to Cook?
A whole roasted chicken is your ticket to a warming, comforting, versatile meal. To get more guidance on how to make it at home, head to our recipe for One-Pot Roast Chicken With Vegetables, made in our Oval Dutch Oven. Browse the rest of our Enameled Cast Iron collection for even more inspiration.
