If you’ve ever eaten a really good steak, scallop, or even a crispy golden brown oyster mushroom, you already know why searing is one of our favorite ways to cook. Knowing how to properly sear a piece of meat is a fundamental skill, and one we think every home cook should learn.
When it comes to how you achieve that sear, however, you actually have two options: regular searing and reverse searing. Here’s everything you need to know about what searing is, how it works, and how the two differ.
Understanding Searing
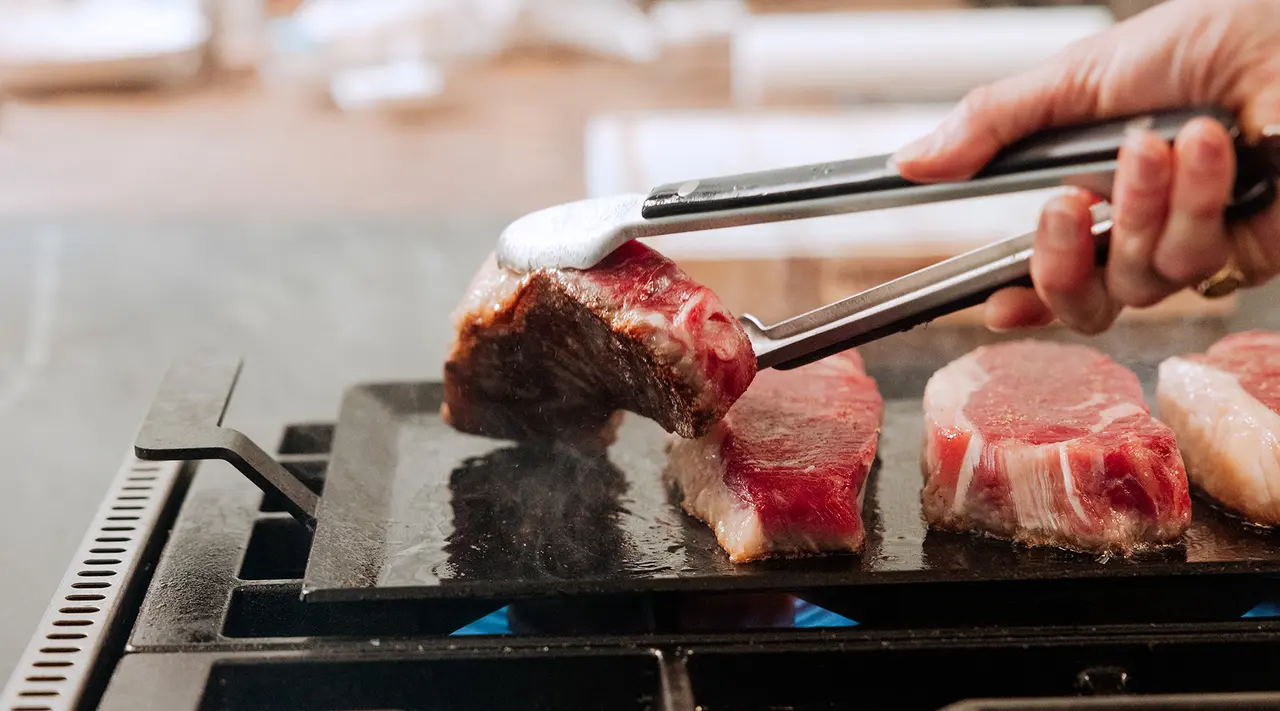
When you sear a protein—or any ingredient—you’re using a quick burst of high heat to trigger something called the Maillard reaction, which transforms proteins and sugars in your food to produce delicious new flavors and aromas. The Maillard reaction is responsible for the rich, savory crust on your steaks and chops, and is one of the primary goals when searing food.
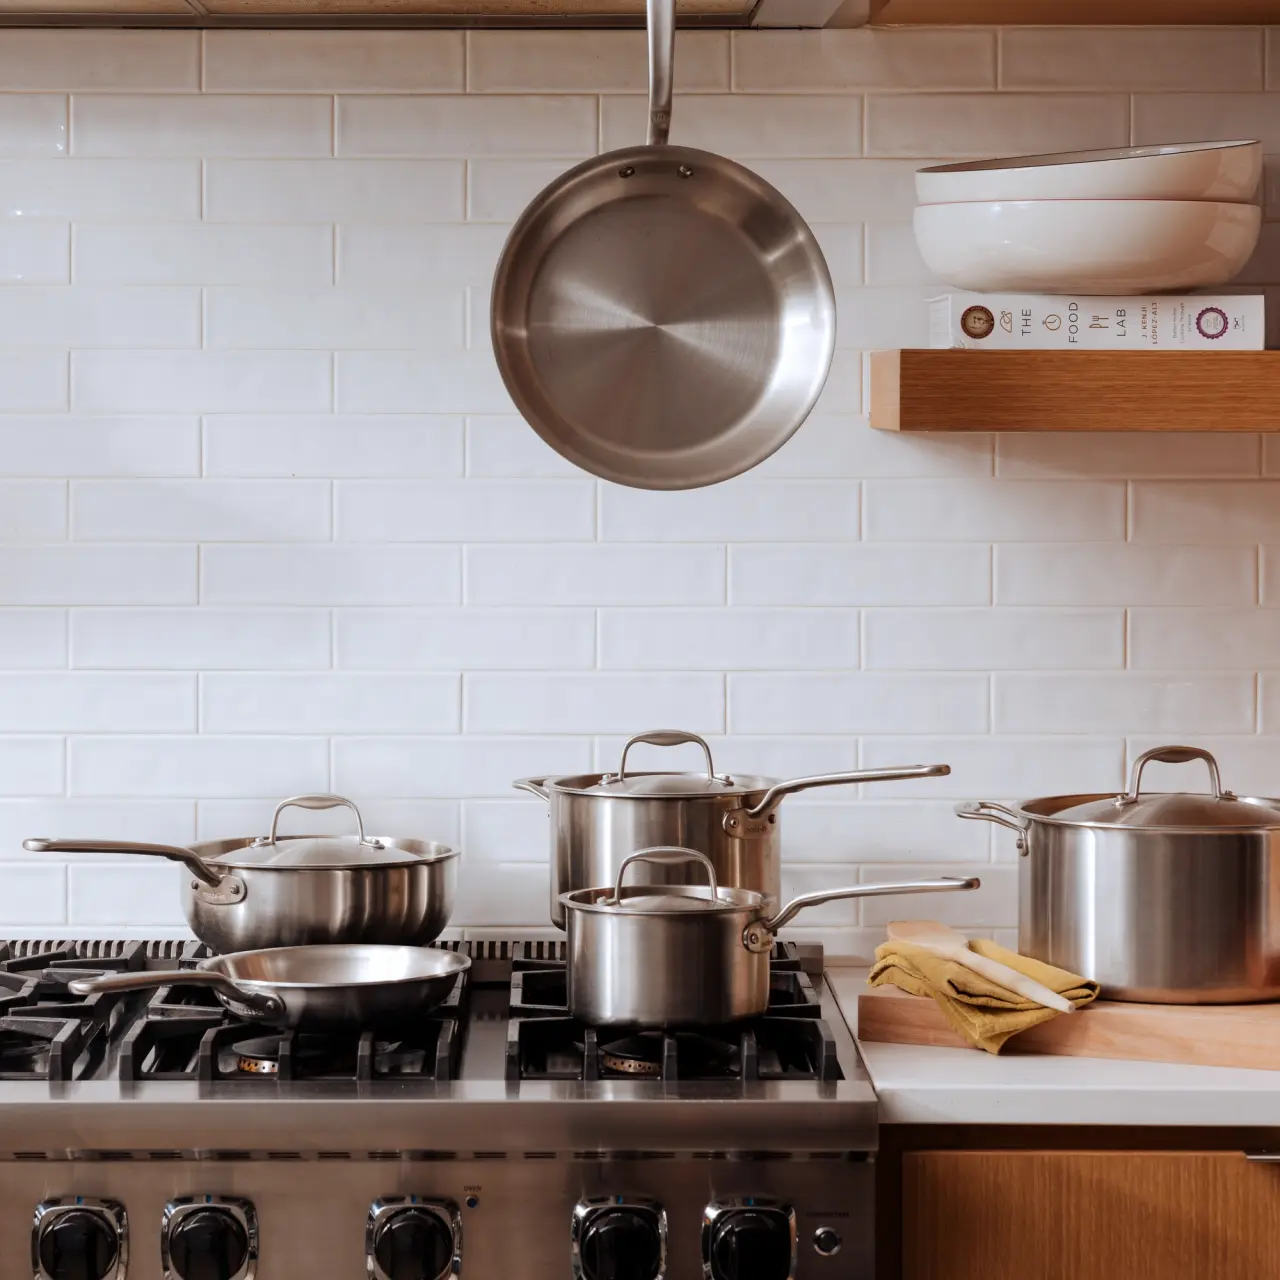
Because searing involves ripping high heat, you’ll typically want to reach for cookware like a stainless steel or carbon steel pan: these options preheat quickly, stand up to high temperatures, and are quick to respond to temperature change—all of which are necessary for achieving a good sear and evenly cooked interior. Here’s our complete guide to choosing the right cookware for your steak.
Exploring Reverse Searing
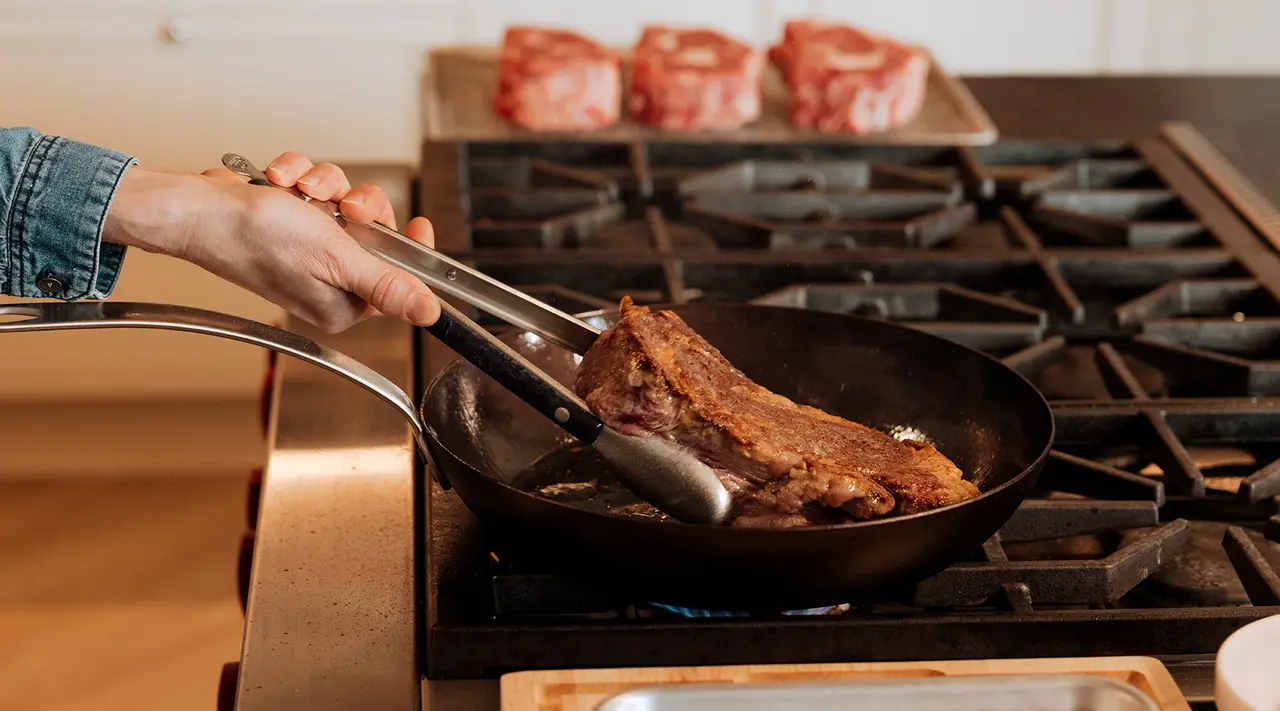
When you sear thick cuts of meat like steak, you have a fairly narrow margin of error: with the roaring hot temps required to trigger the Maillard reaction, you can easily overcook the interior before your crust is fully developed. That’s where the reverse sear comes in: this cheffy-sounding, yet fairly straightforward, method involves cooking your steak to an even doneness at a lower temperature (usually in the oven) before cranking up the heat for the final sear.
Reverse searing more or less approximates the effects of sous-vide cooking, in which steak is sealed in plastic before being cooked in a temperature-controlled water bath, then seared at the end. This method produces beautifully tender, evenly cooked steak, but it’s not especially viable for the average home cook. Reverse searing achieves similar results without having to spring for an expensive, elaborate sous vide setup.
Sear vs. Reverse Sear: How do They Stack Up?
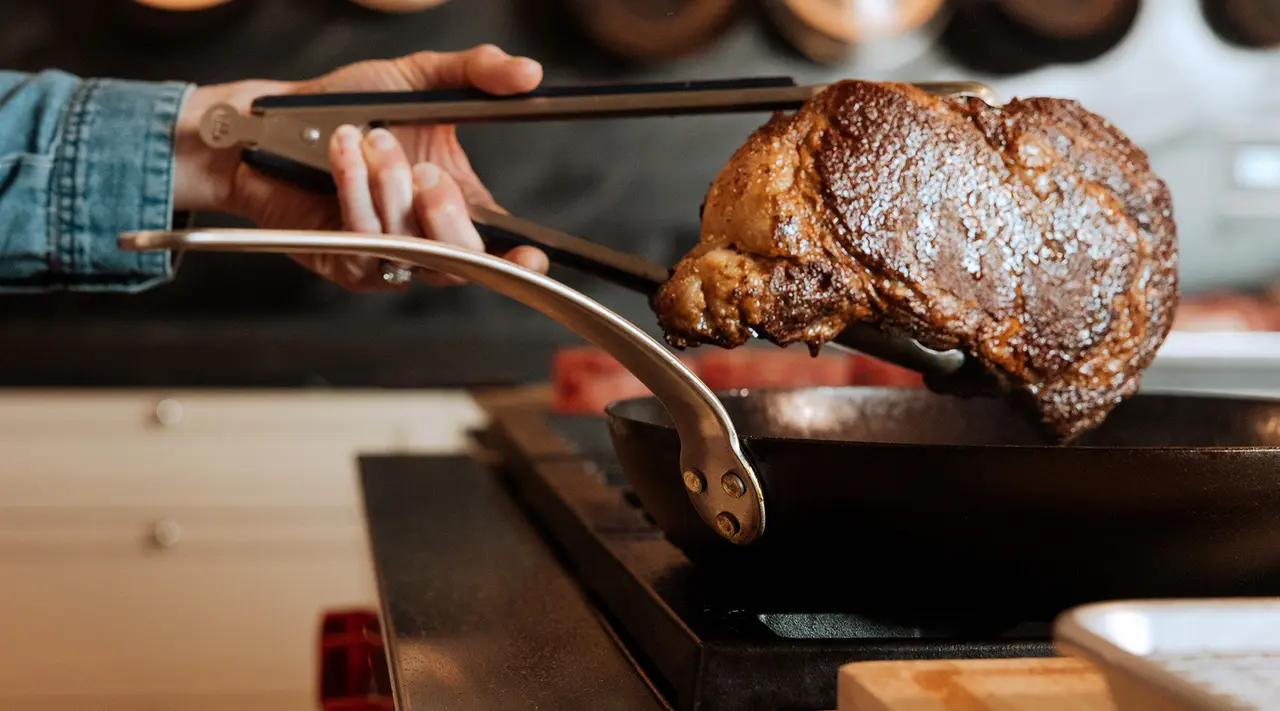
Here’s how the reverse sear fares against traditional searing.
Flavor Profile
While both of these searing methods will deliver a juicy, flavorful piece of meat when done correctly, there’s a clear winner when it comes to crust development. While testing these two methods side-by-side, Culinary Creative Director Rhoda Boone slightly preferred the thicker, crispier crust on the regular seared steak.
Texture and Juiciness
If you’re craving truly tender, juicy meat with a beautiful rosy pink interior, you’re definitely going to want to give reverse searing a spin. While a perfectly cooked interior is certainly possible with the regular searing method, reverse searing gives you just a touch more control over the final product, and leaves you with a much thinner—almost invisible—layer of well-done meat around the edge of the steak.
Cooking Time and Temperature Control
Both the traditional and reverse searing methods involve using a quick burst of high heat on the stovetop to achieve a deep brown crust. This is where the similarities end, however: whereas with traditional searing, you’d cook your steak completely on the stove—perhaps finishing with a quick stint in the oven—reverse searing involves cooking steak in a moderately low oven (around 200-275F, depending on the steak’s thickness) until the internal temperature registers around 15 degrees below your desired temperature. With a very thick steak, this can take as long as 40 minutes to an hour.
Visual Appeal
While it’s not instantly apparent from the outside whether a piece of meat has been reverse seared or not, you’ll definitely be able to see a difference once you cut into it: because the meat spends less time on high heat, you’ll usually have a much thicker band of rosy medium and medium-rare flesh—sometimes extending right to the edge—and a very thin band of grayish-brown cooked meat.
Practical Tips for Searing Meat
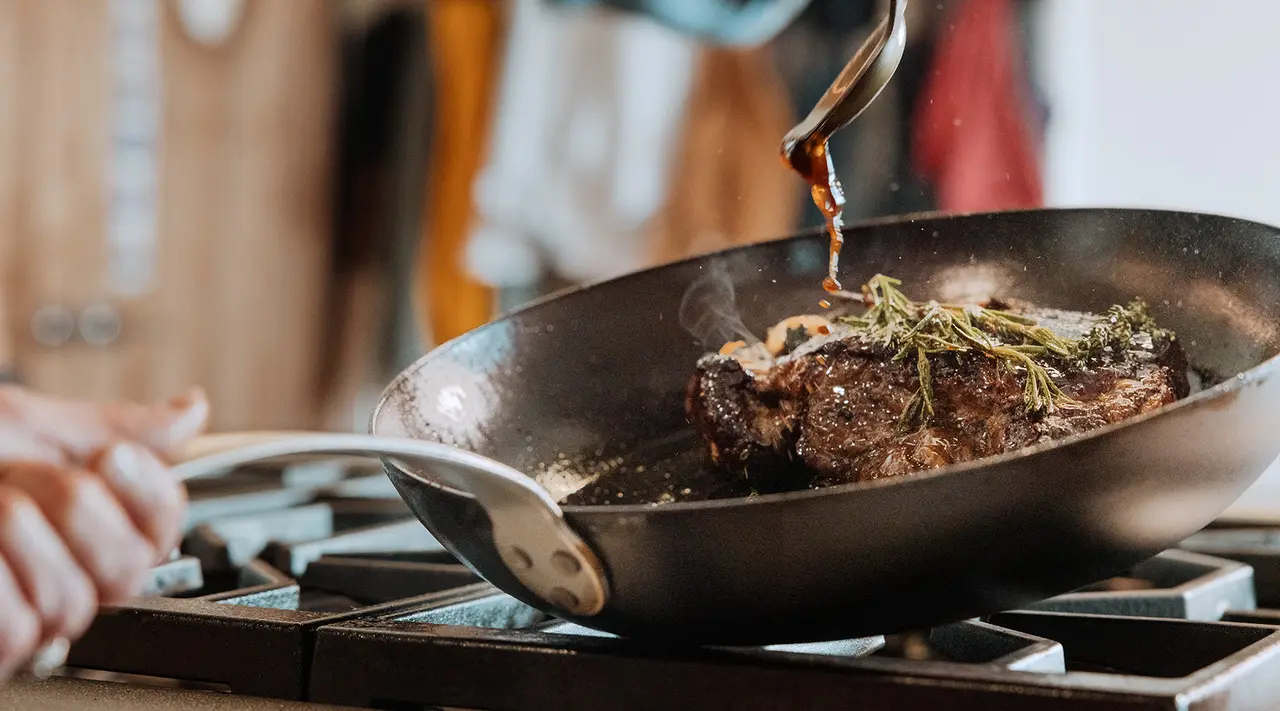
If you’re ready for a steak night, here are a couple of useful tips to keep in mind for both of these methods.
Temperature Recommendations:
Both reverse searing and traditional searing require cranking up the burner in order to get your pan as hot as possible. If you’re reverse searing, you’ll also want to preheat your oven to around 200-275F, depending on the thickness of your steak.
Choosing the Right Cookware:
The best cookware for searing, as we touched on earlier, will offer excellent heat retention and temperature control. Cast iron is great for developing a crust, but it heats slowly and unevenly compared to materials like carbon steel or stainless steel. These options heat up much more quickly, and will maintain a fairly consistent temperature with few hot or cold spots.
Resting Period:
Along with giving it time to cool down, allowing steak to rest on the cutting board for a few minutes before slicing into it keeps all those juices from spilling out. This isn’t quite as essential with reverse-seared steak as it is with traditionally seared steak, but we still recommend resting it for about ten minutes prior to cutting it.
Ready to Cook?
Searing should be part of every home cook’s repertoire: not only does it help you achieve restaurant-quality steaks, seafood, and even perfectly cooked vegetables in your home kitchen, but it’s also pretty easy to learn—both the reverse method, and the traditional method. Great cookware makes this even easier: with our Carbon Steel Collection, your food can go straight from the oven to the stovetop (or vice versa) with ease.


