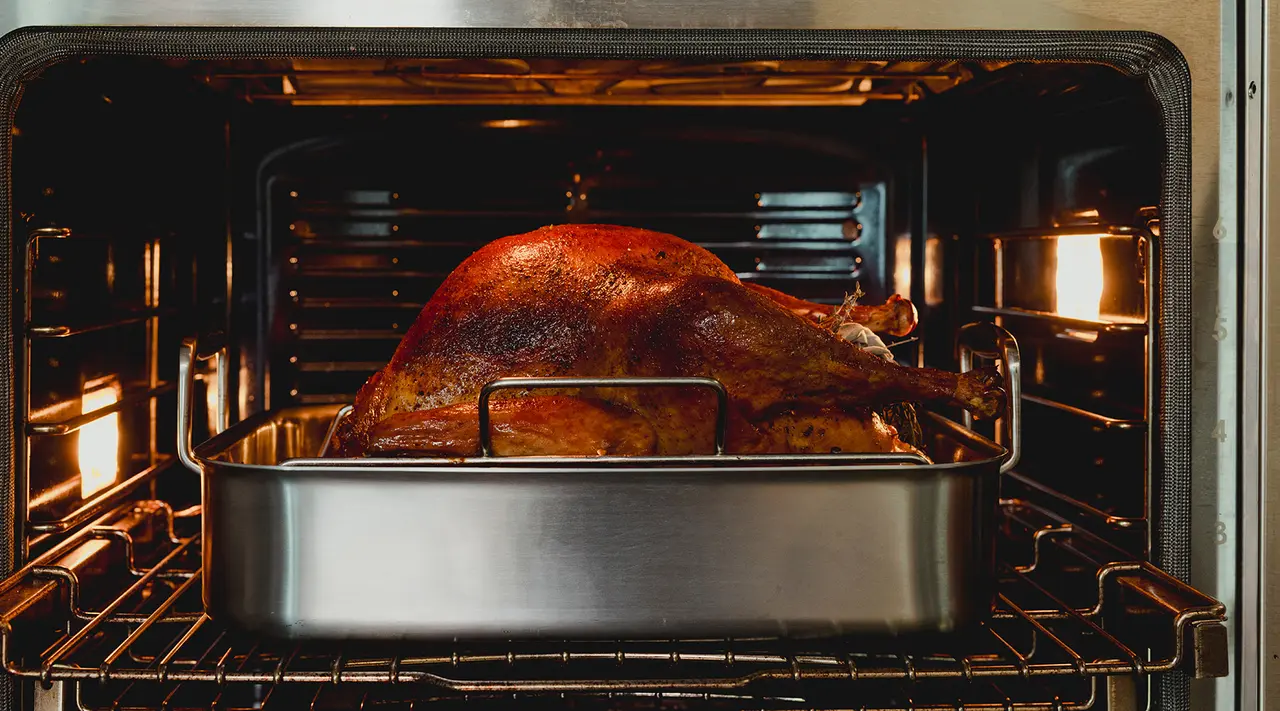
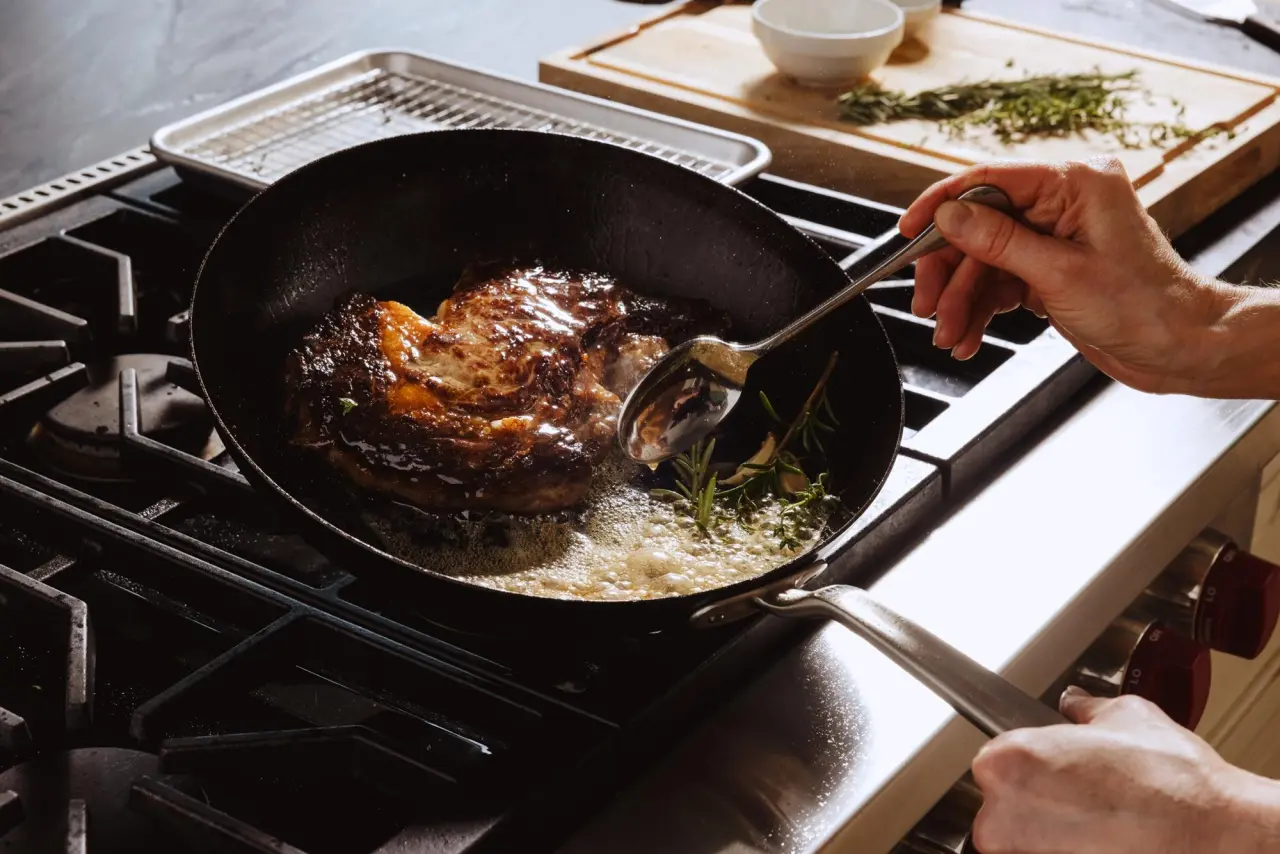
A high-quality stainless steel roasting pan can take a beating: built to hold over 20 lbs of food and withstand super high oven temperatures, these tools can handle your most hard-core holiday cooking needs. Yet no matter how great of a pan you’re using, you’re eventually going to encounter a stain or two—typically due to the fatty or protein-rich drippings from your roast polymerizing and turning into a sticky, burnt-on mess.
Here’s exactly what to do in those situations, and how to prevent them from happening every time you use your roasting pan (because nobody needs additional holiday stress).
Step-by-Step Guide to Cleaning a Roasting Pan

Baked-on food, stains, and burnt oil are unsightly, sure—but they can also affect your pan’s performance, making it harder to develop a layer of fond on the bottom of the pan (aka, the stuff you need to make a pan sauce or gravy). These are some of our tried-and-true methods for removing them.
Step 1: Remove Leftover Grease and Food Debris
Once your pan is cooled and ready to be cleaned, the first step is to give your pan a quick wipe dry, removing any grease or food residue left over from roasting. If there’s a significant amount of moisture left in the pan, tip it into the sink or into a designated container for oil and grease. You can use a stiff—but not abrasive—spatula or spoon to loosen some of the debris.
Step 2: Soak the Pan
A brief soak can help further loosen stuck-on food before scrubbing: simply fill your (cooled) pan with hot water and a small amount of dish soap, then allow it to sit for a few minutes. Meanwhile, use your spoon or spatula to gently scrape the bottom and sides of the pan until the debris is suitably loosened.
Step 3: Choose the Right Cleaning Solution
Once your pan has soaked for a few minutes, it’s time to go in with your cleaning solution. Our Stainless Steel Cleaner is specially formulated to remove grease, grime, and stains, as well as restore your stainless steel cookware to its original shine—though Barkeeper’s Friend or a similar cleaner will work just as well in a pinch. Sprinkle a small amount of cleaner over the affected areas.
Step 4: Scrub Gently
Use a kitchen scrubber or the rough side of a sponge to work the cleaning powder into your pan. Do not use overly abrasive scrubbers or steel wool, as these can leave deep, permanent scratches in your pan.
Step 5: Rinse and Dry Thoroughly
Once your pan is clean, give it a thorough dry with a clean, absorbent dish cloth or towel. Even though stainless steel is unlikely to rust, your pan can still develop water spots if it’s not fully dried before storing.
Deep Cleaning Tips for Stubborn Stains

If the above methods are not quite cutting it, try one (or both) of these methods.
Baking Soda and Vinegar
- Cover the stained or dirty areas of your pan with baking soda, then scrub thoroughly using a sponge into a paste. Do not rinse.
- Add distilled white vinegar to your pan, making sure to hit the parts covered in baking soda. The reaction caused by the baking soda and vinegar will produce carbon dioxide bubbles, which will help to loosen the remaining residue.
- Rinse and dry thoroughly before storing.
Boiling Water and Vinegar (for after you’ve tried the above methods)
- Add a 1:1 mixture of water and white vinegar to your pan—enough to cover the bottom.
- Bring mixture to a boil: while boiling, use a wood or silicone spatula or spoon to scrape the bottom of the pan. Keep doing this until the pan is completely clean.
- Allow pan to cool, then rinse and dry.
What to Avoid When Cleaning Roasting Pans
- Using abrasive cleaners like dish detergent or bleach
- Scrubbing with rough or scratchy materials like steel wool
- Leaving a dirty pan for more than a few hours without cleaning
- Not drying pans thoroughly before storing them
Maintenance Tips to Keep Roasting Pans Clean for Longer
Especially if you only get your roasting pan out twice a year for the holidays, it’s important to keep it in tip-top shape. Here’s how you can ensure it’s in ready-to-cook condition, no matter when you need it.
Avoid Humid or Damp Environments
Storing your pan somewhere dry and relatively low-moisture helps further minimize the (very low) potential for rust, and prevents water spots and discoloration from forming on your roasting pan.
Store Carefully
If stacking with other kitchen items, make sure to lay a protective dishcloth, napkin, or trivet between each layer to prevent scratching.
Use Parchment Paper
Lining the bottom of your roasting pan with parchment paper (or another oven-safe liner) can help avoid serious stains or burns. Note that this isn’t a good option if you plan to make a pan sauce or gravy, as it will prevent the development of fond.
Ready to Cook?
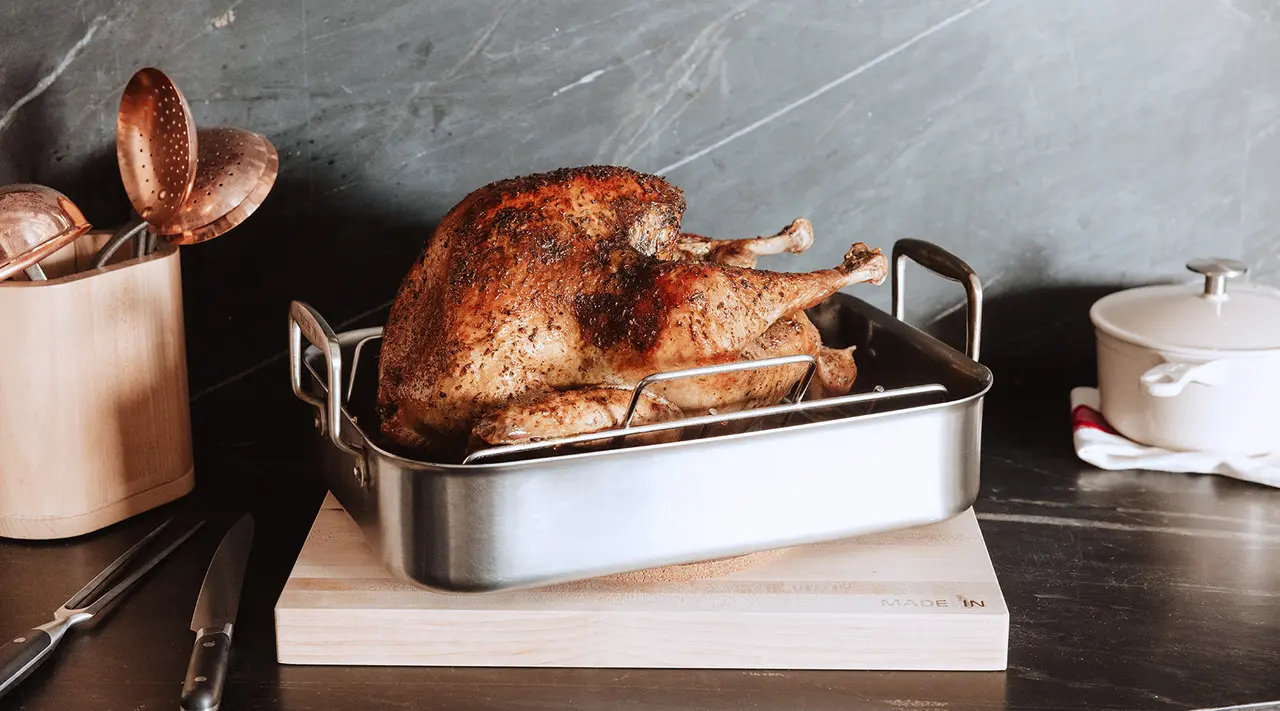
If you’re someone who gets easily stressed out by holiday prep, we hope this guide managed to bring you a bit of comfort. Remember: not only is stainless steel cookware pretty darn difficult to ruin, but it’s also extremely straightforward to clean—especially if you’re working with our 3-ply Stainless Clad Roasting Pan. This heavy duty pan offers optimal heat distribution, helping you avoid more serious stuck-on messes as well as scratches, stains, and rust (and ensure evenly-cooked, perfectly juicy turkeys).
