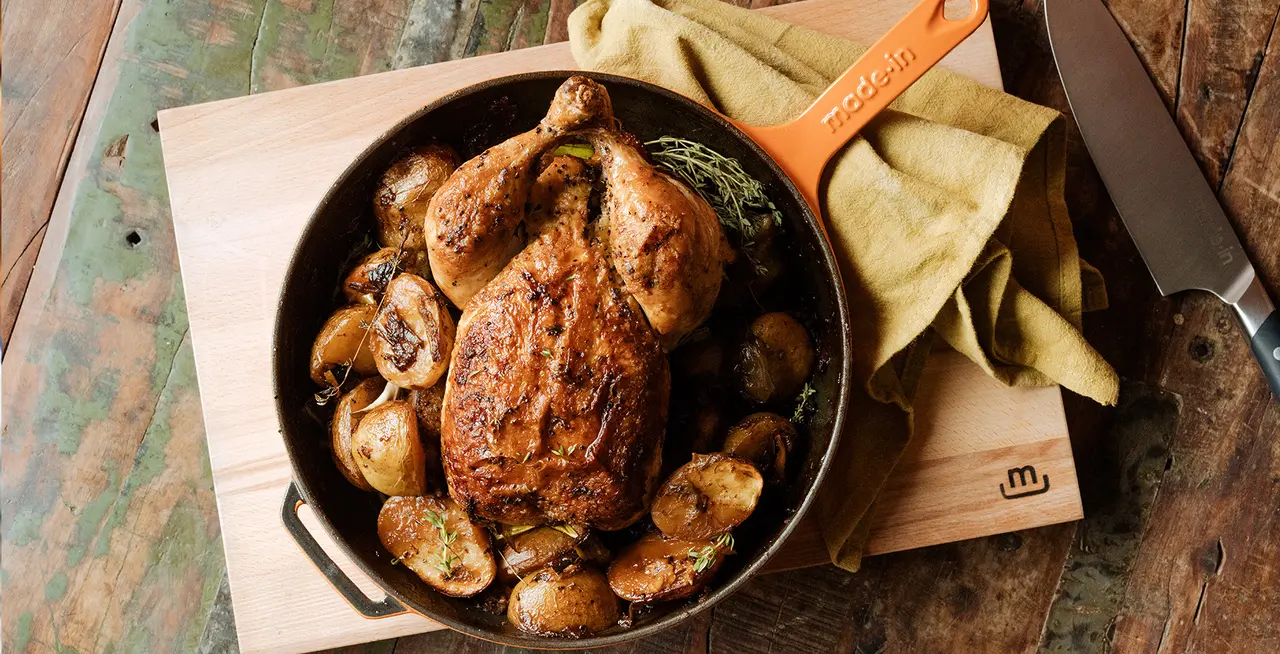
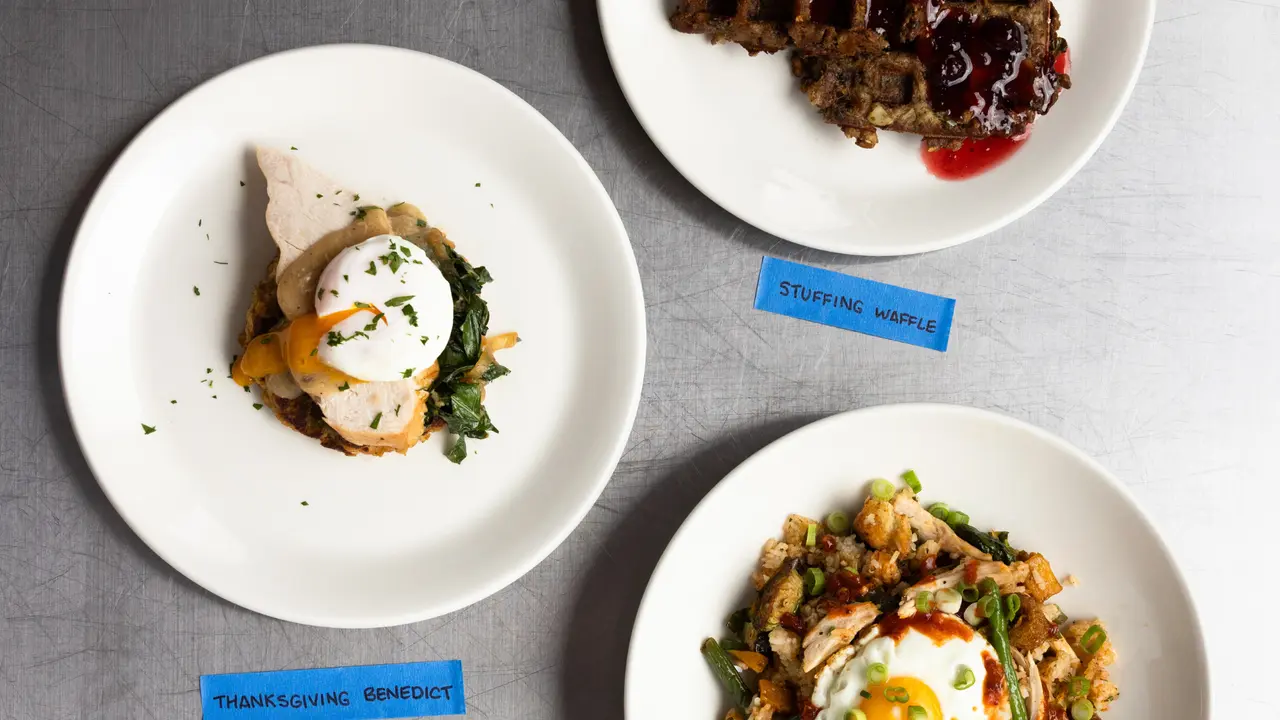
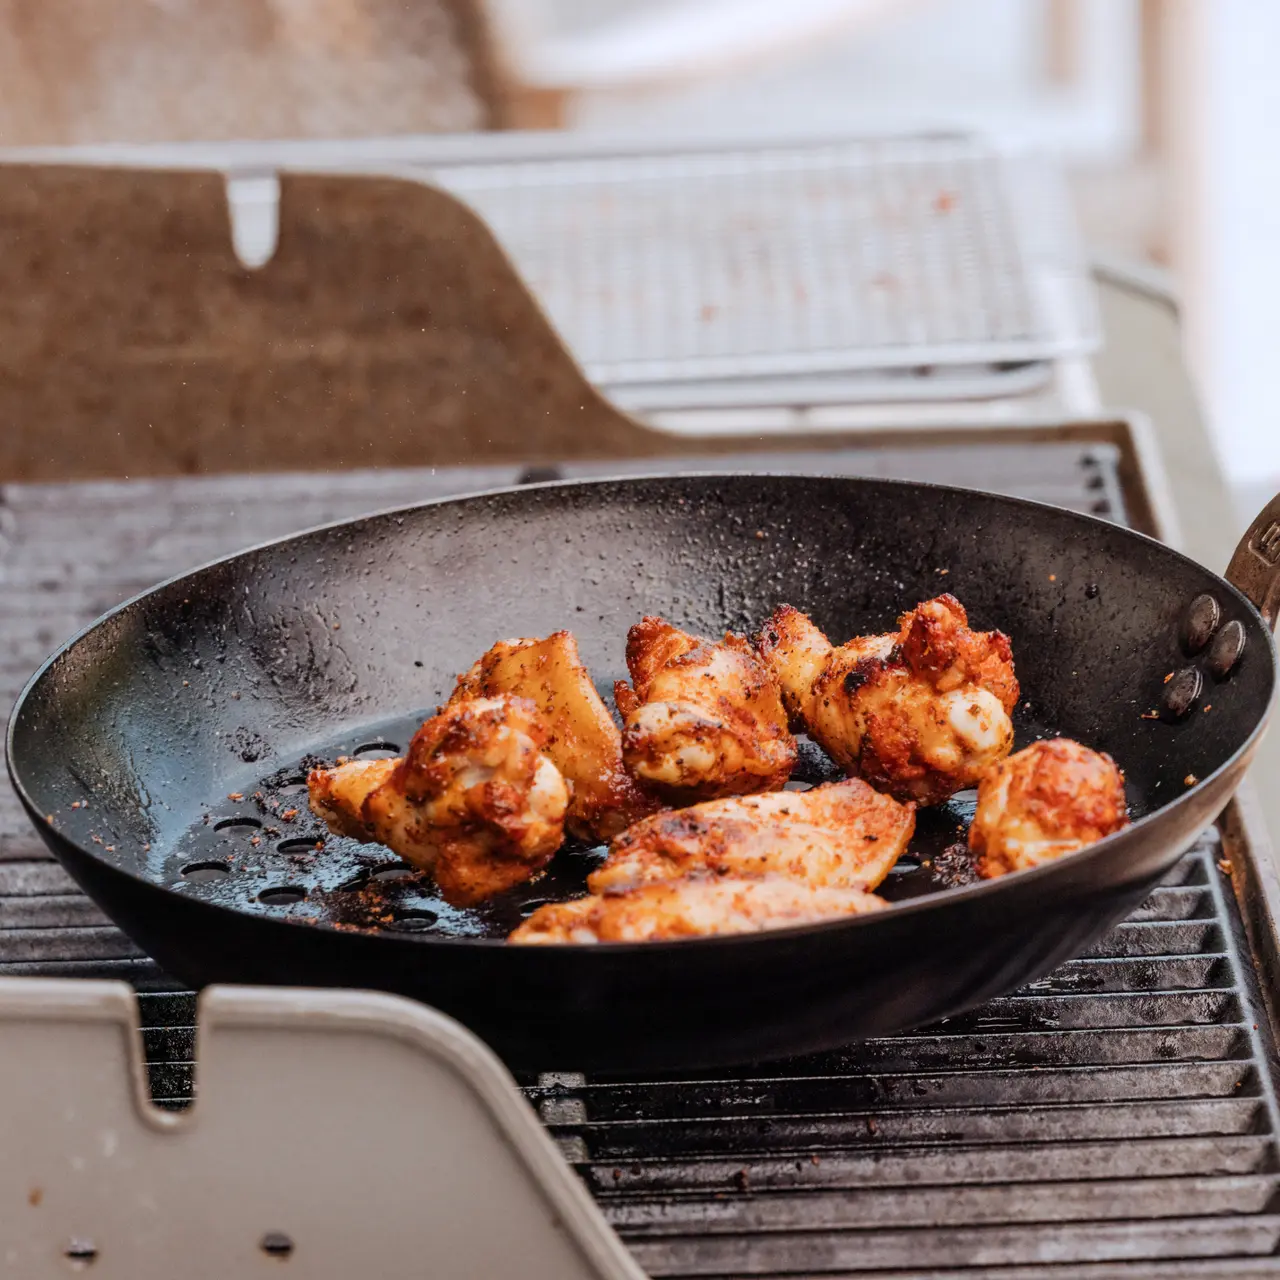
Cooking a whole chicken is a great way to familiarize yourself with a variety of cooking techniques (such as roasting, grilling, smoking, barbecuing, or deep frying) and can unlock recipes that might not be attainable with broken down, individually packaged poultry products from the grocery store.
Roasting is a common and excellent way to cook a whole chicken and can be used for just about anything you could think of, from soups to pot pies, but you’ll need to truss the bird before cooking it for just about any method.
Why Should You Truss A Chicken?
Trussing a chicken is the process of tying a whole chicken with butcher’s twine to establish a more uniform density and shape to achieve an even cook. When trussing a chicken, the idea is to get the wings and legs to fit snugly against the body of the bird to create an even shape while cooking. Otherwise, the appendages of the bird will cook far quicker than the body.
It is a fundamental, deceptively simple technique that, alongside seasoning, has the greatest effect on the final product. Below is a simple method that produces an evenly cooked roast chicken time after time.
How to Truss
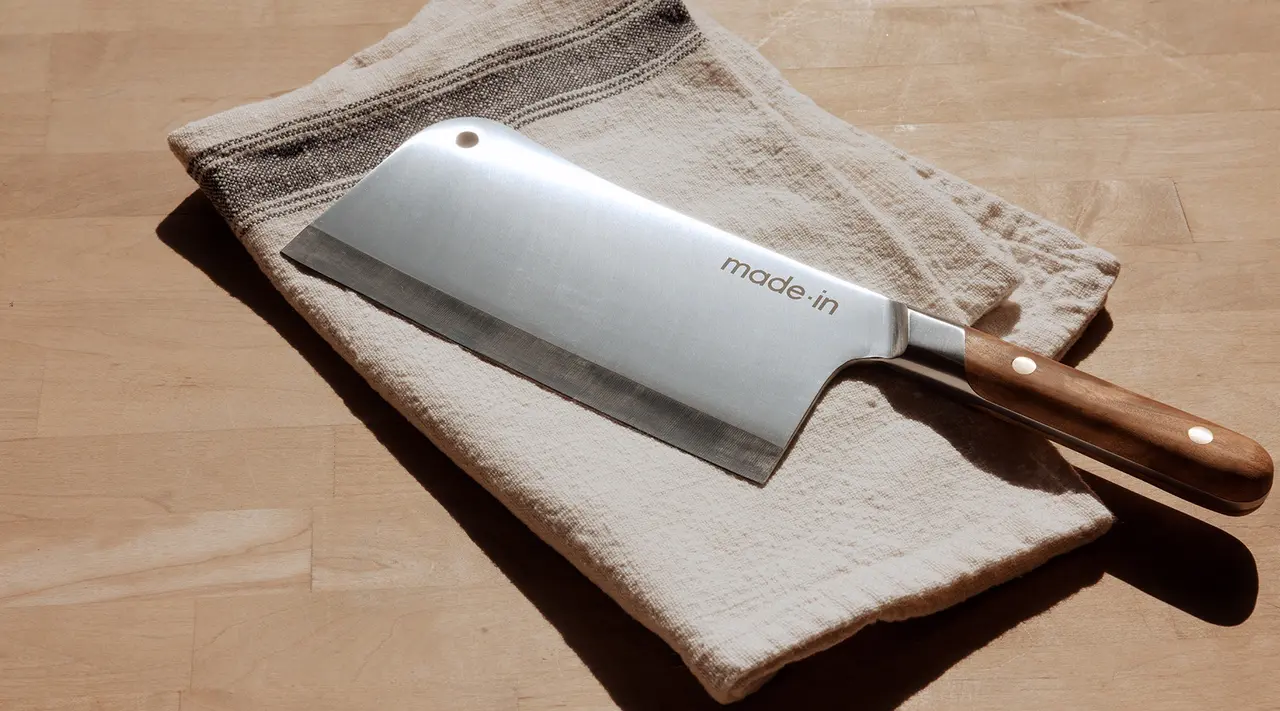
Trussing requires only five items: a whole chicken, butcher’s twine (make sure to avoid any kind of plasticy, imitation twine like fishing wire), salt, pepper, and a sharp Knife.
Remove the giblets, wishbone, and any excess fat. Pat the bird dry with paper towels, and add any seasonings (such as salt, pepper, and any herbs) to the cavity. Then place the chicken on a flat, clean surface.
Cut a long piece of twine, double the length of your chicken (you can trim any excess after you truss). Make sure you’re using actual butcher’s twine as fishing wire could be unsafe to cook with.
Slide the twine under the chicken and under the pygostyle, or the fleshy, round protuberance at the posterior end of the chicken. Stop when the string is directly under the legs.
Step 4: Truss the ChickenPull the string up on both sides, then cross each end to the other side of the bird. Form a figure eight with the twine by looping the twine under the bird’s legs, then pull tightly. The legs should now be locked into place against the body.
Step 5: Create TensionFlip the bird over onto the back side while bringing the twine up under the wings. Then, while maintaining tension in the string, cross the twine above the bird twice, then pull tight.
Step 6: Tie and FoldLoop the just tightened string underneath the bird’s neck, pull tight again, then tie a firm knot above the chicken’s neck. Cut off any remaining string, then fold the wings underneath the bird.
When done correctly, the chicken forms a stable, more compact ingredient that will cook evenly. Make sure to add any further seasoning to the top or and bottom of the bird, then the chicken is ready to be cooked.
Additional Trussing Tips
Though it might seem convoluted at first, trussing is a simple process that only takes a matter of moments once learned. Keep in mind that there are about as many ways to truss a chicken as there are grains of salt in a shaker, so don’t be afraid to develop your own preferred technique by mixing and matching what you can find in different recipe books.
Some methods might be tuned for specific cooking methods, but the above trussed bird will cook well no matter how it’s done. Read first, go slow, and soon enough you’ll never need to buy a rotisserie chicken at the grocery store ever again.
Trussing a chicken may sound fussy, but once you’ve done it even once you’ll be a seasoned professional. Gear up for your best roast chicken yet once you’ve perfected the truss.
