We’re in peak oyster season right now, which means our favorite bivalve is at its meaty, briny best. And while we love a good oyster happy hour at our corner bar, shucking oysters is actually a pretty accessible—not to mention fun and festive—activity to do at home.
That being said, there are a few things you’ll need to know before hauling home a peck of Hama Hamas. Here’s our guide to shucking oysters safely in your home kitchen.
How to Safely Shuck Oysters

While professional shuckers make prying open oysters look effortless, going at it without the right tools and technique runs the risk of serious injury. Follow these steps to keep yourself safe, and your oyster in pristine condition until it’s time to eat.
Step 1: Gather Your Materials
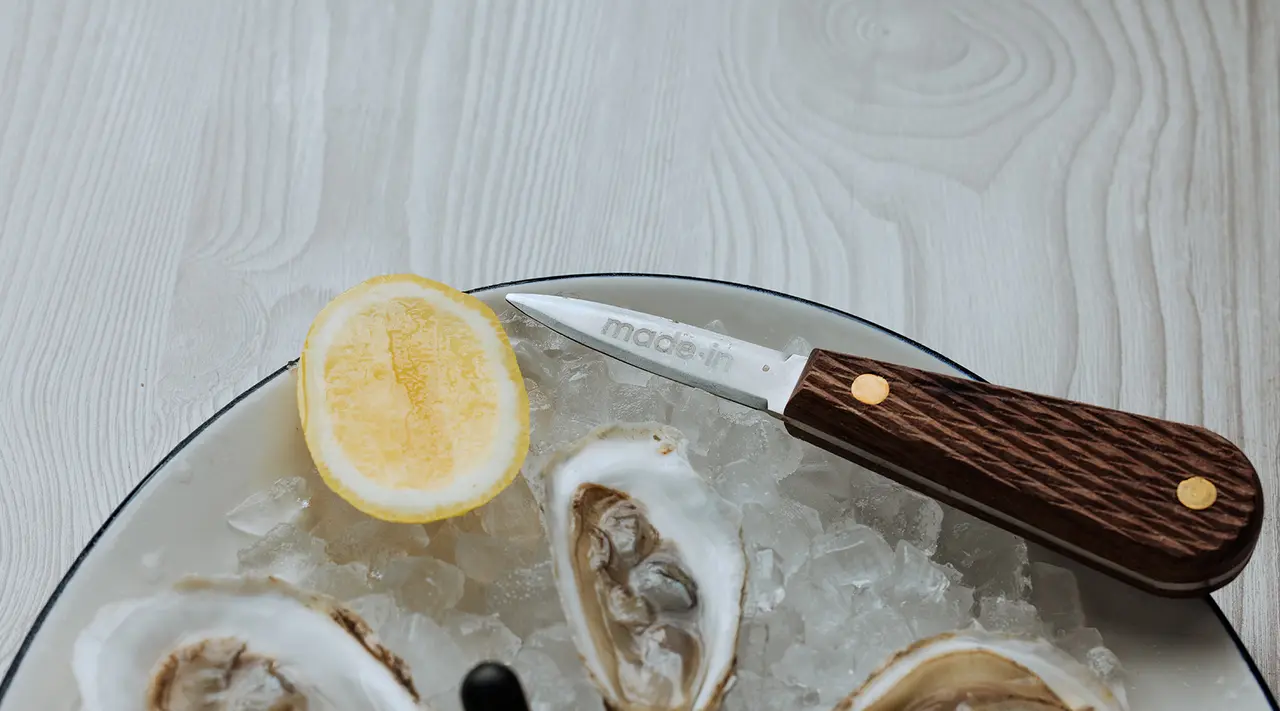
An oyster shucker is arguably the best tool for prying open oyster shells, and one we recommend for anyone who enjoys (and regularly prepares) oysters. You can substitute a short, sturdy knife in a pinch, but be warned that it may not be designed for adding pressure to the tip and may cause breakage.
You’ll also want to have a dish towel to hold the oyster and protect your hands (some serious shuckers also opt for sturdy gloves here), and a Serving Platter or Sheet Pan filled with crushed ice or coarse salt to stabilize the shucked oysters.
Step 2: Hold on the Cupped Side
Find the cupped side of your oyster, or the side that looks slightly more curved (this will be easier to spot on some varieties than others), and position it so that the cupped side is facing down while you shuck. This will help keep the ever-important briny liquid inside—called oyster liquor—from running out when you open the shell.
Step 3: Find the Hinge
Look to see where the shell tapers to a point—again, this will be easier to spot on certain species than others. This is the hinge of the oyster shell, which is what holds the two halves of the shell together.
Step 4: Insert Shucker
Roll your towel up lengthwise and wrap it around the thumb of one hand, and hold the oyster with the same hand, hinge side facing out. With your other hand, grip the handle of your shucker and insert the tip of the blade into the hinge, gently wiggling it until it’s just far enough in to gain some purchase.
Step 5: Twist
With the tip of the blade securely inside the shell, gently turn your wrist, causing the shell to pop open (you should be able to hear it). Pull out the blade and give it a quick wipe to remove any dirt that was inside the hinge.
Step 6: Separate Halves
Carefully scrape the blade along the top of the shell to sever the adductor muscle, which the oyster uses to keep its shell closed. Now do the same on the bottom half, carefully sliding the blade underneath the oyster until it comes totally free of the shell.
Step 7: Inspect the Oyster
A fresh oyster will look moist and plump, surrounded by plenty of liquid. It should also smell clean and just a bit briny, and shouldn’t have a strong fishy or rotten smell.
Step 8: Remove and Enjoy
Once you’ve shucked an oyster, you can—and should—eat it immediately. Simply hold the shell up to your lips and slurp (with a dash of mignonette or cocktail sauce, of course).
If you’re planning on frying, grilling, or chopping them up for a recipe, simply slide the meat out of the shell and into a bowl.
Additional Oyster Shucking Tips

Now that you know how to shuck, there are a few other things to keep in mind to ensure the best possible at-home oyster eating experience. Here are our tips on how to purchase, store, and serve fresh oysters.
Buy Fresh (and Local) Oysters
While nearly all seafood tastes better the less time it spends out of the water, this is especially true for oysters on the half shell, which are not only raw when we eat them but still alive (or killed right before serving). Though properly stored oysters can stay alive for weeks before consuming, eating them sooner is almost always better.
Store Properly
If you’re not planning to eat your oysters right away, you can store them in the fridge in a bowl covered with a damp towel. Don’t store them on ice, as melted fresh water can kill them.
Use the Right Tools
A dedicated oyster shucker is a worthwhile investment if you plan on preparing a lot of oysters at home, as it gets the job done faster and easier (a definite must if you’re shucking oysters for party guests).
Serve Correctly
Whether your oysters are from Wellfleet or Puget Sound, one of the best ways to serve them is on a bed of crushed ice with a few sauces, such as homemade mignonette or cocktail sauce. If you’re a hardcore oyster lover, you could also serve them simply with a squeeze of lemon or even ‘naked’ (without any accompaniments).
Grilled
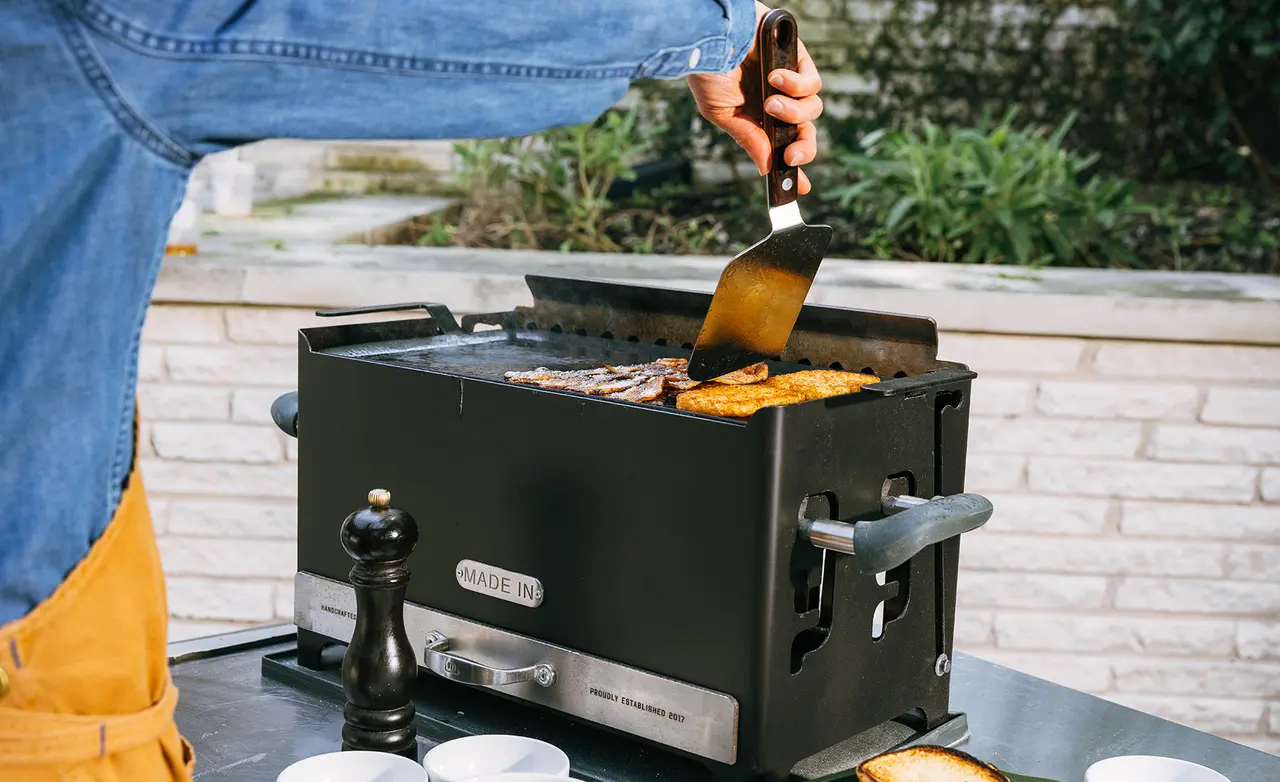
If you’re not a fan of raw oysters, there are plenty of other ways to enjoy them. Grilled oysters are cooked quickly over hot grates to preserve their fresh, briny flavor and creamy texture, and we love serving them with mignonette or any of the typical raw oyster accompaniments.
Broiled
Broiling is another great high-heat cooking method for oysters. Oysters Rockefeller is a classic recipe, consisting of oysters loaded with garlic-and-herb butter and then broiled until golden brown.
Ready to Shuck?
Now that you know how easy it is to serve raw oysters at home, you’re probably ready to pop open a crisp white wine and get shucking. If you’re going to splash out on good fresh oysters, however, we recommend getting an equally high-quality tool for the job. Our USA-made Oyster Shucker is perfect for all varieties, and features a razor-sharp 420HC High Carbon Stainless Steel Blade for easy, stress-free shucking.
