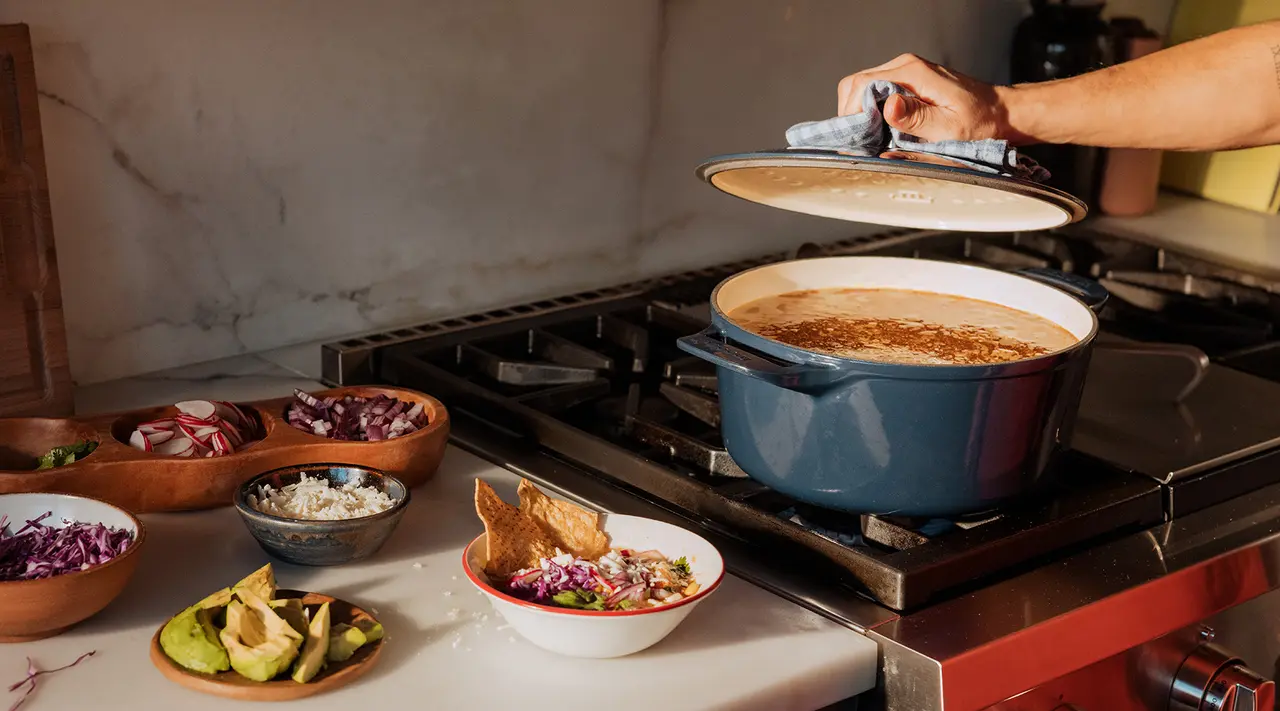
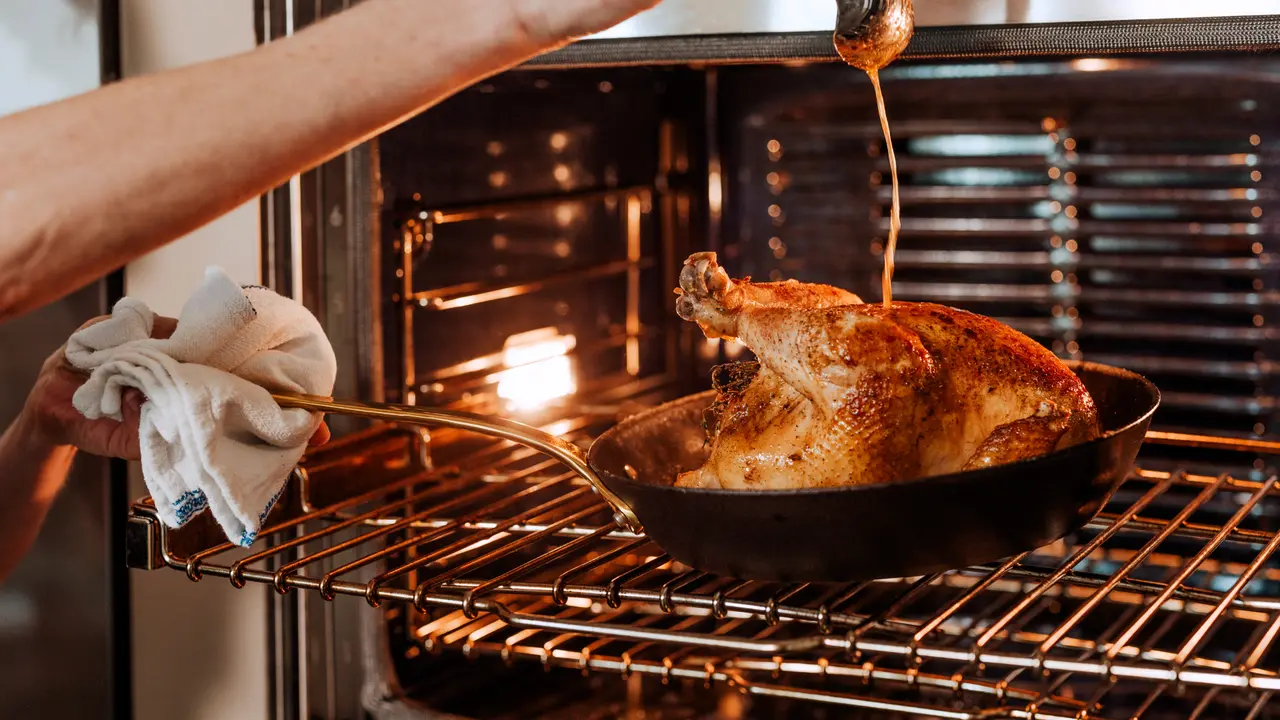
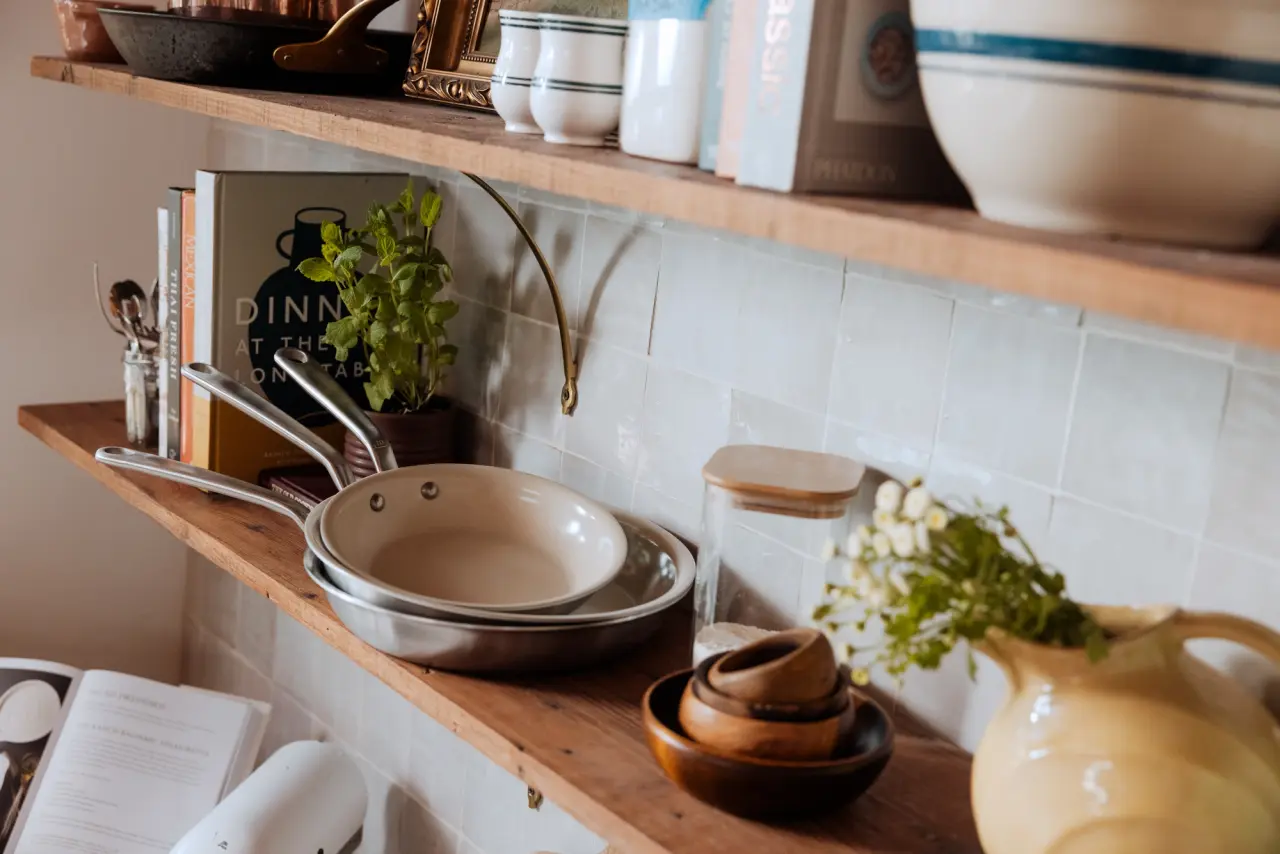
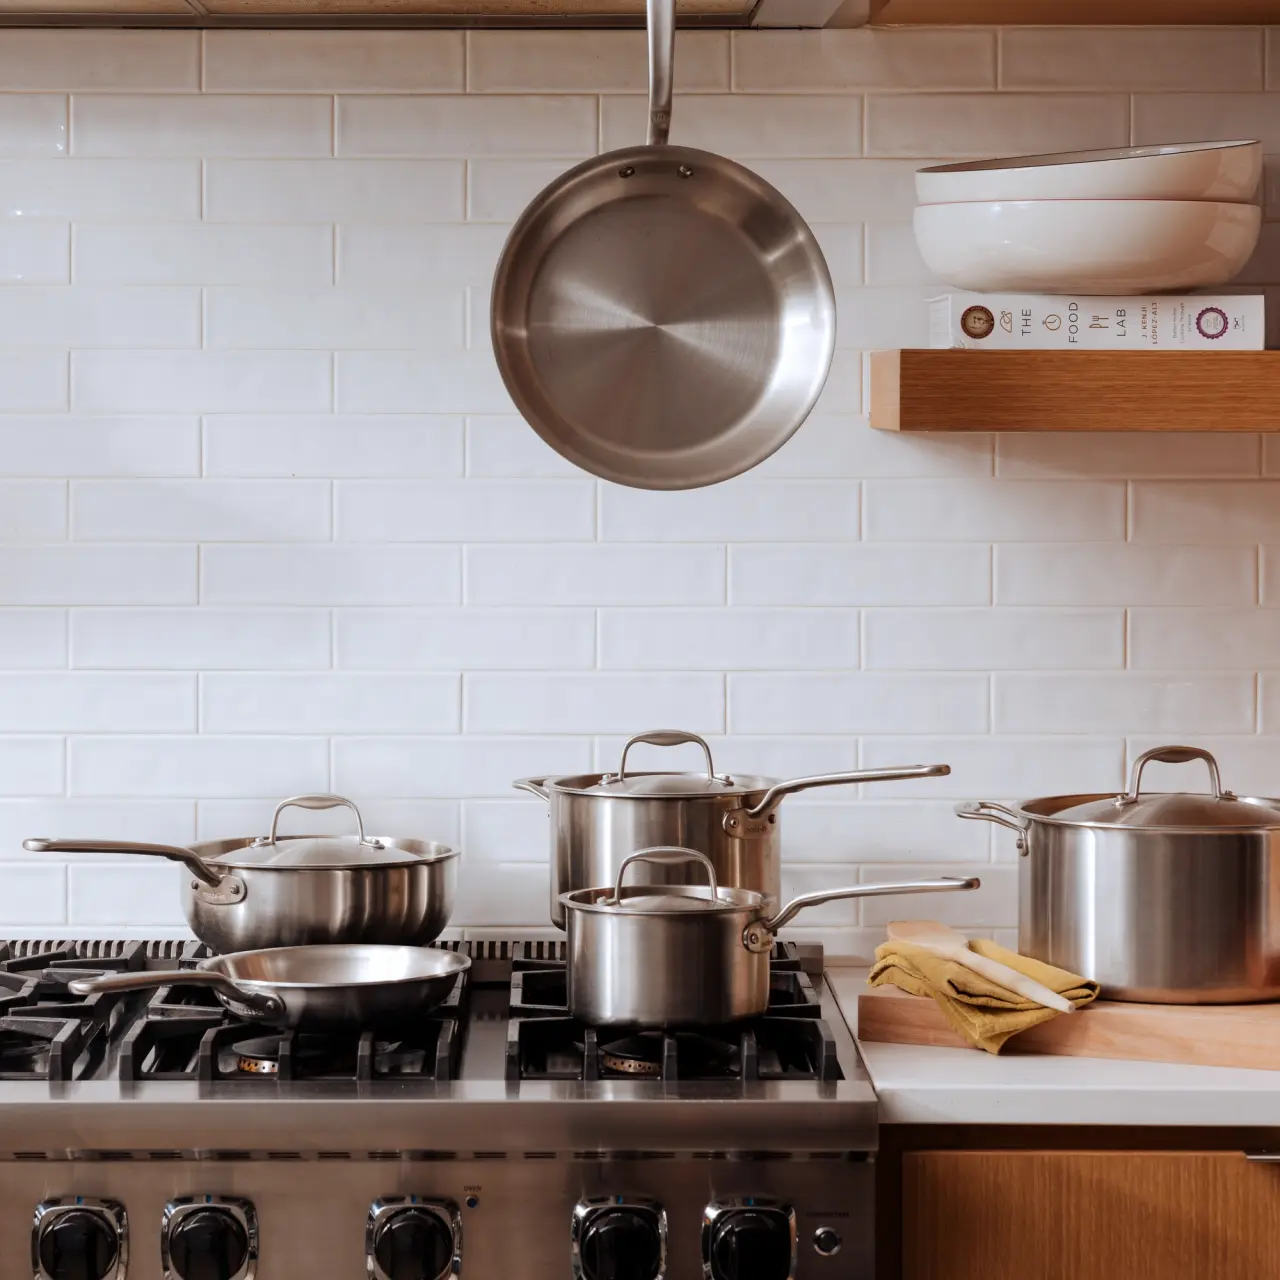
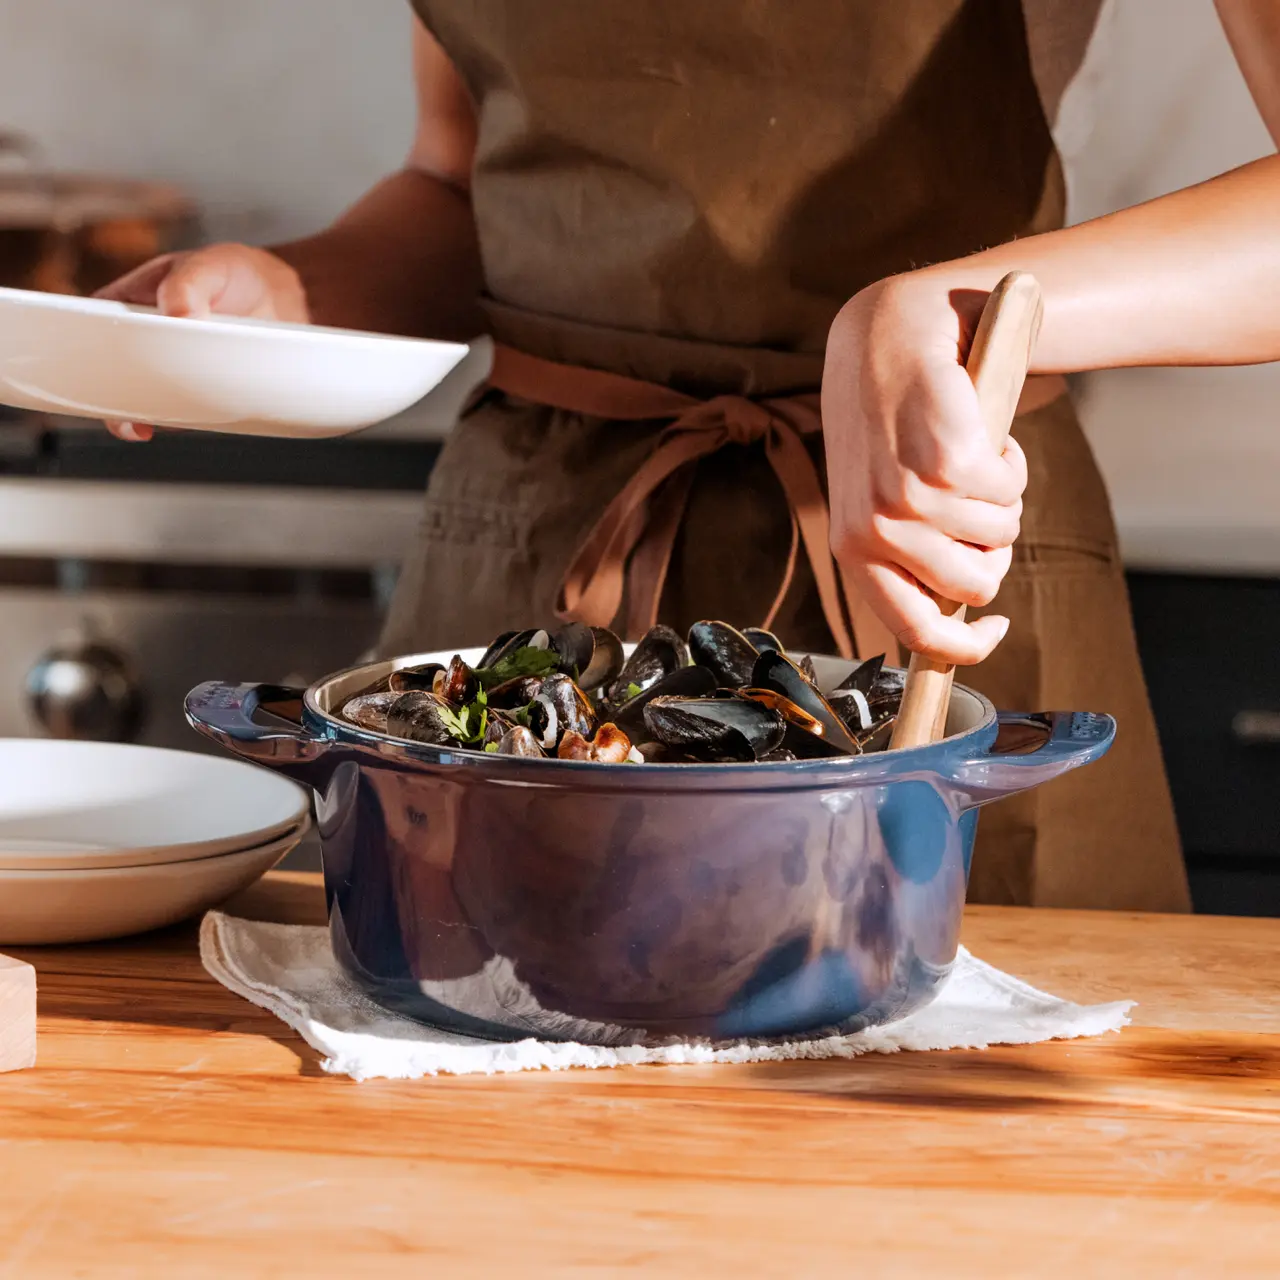
A Dutch oven, especially a new one, is a thing of beauty that is rife with possibilities. New recipes, memories made gathered round it for meal after meal, and the potential of it becoming a true heirloom piece passed down for generations all result in a truly one-of-a-kind kitchen tool.
But before you start on your first soup or braise, you should know whether or not it requires any special care—namely, if it needs to be seasoned or not. The general rule of thumb is if your Dutch oven is pure cast iron with no enameling then it will need to be seasoned. If your Dutch oven is enameled with a coating encasing the raw cast iron, then it likely will not need to be seasoned.
Let's get into more details.
Understanding Different Dutch Ovens: Enameled Cast Iron vs. Cast Iron
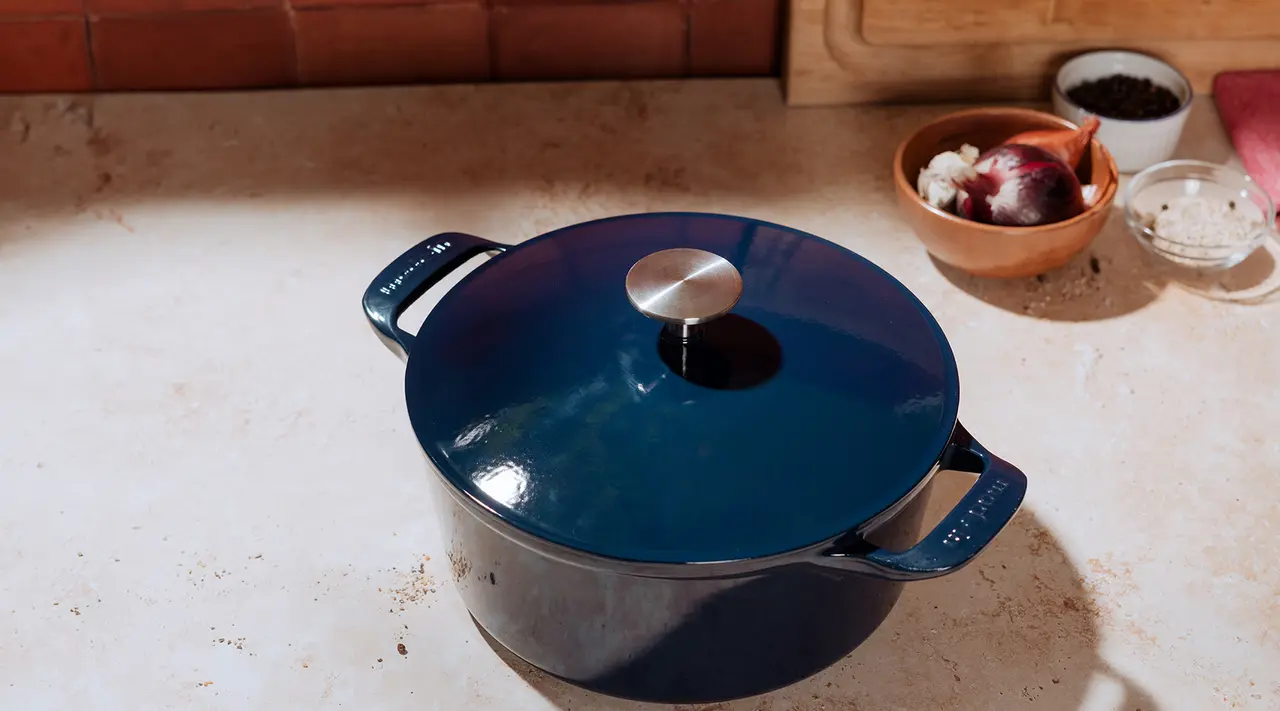
Versatile as a Dutch oven may be, there's a reason there are two different types offered—and it all comes down to whether or not your Dutch oven features an enameled surface. Enamel is a naturally non stick coating derived from finely ground glass applied to raw cast iron. This both protects the rust-prone surface of raw cast iron and creates a nonporous, non stick surface, making it easier to cook with ingredients like tomatoes or wine without fear of a reaction. With some exceptions—I.e., some manufacturers suggest seasoning the raw cast iron edge, for example—enameled cast iron Dutch ovens do not need to be seasoned.
However, if you have an unfinished cast iron Dutch oven that is not pre-seasoned, you must season it to ensure it has a well-formed patina which will aid in food releasing easily from the surface of the Dutch oven. This follows much the same process as seasoning carbon steel, where a high-smoke point oil is heated at high temperatures to polymerize onto the surface of the Dutch oven. This protects the pores of the raw iron from rust and corrosion, and helps to build up a non stick layer known as a patina. This is built upon the more you cook with it—particularly when using fatty ingredients like meat.
So, Does My Dutch Oven Need to be Seasoned?
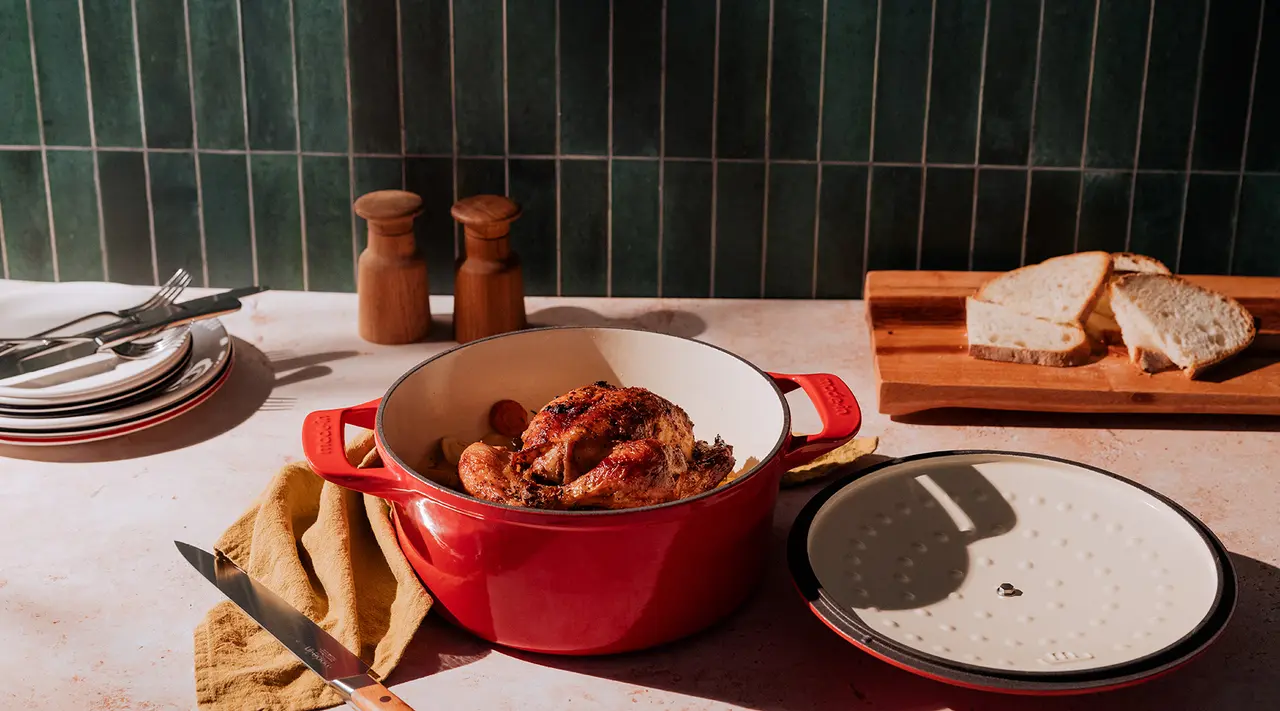
To be clear, if your Dutch oven is enameled it does not need to undergo a traditional "seasoning" process. If it is raw cast iron, it will need to be seasoned.
Some manufacturers will recommend seasoning the bare iron rim around the edge of an enameled cast iron Dutch oven, usually to protect it from rust or corrosion, but this varies from brand to brand. If the enamel of your Dutch oven is no longer quite as non stick as it used to be, then use a bit more oil and allow it a bit more time to heat up.
Care Tips for Your Dutch Oven
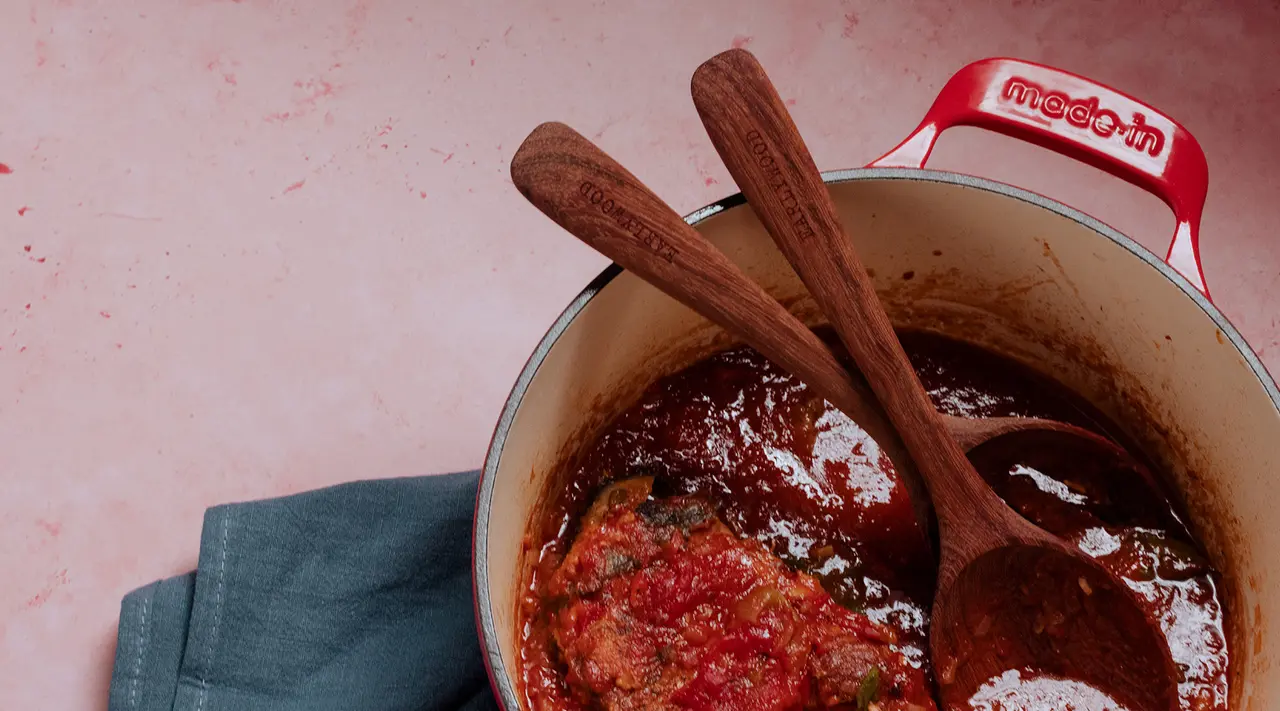
Just because you have an enameled Dutch oven doesn't mean all care should go out the window. Here are a few tips to keep your Dutch oven in fighting shape. For more, check out our guides on cleaning enameled cast iron and your Dutch oven.
- Don't heat your Dutch oven empty—always add an ingredient or cooking fat before turning the burner on. This prevents the enamel from dry heating, which could cause it to crack when exposed to high heat over a long period of time.
- Always wash your Dutch oven—or any other piece of cast iron cookware—by hand instead of in the dishwasher, especially if you're using unfinished cast iron.
Ready to Cook?
Both raw and enameled cast iron Dutch ovens have their place in our hearts (and kitchen cabinets). That said, for easier maintenance and the ability to cook out of the box, we gravitate towards the enameled version. Ours is hand-enameled in Northeast France, home of the world's finest cast iron for over a century. Check out our collection of professional-grade Enameled Cast Iron Dutch Ovens to see which size or shape should be the one to grow your collection.
