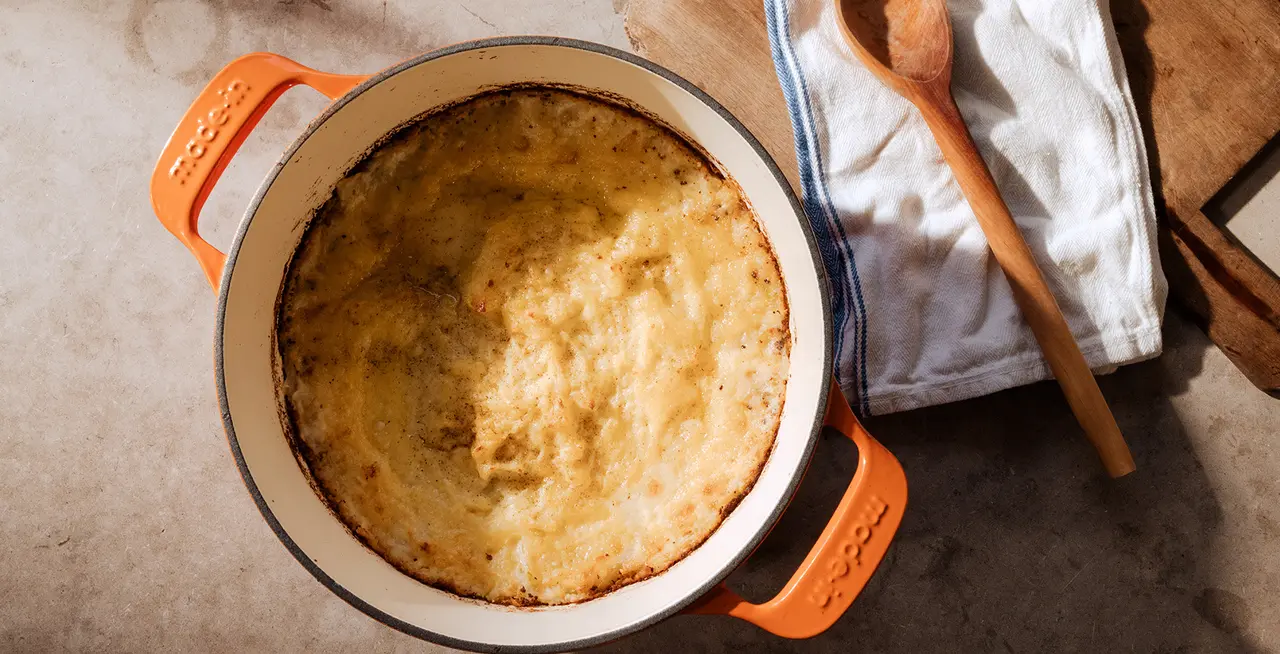
Nothing captures the absolute ‘comfort’ of home quite like mashed potatoes. This smooth, rich, creamy side dish is a gift from the gourmet gods and feels like a gigantic step up from the simple baked potatoes we see in Irish and English cuisines. So ditch the funky box flakes and graduate to a recipe from scratch.
Tip #1: Secure a stockpot
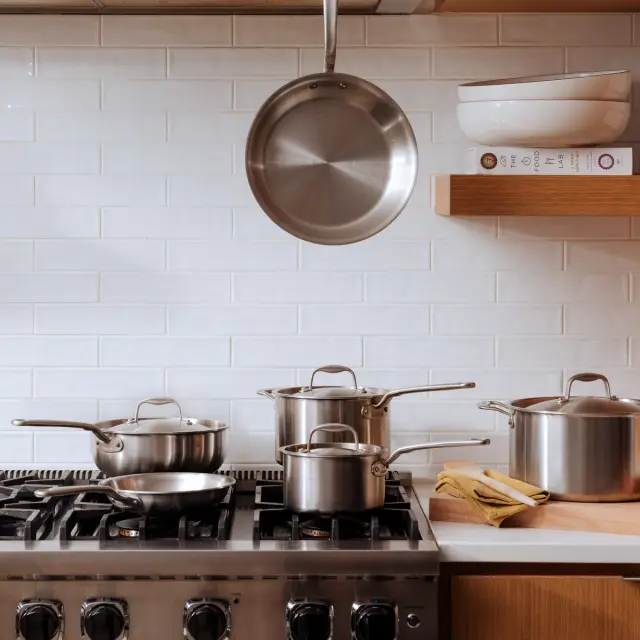
The first step on your mashing journey entails the proper cooking equipment. When preparing your potatoes from scratch, it’s important to use no smaller than an 8-quart stockpot. This will ensure enough room for individual pieces to simmer evenly. It also frees up just the right amount of space to execute the final mixing and smashing action.
Tip #2: Yukon do it
Although every culinary expert has their own special recipe (see Ina Garten and other famous formulas here), most agree that the best potato is hands-down the Yukon Gold. To save your arm a significant amount of work, this starchy variety fluffs up fast, smooths easier, and soaks up the flavor of your butter, salt, chives, or whatever ingredients you choose to include.
If you’re not crazy about Yukon Gold’s yellow tinge, Russets come in a close second. These slightly drier, mealier potatoes provide a white, creamy finish that feels more like a cloud and less like a paste—the perfect combination for fluffy, buttery mashed potatoes
Tip #3: To dice or not to dice?
You’ve seen people boil potatoes whole, in small pieces, with skin on, skin off, etc. There are solid reasons behind each of these decisions, but for our ‘make it better’ recipe, we recommend the following technique based on optimal flavor and cooking consistency.
In order to prevent too much water from penetrating the potatoes, it’s best to cut them into relatively large halves or quarters with the skin ON. This will encourage even heating and prevent too much liquid from muddling the hardy flavor of the potato itself.
Boil the cut potatoes with a lid on for about 20-25 minutes and then strain them as you would pasta.
Just remember that you’ll have to remove the skins afterward. Wear gloves to protect your paws from high temps.
Tip #4: Get mashing!
If you haven’t realized already, this process is more of a marathon than a sprint. But once the potatoes are cooked and ready for mashing, it’s time to quicken the pace. Residual heat is imperative at this stage. Whipping your potatoes while they are lukewarm or cold will result in clunky lumps—or worse—a soupy, overworked mess.
Long story short: start whipping right away. Use a potato masher or an electric whipper...if you don't have those, just smash them with the next best thing available.
Tip #5: Beware of hotspots
Poorly constructed pots and pans can heat unevenly, resulting in hotspots. Hot spots can scorch the potatoes and give you ugly brown splotches and a layer of crust burnt at the bottom. You can test your pot for hotspots by boiling water and eyeballing areas where bubbles form most frequently.
If you notice hotspots, it’s time to upgrade your pot to a Made In Stock Pot.
Tip #6: Fat before fluid
Whether you’re using butter, sour cream, milk or some other thickening or loosening agents, follow the rule of thumb: butter always comes first. Since it’s denser than cream or milk, fat will hold your potatoes together, preventing you from getting a glue-like consistency.
Once you’ve added in room-temperature butter, move on to your liquid ingredients, pouring in small batches and whipping constantly to promote a smoother, creamier texture.
Tip #7: Thyme to season
Make your fluffy, fabulous side dish even more impressive by experimenting with different seasonings. While salt and pepper are a given, switch things up by infusing more adventurous flavors like rosemary, sage, garlic—even wasabi.
Follow these key mashed-potato-making techniques, and you’ll be as good as gravy..too much?
