Once you’ve cooked the perfect turkey, there's just final step before you can di g in: carving. The right tools and a little technique will make the job both easier and less intimidating—not only will your turkey look better, it’ll taste better, too.
Get Culinary Creative Director of the Made In Rhoda Boone’s method for carving a Thanksgiving turkey below, plus a few essential carving tips from Evan LeRoy of Austin’s Michelin-starred LeRoy and Lewis Barbecue.
How to Carve a Turkey
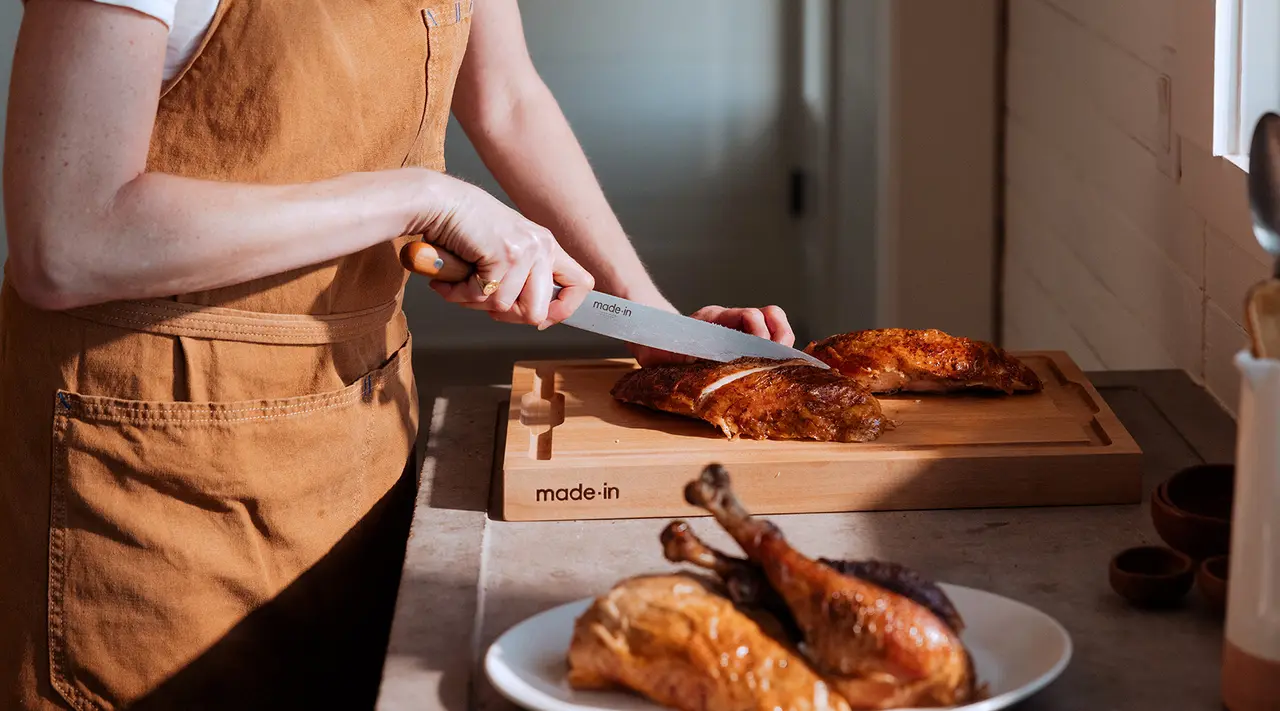
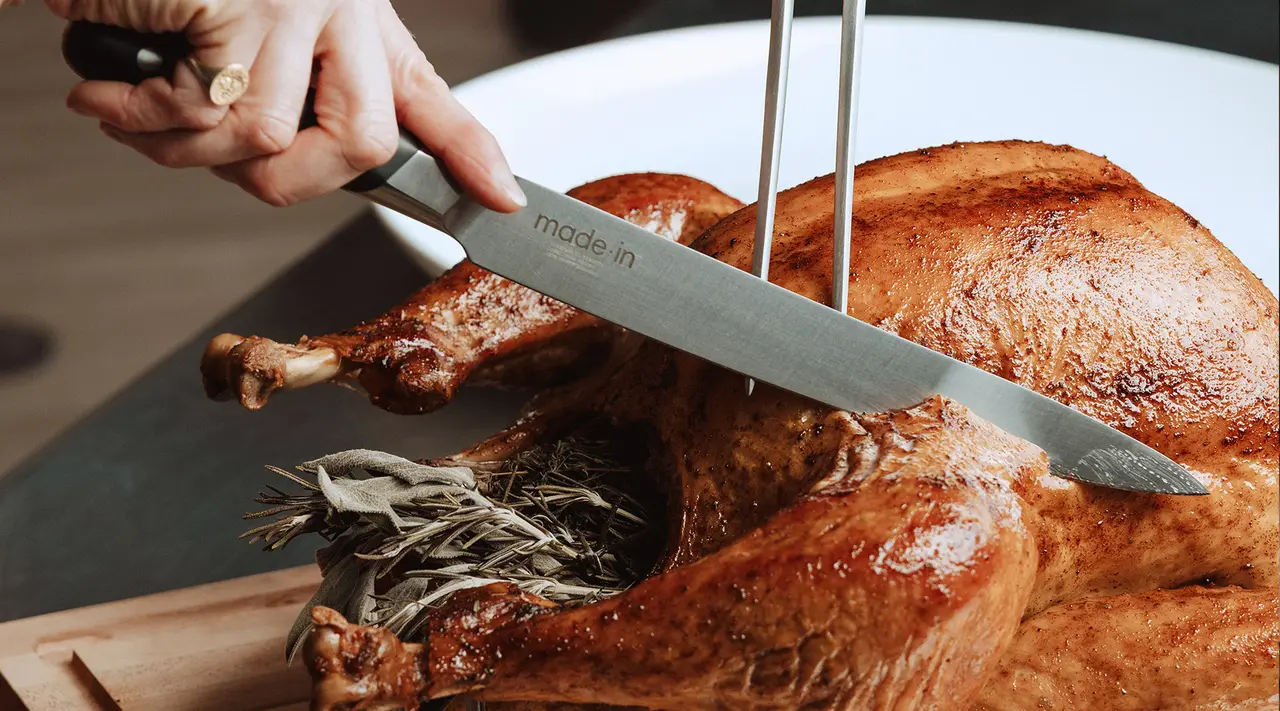
Rhoda shares her fool-proof method for carving Thanksgiving turkeys like a professional, so you can plate up golden, juicy slices that look like they belong in a Norman Rockwell painting. To follow her method you’ll need a Carving Knife (required) and Fork (optional, but incredibly helpful), a clean kitchen towel, a cutting board, and (optional) both chef and paring knives.
Step #1: Remove the Wishbone
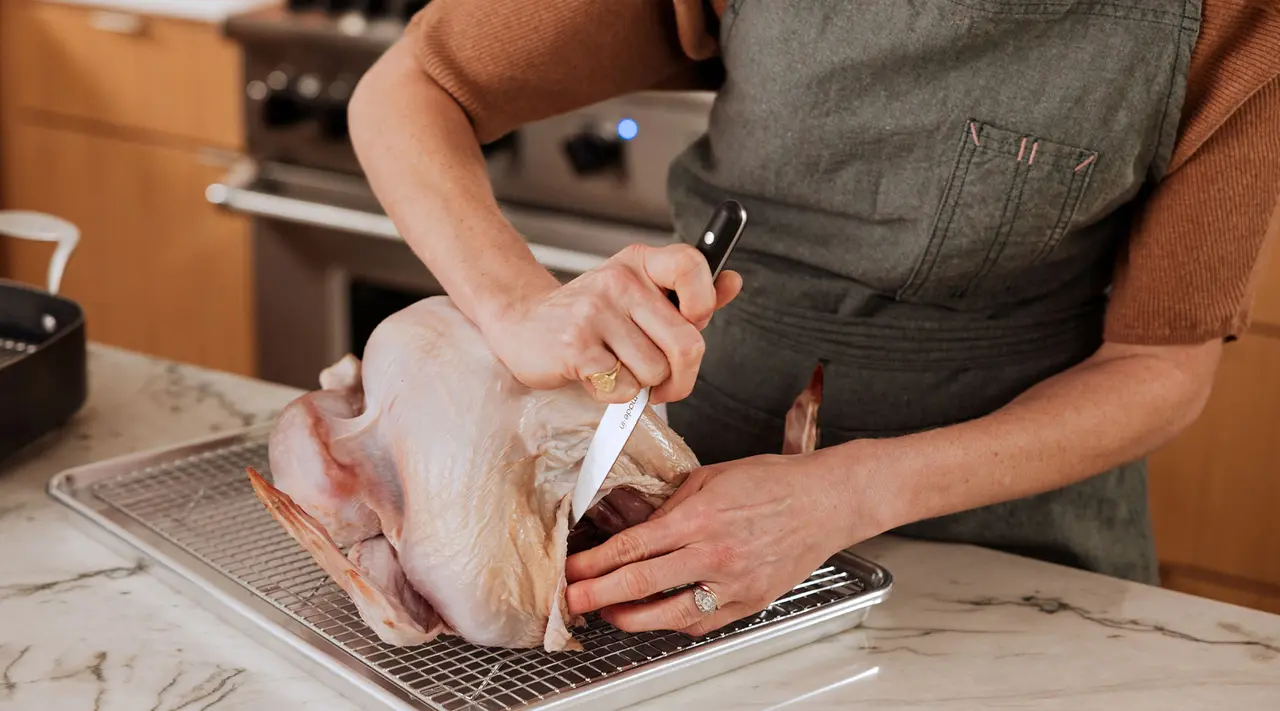
The first step begins while the turkey is still raw. After thawing and patting your bird dry—but before seasoning or brining—you’ll need to remove the wishbone from the raw turkey. This will make it much easier to remove the breasts and carve the turkey once it’s ready for the table.
- Begin by orienting the turkey with its legs pointed away from you, and pull the excess neck skin back towards the legs to expose the breast meat.
- Running across both breasts is the wishbone, a ‘Y’ shaped bone that, if left in place, makes carving a pain. Remove it by cutting along the top of one branch with a Paring Knife, and then repeating directly below the bone.
- Do the same on the other side, and then make a horizontal incision along the top of the bone where the two branches meet in the center.
- Using your fingers, remove the wishbone. It should come out easily; if not, use your knife to carefully cut it loose.
- If you don't want to miss the opportunity to make a wish with the wishbone, clean the flesh off as much as you can and roast it alongside the turkey for 20–30 minutes.
Step #2: The Post-Roast Rest
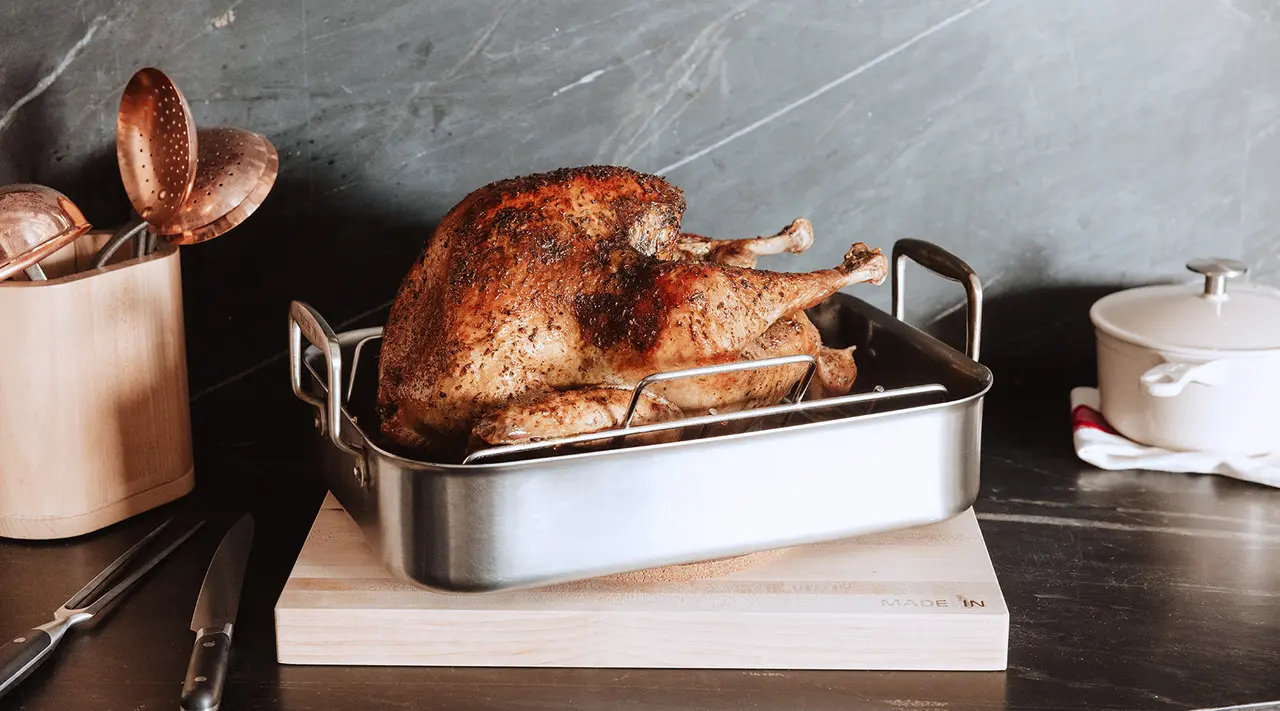
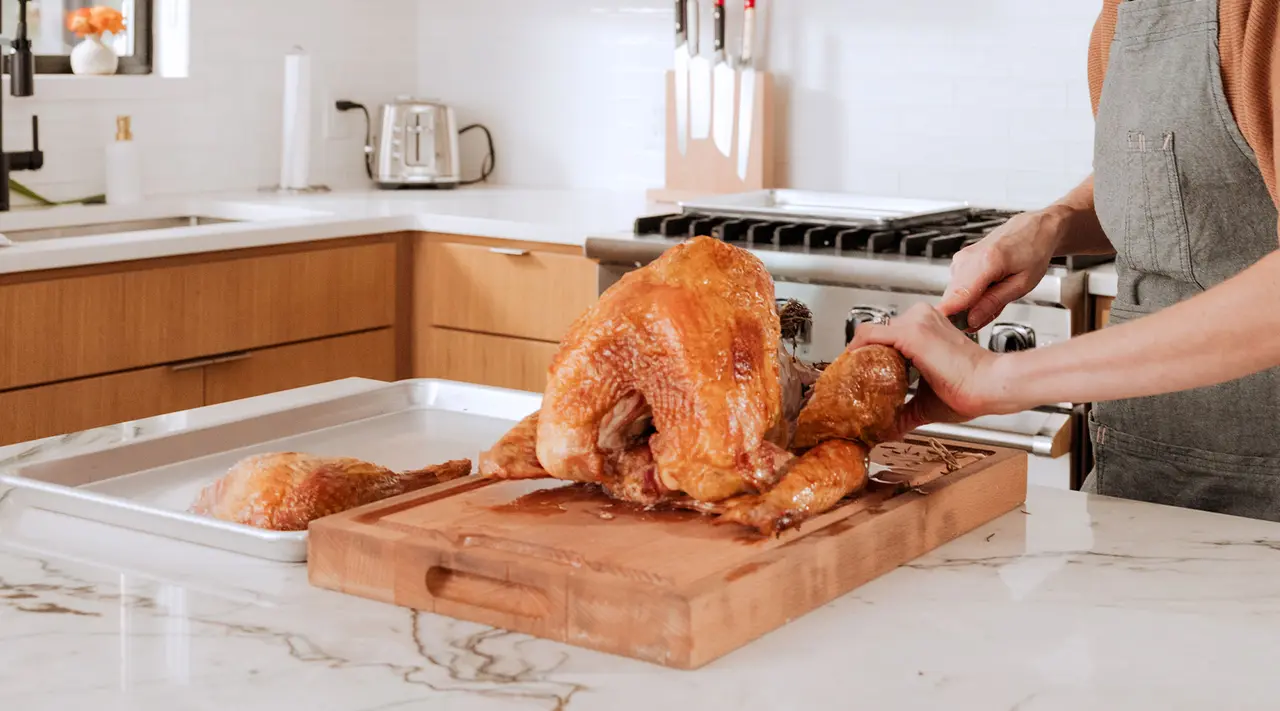
After roasting, transfer your turkey from the roasting pan to a butcher block or cutting board atop a sheet pan to collect any juices (which you can reserve for pan dripping gravy!) and let it rest for 30-40 minutes to let the juices reabsorb.
Failure to let your bird rest will result in a dry and bland turkey—the opposite of what you want for Thanksgiving.
Step #3: Remove the Legs
Once your bird is properly rested, it's time to get to work.
- Using your carving knife, cut through the skin between the leg and the breast.
- Gently pull the leg away from the breast, maintaining a firm grip on the turkey (you can use a towel here to keep your grip), until you can see the joint connecting the two. Cut through the joint and release the leg. Repeat on the other side.
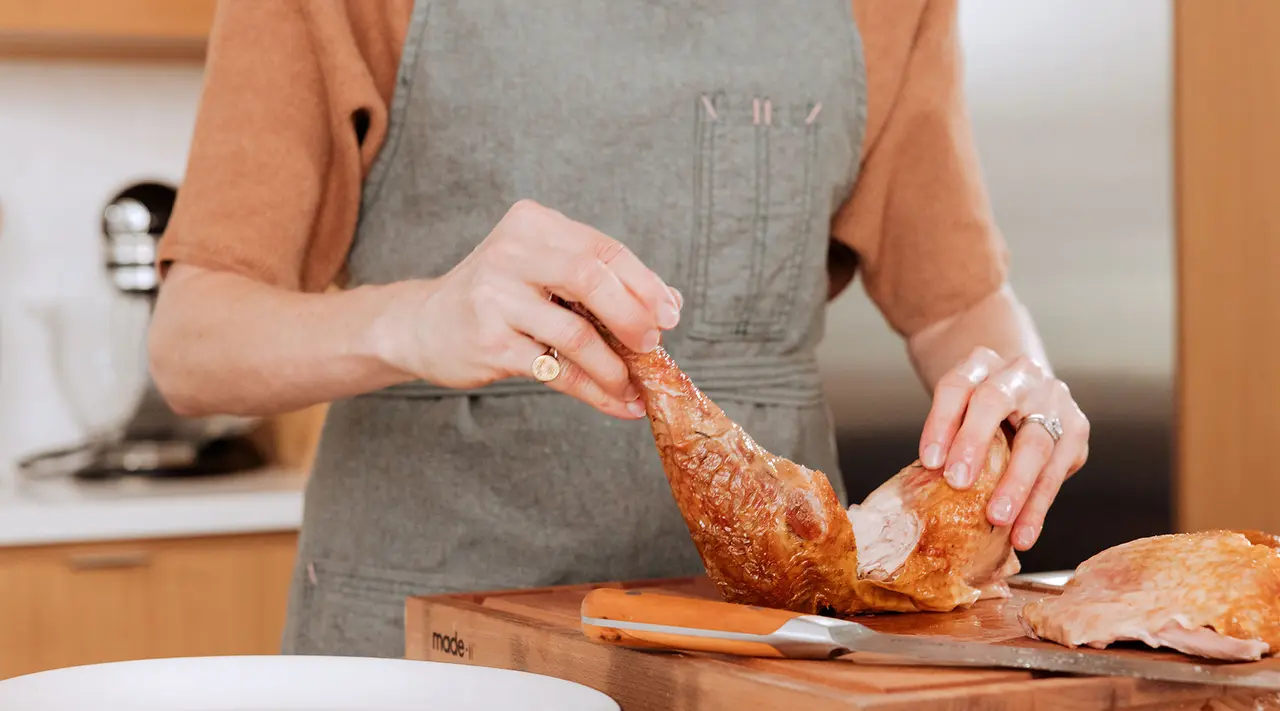
- Each leg will have another joint connecting the drumstick to the thigh. Use your fingers to feel around for the joint, and then slice through it. Repeat with the other leg.
- Flip one thigh skin side down and remove the thigh bone by cutting incisions on either side of it to release the meat. Do the same with the other leg, saving the bones for stock.
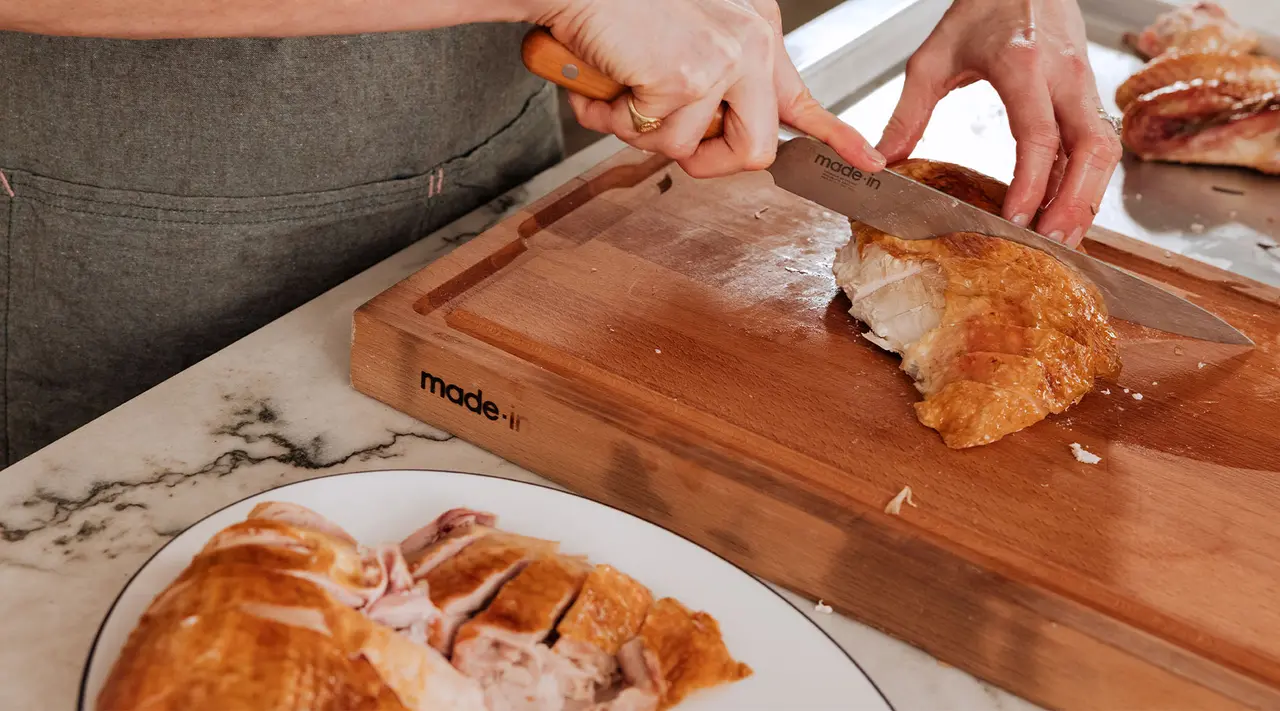
- Slice the thigh into even portions, about ½-inch thick.
Step #4: Remove the Wings
- Gently extend the wing to expose the joint connecting it to the body.
- Cut through this to release the full wing and repeat on the other side.
- Then break down the wings into drumettes and flats. If the wing tips are overcooked, remove them and reserve for stock.
Step #5: Remove the Breast
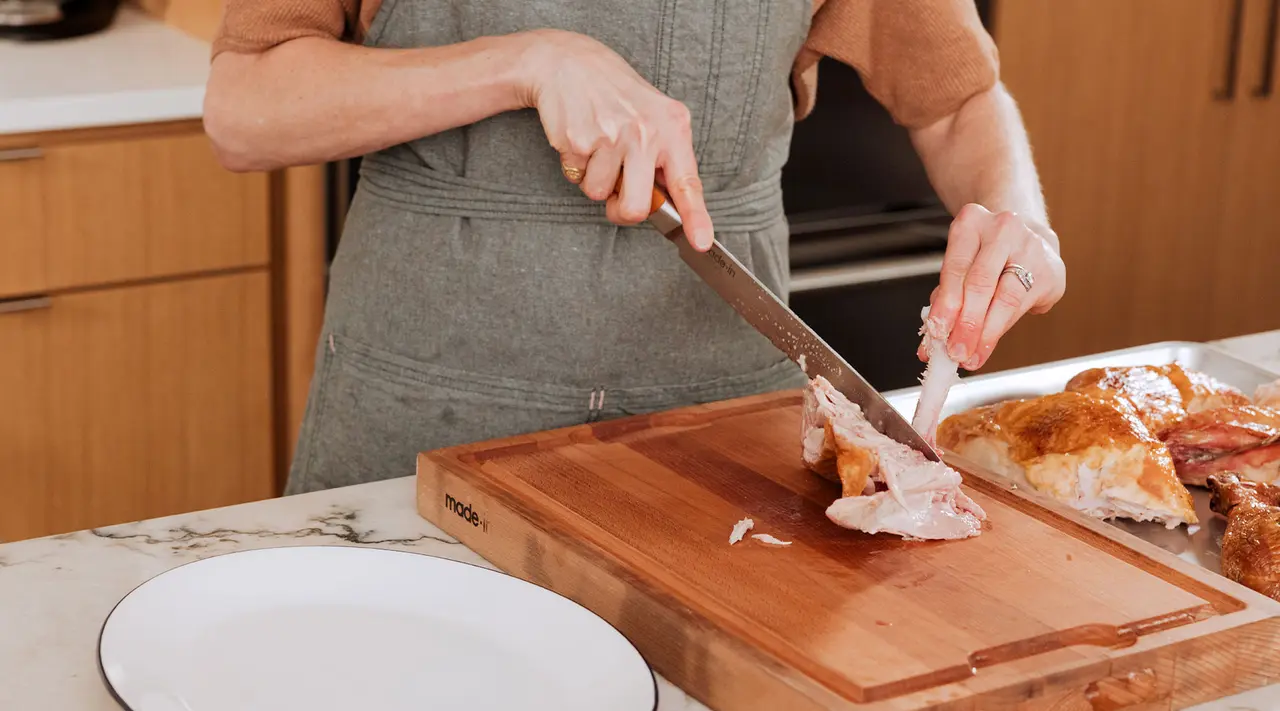
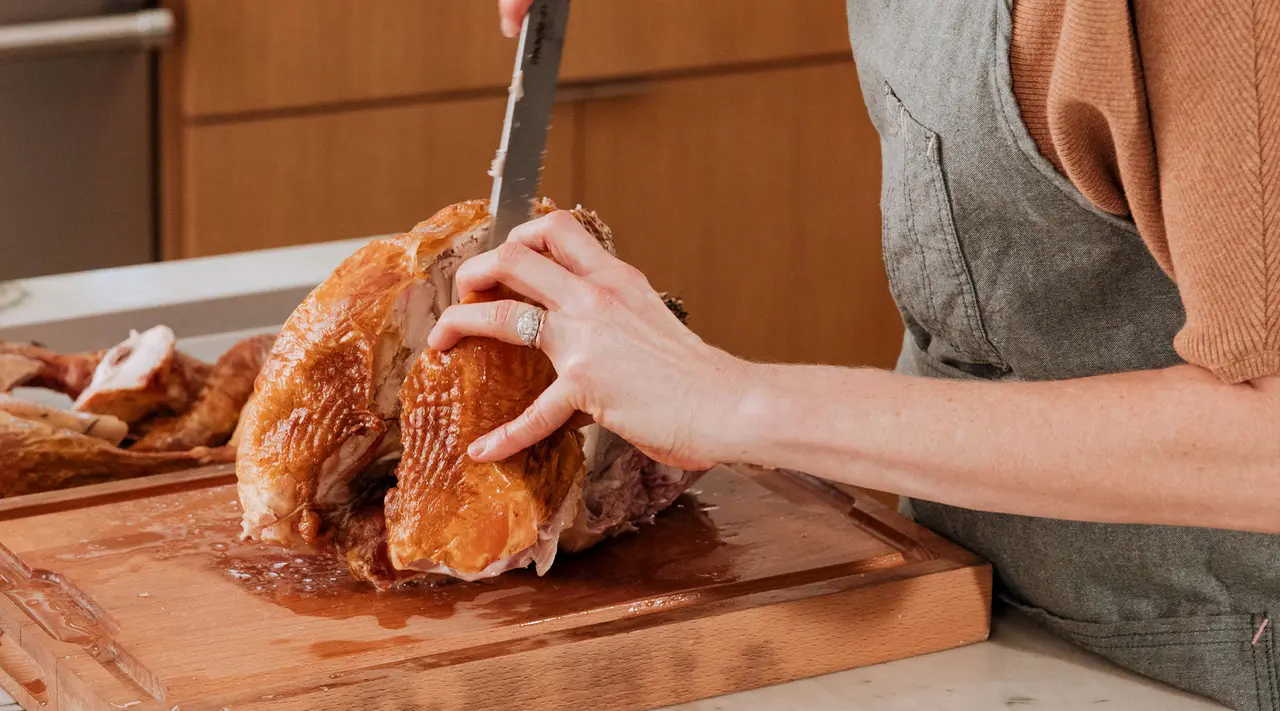
- To remove the breasts, begin by slicing into the breast on one side of the breast bone, moving slowly and carefully to follow the curvature of the bones with the tip of the knife. This will ensure you get as much meat as possible from the turkey.
- As you cut downwards, the meat will begin to release itself from the bone. Help it do so with your knife, and when it’s nearly released, cut firmly through the bottom to release it completely.
- Repeat on the other side, and slice both into even ½-inch thick portions at an angle, so each piece is served with a small amount of golden, crispy skin.
Step #6: Plate and Serve
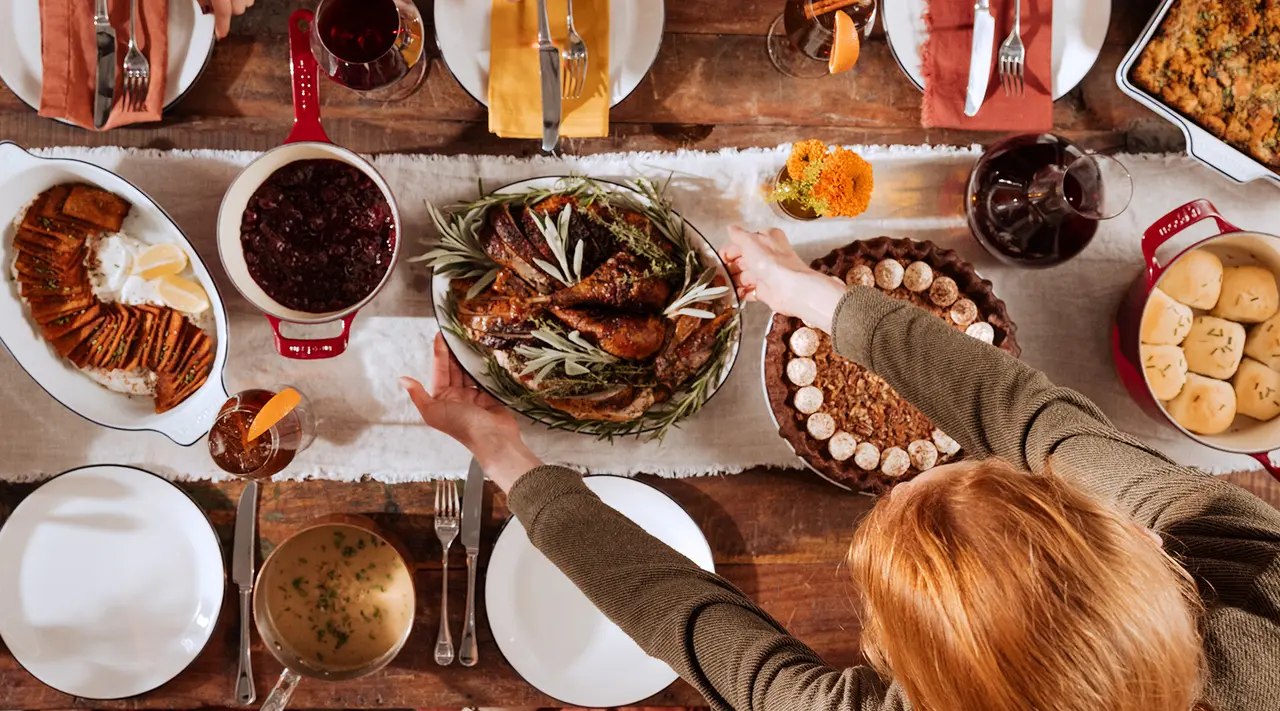
The traditional way to plate up carved turkey is on a Turkey Platter with dark thigh meat arranged in the center, flanked by white breast meat fanned around the perimeter.
Drumsticks, drumettes, and flats can then be arranged on top. Remind guests that dark meat comes from thighs and drumsticks, while wings and breast are all white meat.
Step #7: Save the Carcass
Drama and showmanship aside, the best part of serving an entire roast bird is the ability to turn the carcass into a rich, flavorful broth or stock. Throw in a little carrot, celery, onion, wild rice or pearl barley, and shredded turkey meat and you’ve got a cozy (and delicious) way of using up your Thanksgiving leftovers.
Turkey Carving Tips

Here, Chef LeRoy shares his time-tested tips for carving the perfect turkey this Thanksgiving.
Chef Tip #1: Use the Right Knife
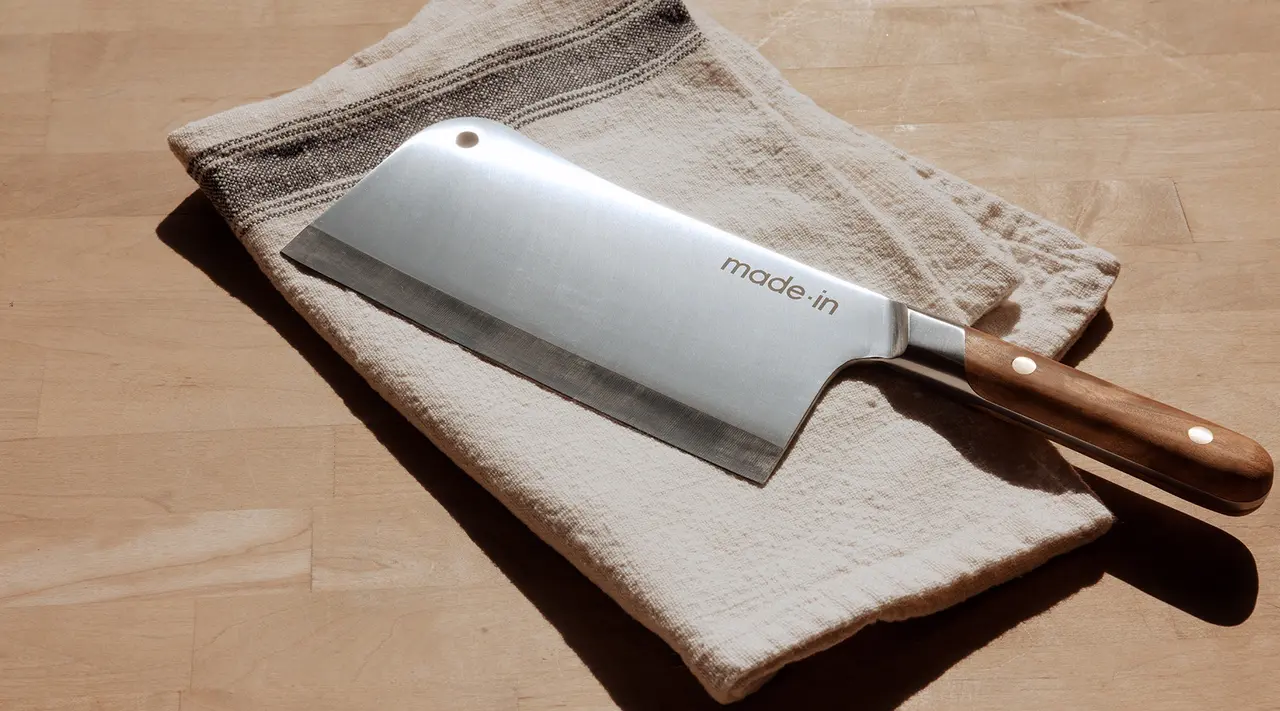
Cutting meat with a wrong or a dull knife will result in uneven, jagged strips. For larger proteins like whole turkey, a heavy, elongated blade slices gently in a few quick strokes—Chef LeRoy prefers a sharp non-serrated knife.
“For something like carving turkey, the Carving Knife is perfect for the job,” says Chef LeRoy.
Chef Tip #2: Wear Disposable Gloves
“I don’t think you can really carve a bird without using your hands to manipulate the pieces,” says Chef LeRoy. “It allows you to just get in there a little bit, and move things around a little bit more.”
While you could do this barehanded, you’ll likely find it a messy, slightly slippery experience. And importantly, gloves will protect your hands if the bird is hot to the touch, even after resting.
Chef Tip #3: Rest the Turkey (for a Long Time)
Speaking of, your bird shouldn’t be too hot to handle. According to Chef LeRoy, “If it’s too hot to hold in your gloved hand, then it’s too hot to cut.” Resting your turkey—30-40 minutes is ideal—is essential to getting clean slices that are juicy and tender instead of dry and tasteless.
“If you cut it when it's still hot, then steam is going to escape from the slices and you’ll end up with a drier bird," says Chef LeRoy.
Chef Tip #4: Remove the Entire Breast
Some people slice the breast directly from the bird, but to get those artfully arranged magazine-style slices, Chef LeRoy recommends removing the entire breast before slicing. “If you don't, you're going to leave a good amount of meat on the carcass,” says Chef LeRoy. “This way, you’re not going to leave anything on the bone.”
Ready to Carve?
Even though most of us gravitate towards the sides on any given Thanksgiving, turkey can be the centerpiece it was always intended to be with the proper utensils. Our Ultimate Thanksgiving Set has everything you need to get the perfect bird from start to finish, from a 3-ply Stainless Clad Roasting Pan to a full-tang, fully-forged Carving Knife. With the right tools (and knowledge), you're on your way to your tastiest Thanksgiving yet.
