


Whether you’re making soft-boiled eggs for breakfast, jammy eggs for a lunch salad, or hard-boiled eggs for deviled eggs, nailing your method and cooking time is essential to getting the results you’re after.
Below, we’re sharing our fool proof method that goes beyond perfect yolks and ensures that every egg is also easy to peel. With a little technique, a few helpful tools, and some guidance on timing, you’ll get it right every time.
Tips Before Getting Started
- Sometimes, fresh isn’t always better. “Super fresh eggs are harder to peel,” says Rhoda Boone, Made In’s Culinary Director. “Eggs that have been in your fridge for a week are a bit easier.”
- Your pot should have enough water to submerge the eggs completely. Aim to cover them by about an inch.
- To make sure your boiled egg is as runny or set as you want, you should always use a timer.
- Note: The timetable listed in step 3 refers to large eggs. For other size eggs, times may vary.
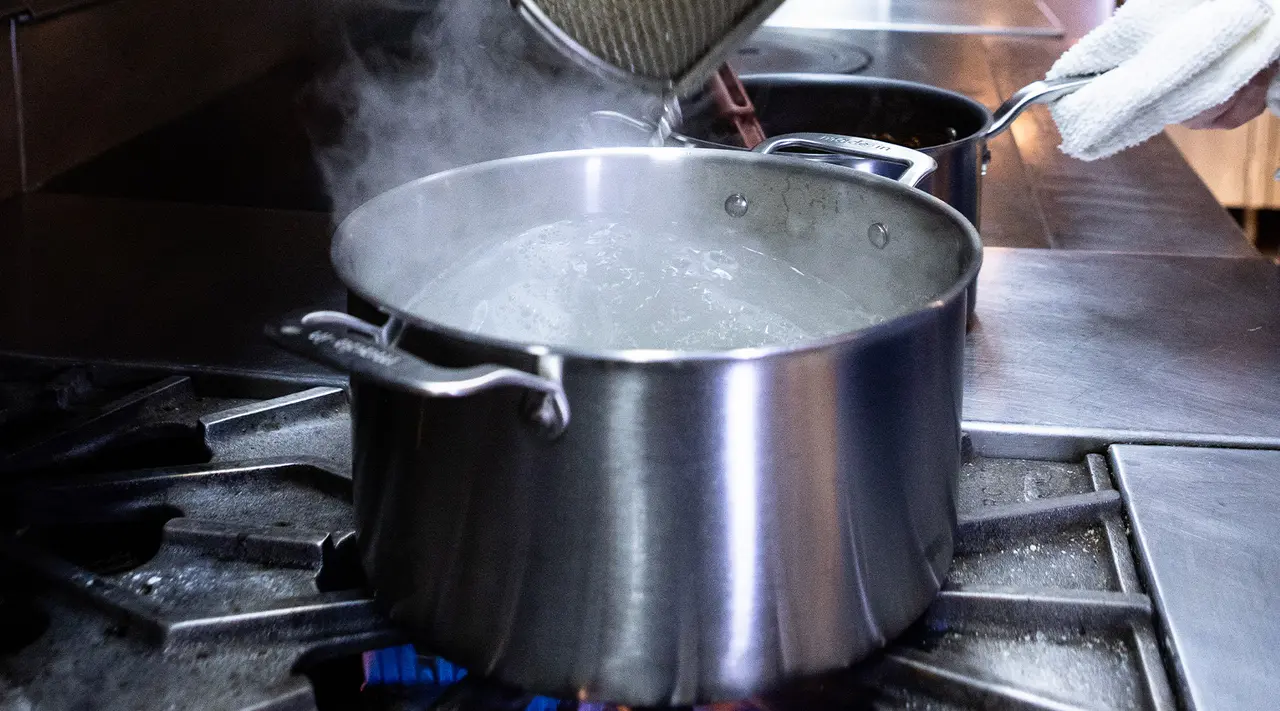
Step 1: Bring Water to a Boil
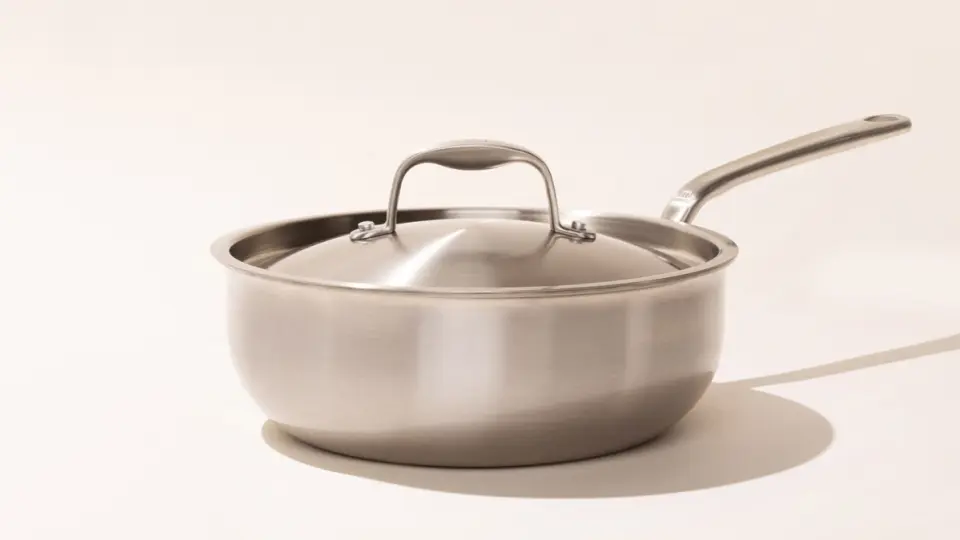
Fill a large pot—a Saucepan or Saucier will do nicely for a few eggs, while a Saute Pan is perfect for larger quantities—with enough water to cover your eggs completely, at least several inches. Bring your selected pot of water to a rolling boil over medium-high heat, covering with a lid to hurry it along.
And while you may have heard that starting them in cold water works, we disagree. “Some people think starting eggs in cold water lends more tender results, but I think it's harder to nail your desired level of doneness,” Rhoda says. “Plus peeling is easier if you add cold eggs to boiling water.”
Step 2: Gently Add Eggs
Remove the lid and gently add cold eggs straight from the fridge, using a slotted spoon to carefully lower them in, creating a single layer of eggs in the pot. Admittedly, it’s a bit more precarious adding eggs to already boiling water, but if you slowly ease them in you’ll be fine. Leave uncovered.
If your water is vigorously boiling to the point that you worry your eggs may crack, you can reduce the temperature a bit. Strive for a rolling boil, rather than just a simmer, with continuous bubbles breaking the surface. This will ensure your eggs emerge fully cooked but intact.
Step 3: Set Your Timer
Immediately set your timer according to the level of doneness you’re looking for. Meanwhile, fill a bowl with ice water and set aside nearby.
- 4 minutes: Soft boiled Ramen-style egg with very soft whites and a runny yolk
- 5 minutes: Slightly firm egg whites with a still runny yolk
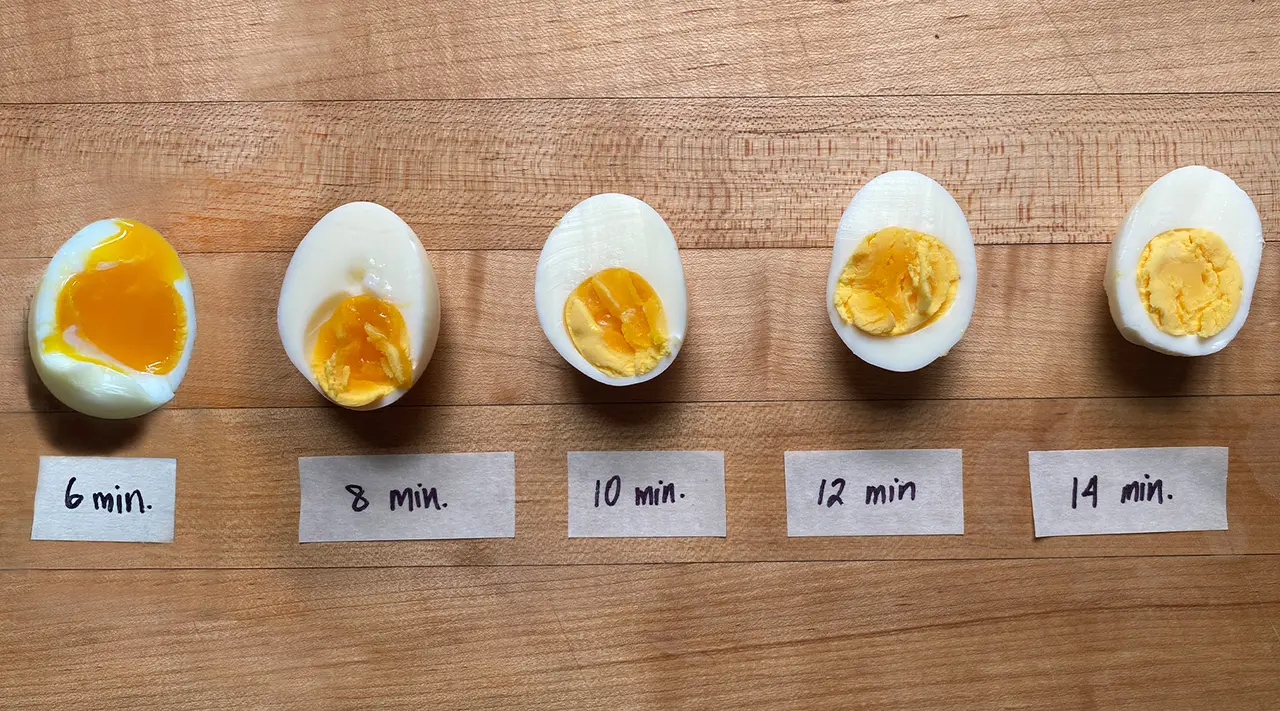
- 6 minutes: Firm egg whites and a gooey yolk
- 8 minutes: Firm egg whites with a set (but still pliable) golden yolk
- 10 minutes: Firm egg whites and a firm, pale yolk that’s still slightly gooey in the center.
- 12 minutes: Firm egg whites and an almost completely hard-boiled yolk
- 14 minutes: Firm egg whites and a completely hard-boiled yolk with a crumbly texture
Step 4: Transfer to an Ice Bath
Once the timer goes off, remove your egg(s) with a slotted spoon and transfer them to your bowl of ice water. This will immediately halt cooking, ensuring that yolks stay runny and whites don’t become rubbery, and makes the peeling process a bit easier too. Leave the eggs in the ice bath for 2–3 minutes, shaking and rattling them around to create little cracks in the shell. “These small cracks allow water to seep in between the egg and the shell, making them easier to peel,” Rhoda says.
Step 5: Peel While Warm
Remove the eggs from the ice bath when they’re cool enough to handle but still warm. We recommend peeling them now, as it will be much easier to remove their shell while still warm. Rhoda finds peeling while warm prevents bits of shell from clinging stubbornly to the whites, but if you run into trouble, running cold water over them while peeling may help. To save them for later, seal them in a closed container and they’ll keep in the fridge for a few days.
Tips for Peeling Very Soft EggsThe softer the egg, the more treacherous peeling it will be. The 4 and 5 minute eggs are particularly difficult, so definitely don’t skip Rhoda’s advice from Step 4 about shaking and rattling the eggs in the ice bath. That should be enough to peel with relative ease, but for super soft eggs you may find it helpful to tap the base against the table a few times, peel away the shell, and slide your spoon in. Then work it all the way around the egg to help release the shell fully. Either peel it free or, if you’re feeling brave, scoop it out.
Ready to Try it for Yourself?
Now that you’ve got the technique and timing down, the next step is to try it for yourself. With a large pot like a Saucier, you have the space to experiment. Test out a few cooking times to find the style that you like best, whether that’s a yolk that’s ultra runny or more of a light jog.